
Over the past year, COVID19 has forced us to get creative when recording at home. Without recording booths and sound-proofed walls, the task can feel daunting–especially for someone just starting out.
Do not fear!
Here are three easy setups that can help you get quality audio recordings right from your bedroom.
Setup 1: The Ol’ Comforter
What you’ll need:
- A comforter (or blanket) big enough to cover you and your mic.
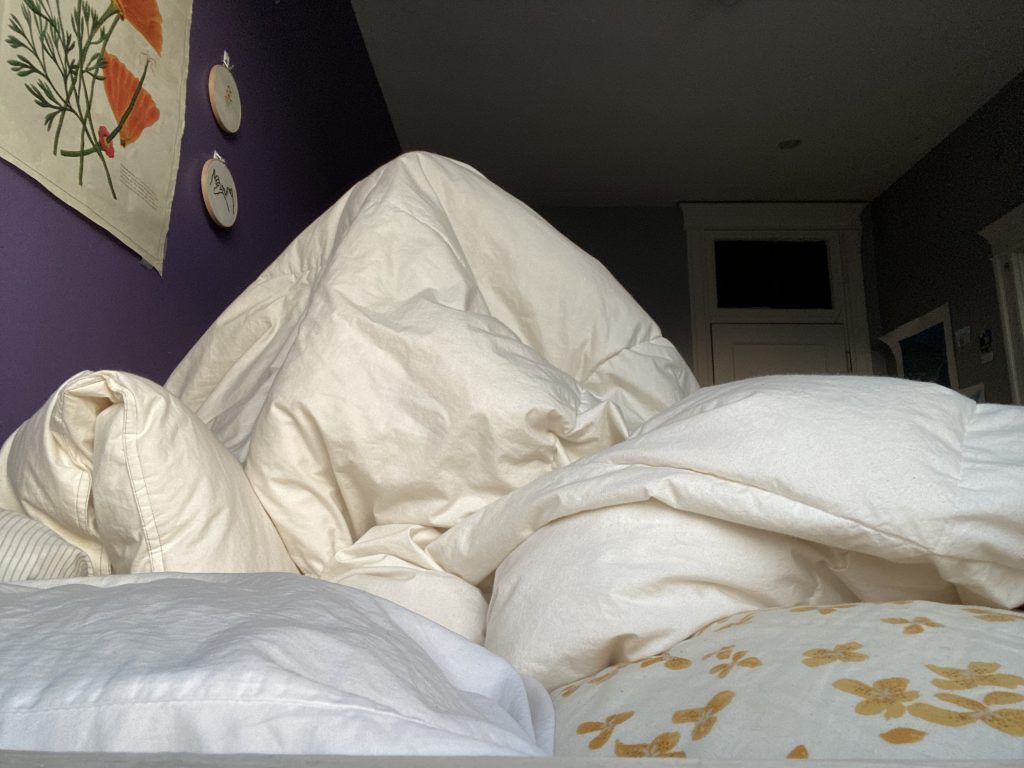
This is probably the easiest setup for at-home recording. All you need is a comforter and a little patience and you’re good to go.
Step 1: Prepare to record. Whether this means connecting your mic to your laptop or simply plugging your headphones into your phone, make sure you’re ready to go.
Step 2: Throw the comforter over you and the mic. Make sure there’s enough room for you to breathe and your mic is in a good position to record. Sometimes I will prop the comforter up on pillows around me to help create space underneath.
Step 3: Record!
It can take some adjusting and a few tries to perfect but a blanket fort can create a great barrier between you and outside sound. The result is crisp, interruption-free audio.
Setup 2: The Sound Cave
What you’ll need:
- A comforter or large blanket
- An ironing board or a desk and chair
- A bed (optional)
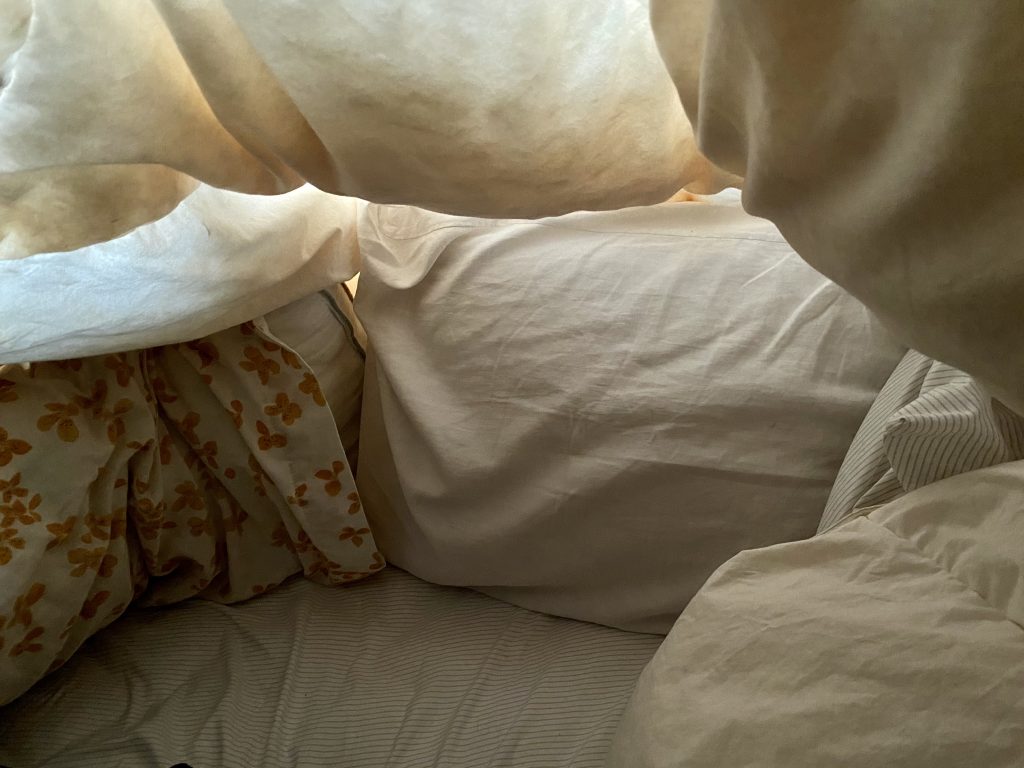
If you want more room to move around or have materials you’d like to have while inside your at-home recording booth (a snack or script, perhaps), the sound cave will be right for you.
Much like is smaller cousin, the comforter booth, the sound cave relies on a blanket to buffer sound. However, the sound cave gives you more room to work. Bonus: your head doesn’t need to be used to prop it up!
Toss your comforter over your ironing board and sneak under it for a hassle-free recording space with a little more elbow room. For addition wiggle room, drape one side of your blanket over your ironing board and the other end over a bed or desk!
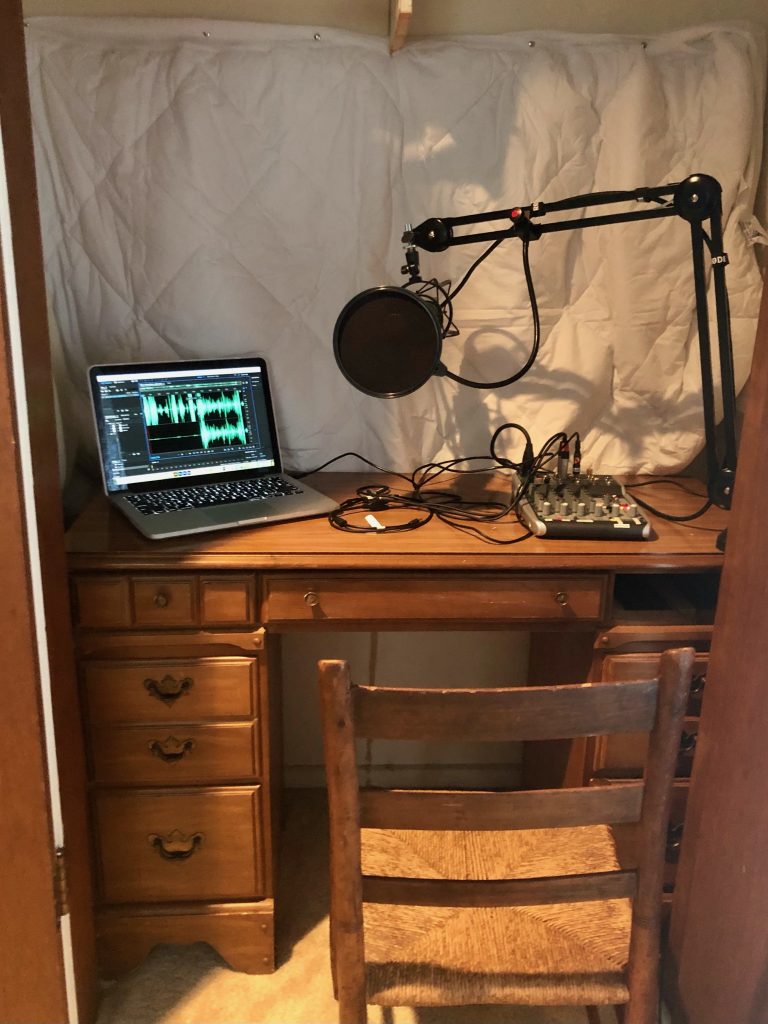
Setup 3: The Closet
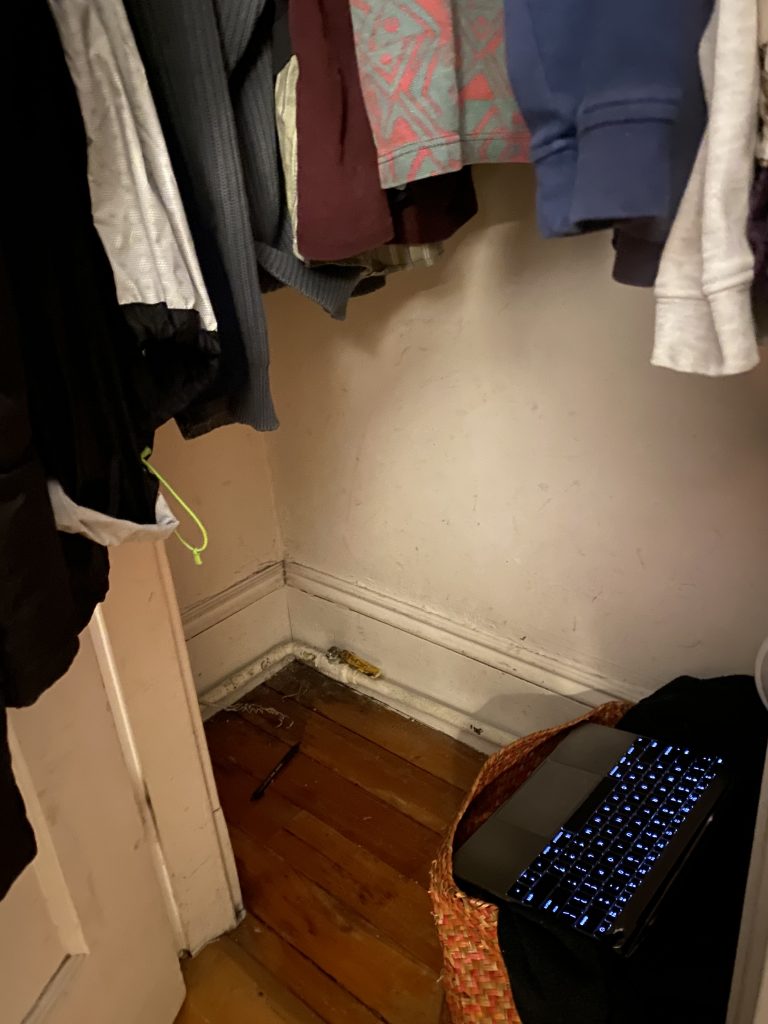
This final setup is extremely simple and takes seconds to complete!
Step 1: Sit down in your closet and close the door.
Step 2: Record.
Yep. That’s it. Your closet can be an ideal space to record because it has built in buffering from the clothes hanging above you. The material will help absorb sound just like a blanket would and closing the closet door will provide extra sound-blocking.
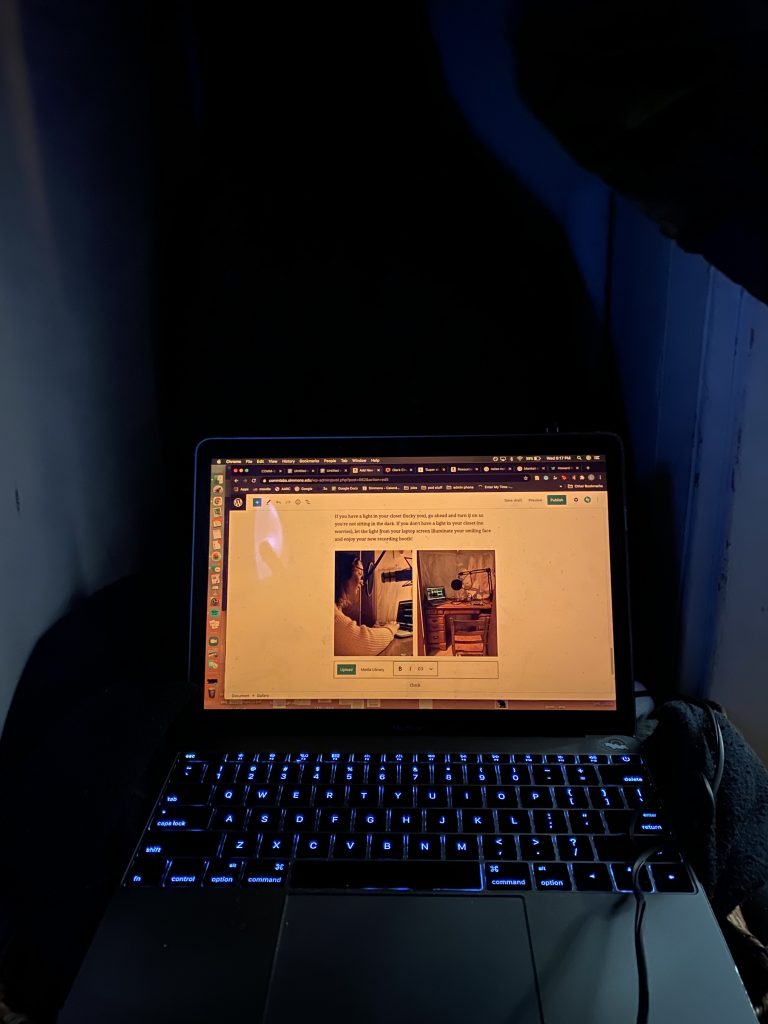
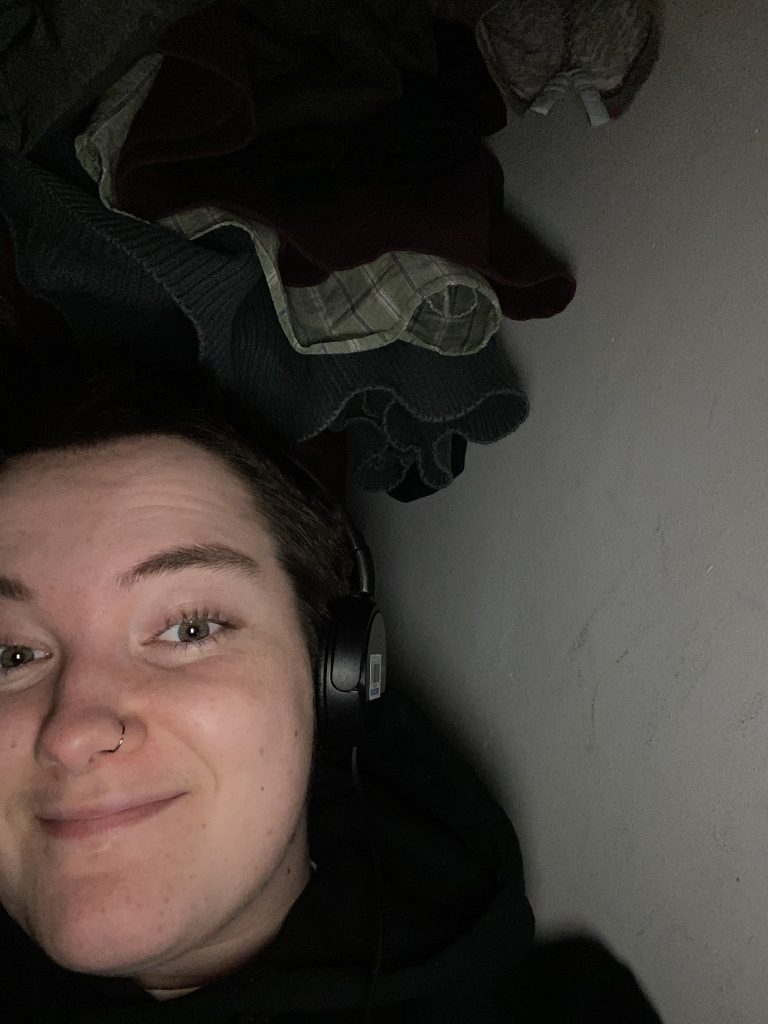
If you have a light in your closet (lucky you), go ahead and turn it on so you’re not sitting in the dark. If you don’t have a light in your closet (no worries), let the light from your laptop screen illuminate your smiling face and enjoy your new recording booth!

Best of luck with your at-home recording booths! Be sure to tag @commlabsu in any of your setup photos, we love to see it!