Go to https://www.linkedin.com/learning. Make sure you are logged out of your LinkedIn Profile. Enter simmons.edu into the sign in bar. It might ask you to do this twice. Make sure you only put in simmons.edu
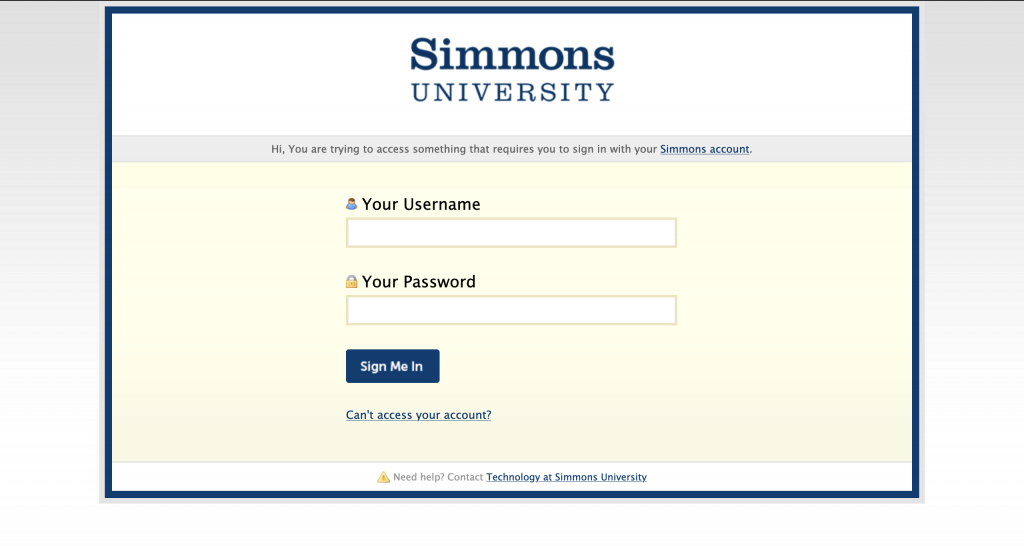
Then, this page will populate. And it will bring you to the Simmons Log in portal.
It will ask you to log into your existing LinkedIn account next. Your account does not need to be made with your Simmons email. This step is just linking your account to the school learning account.
If you have done this all correctly a Simmons University logo should populate next to your profile picture.
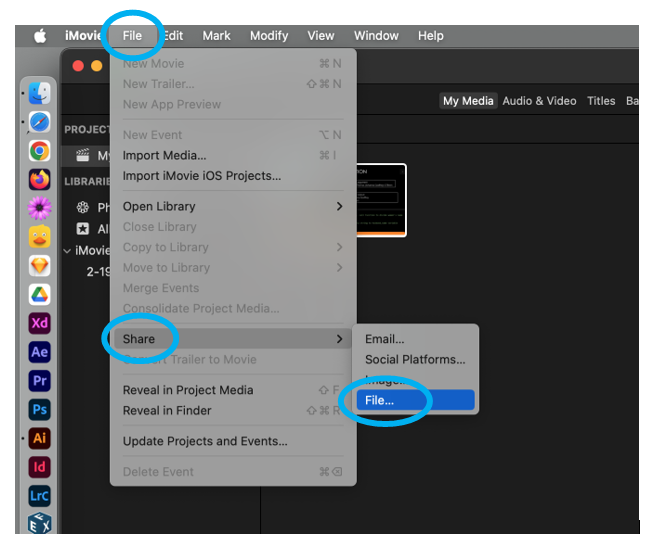
These steps will walk you through the process of exporting a project on iMovie to ensure you are sharing your movie appropriately.
1. Select File in the top menu bar, go down to Share, and then click File…
2. Select the appropriate settings for your project. Be sure to check your assignment sheet for any required specifications. Once your have adjusted your setting click Next…
3. Assign a name to your iMovie and select the folder where you would like the movie to be save to. Finally, click Save. Once you have saved your movie you may need to wait a few minutes for your movie to finish converting before you will be able to open the file.
For students checking out iPads here are a few tips and reminders to help you better access resources, transfer materials between devices, and ensure your personal data is secure when using the CommLab iPads.
Make sure you connect to Simmons Secure prior to using your Simmons login information.
You are allowed to log into your personal Apple ID when borrowing an iPad.
You can request specific software that its not normally accessible on the iPad, however request must be made in advance.
The easiest way to share files is through the use of the Google Drive app or to Airdrop files with other Apple Devices.
You CANNOT Airdrop to CommLab computers.
Inform a CommLab Agent upon returning the iPad if you have logged into applications with personal information (Apple ID, Simmons Secure network, etc.). This way we can ensure we erase any personal data prior to lending it to another student.
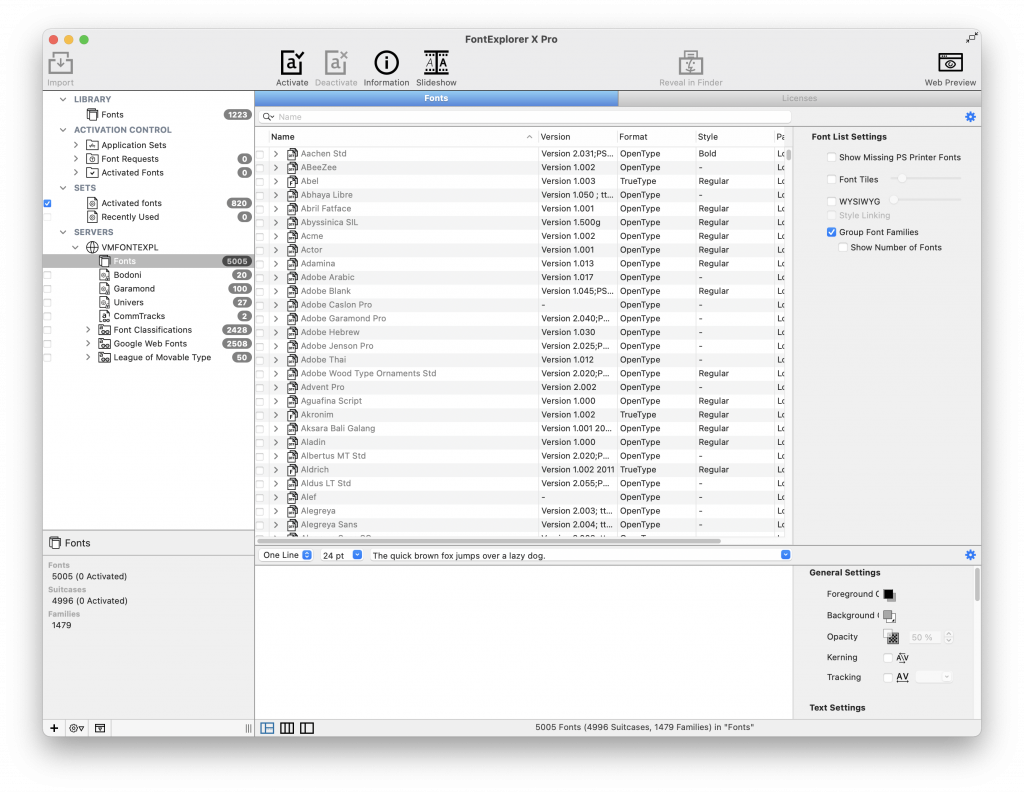
FontExplorer X Pro is a software for finding and managing fonts, available on all lab computers. It works similarly to Adobe Fonts in that you can find and activate new fonts from a server.
Activating fonts from the server
To add a font from the FontExplorer server, click on the SERVERS dropdown menu, select VMFONTEXPL, then Fonts. This will show a list of all the fonts available on the server.
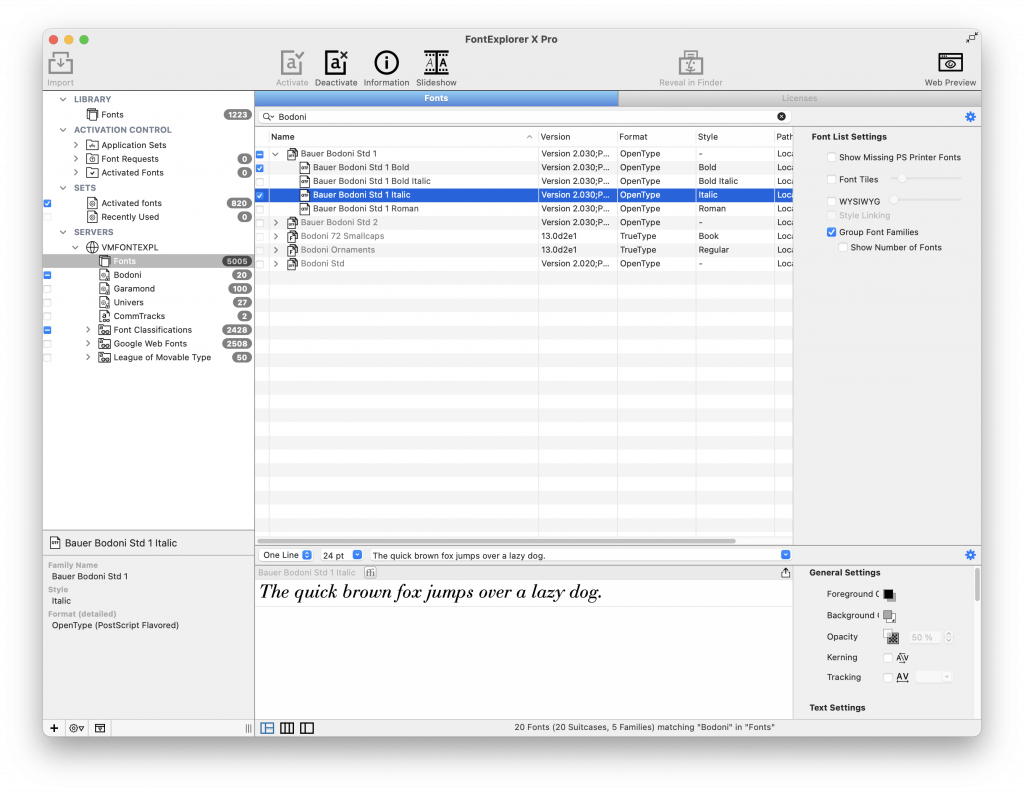
If you want to activate a specific font, start typing its name into the search bar. When you see the font you want, click on the checkbox next to its name to activate it. You can activate select styles from the font (e.g. italic, bold) by clicking the dropdown arrow next to the font’s name. Click on a style to preview it.
Adding downloaded fonts
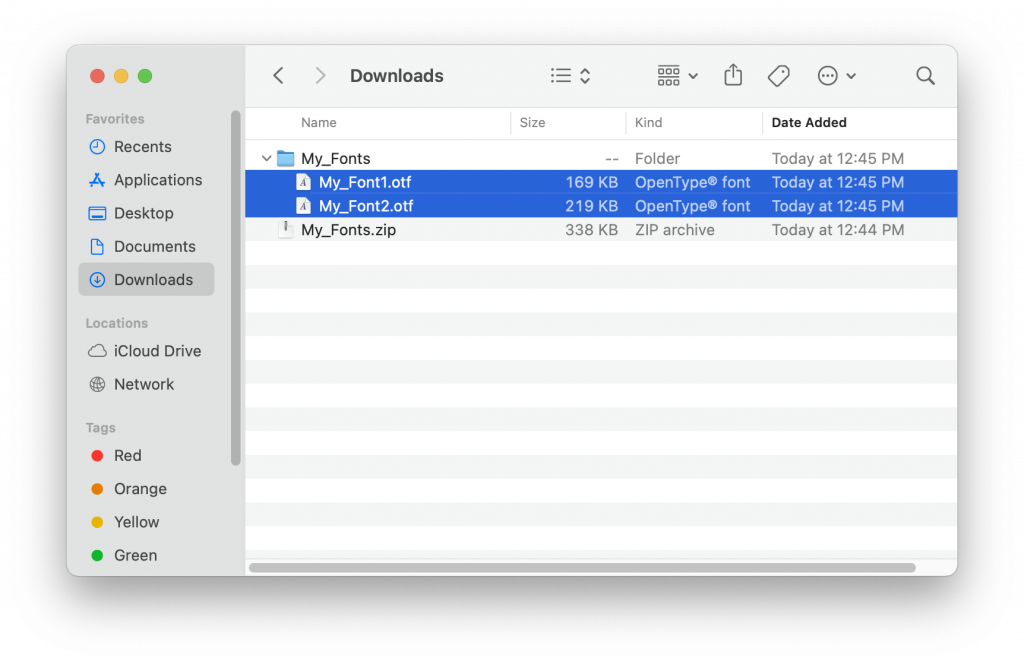
You can also add fonts that you downloaded from other sources. Unzip the file that you downloaded and open the folder. There should be a list of font files inside.
Select all of the ones you want to add to FontExplorer, then drag them onto the FontExplorer window until a green plus sign appears. This will add the fonts to Font Explorer so you can access them from InDesign or other software.
Troubleshooting
FontExplorer must be open and running in order for you to access your fonts. Don’t quit FontExplorer until you are ready to log off.
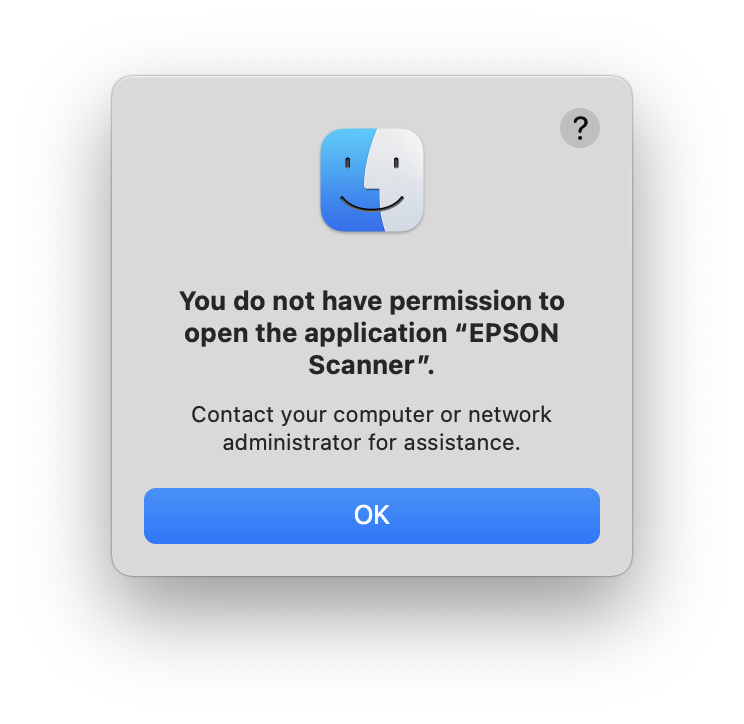
If you accidentally open another font management software, such as FontBook, it will conflict with FontExplorer and you will get this message. Click Proceed to quit FontBook and continue using your FontExplorer fonts.
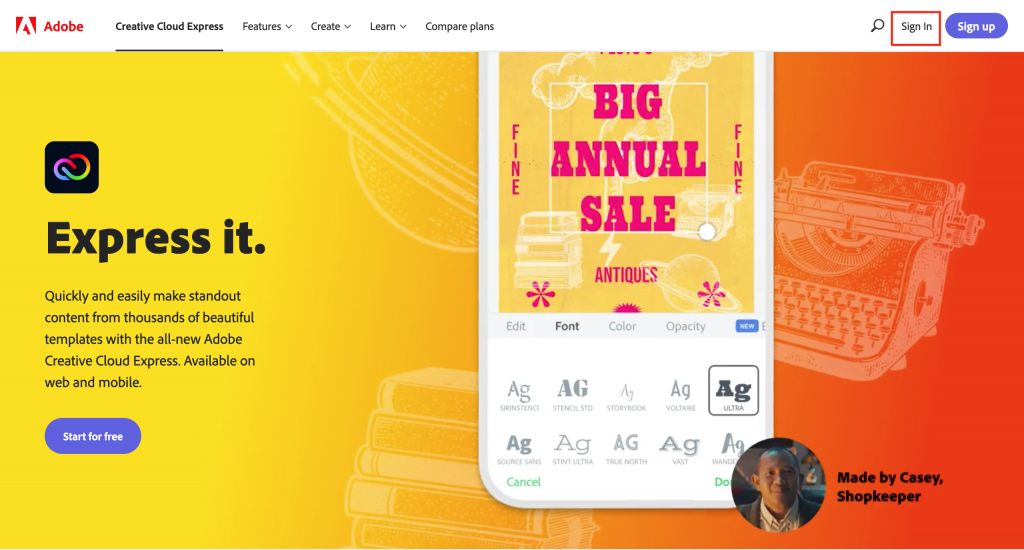
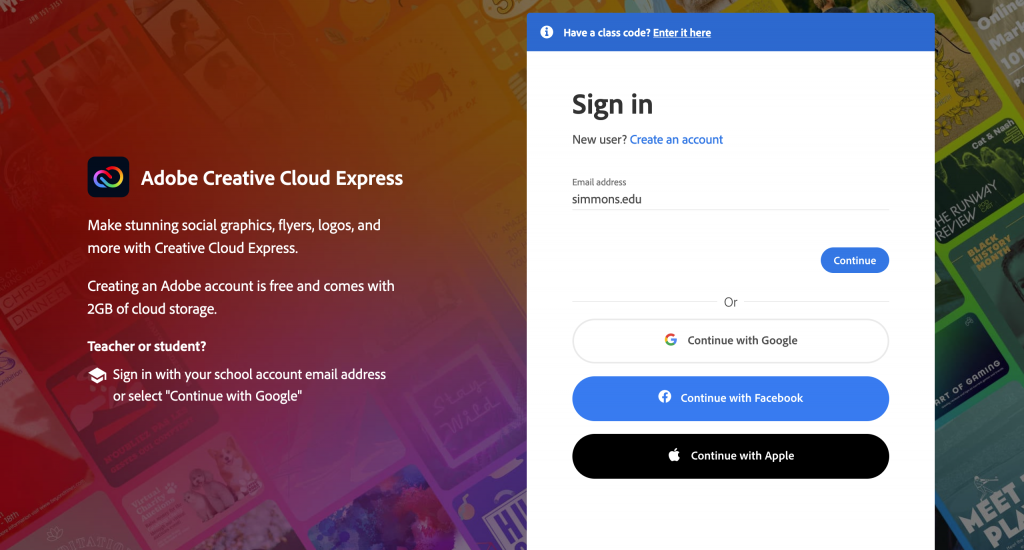
Creative Cloud Express (formerly known as Adobe Spark) is Adobe’s web-based platform for content creation. You can use it to create websites, presentations, and more. Here’s how to log in with your Simmons account to use this service.
2. In the box that for your email address, type simmons.edu only (NOT your Simmons email address) and hit Continue. This will redirect you to the Simmons SSO page.
3. Enter your Simmons account info. Once you log in, you will be redirected back to Adobe.
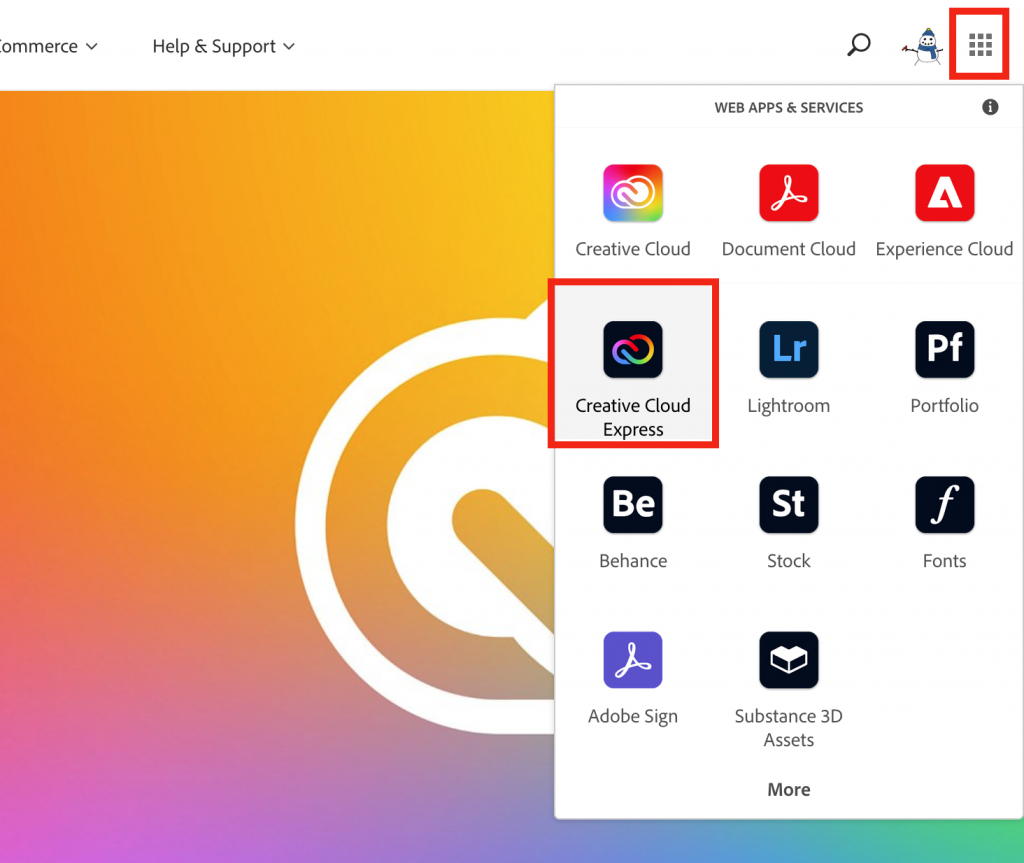
If you are already logged into adobe.com, you can access Express and other web-based services from the apps menu.
Before you can make a multitrack recording in the podcast rooms, you will need to set up tracks for each of the Rødecaster’s inputs. You can do this easily by downloading our template with preset tracks:
Unzip the file and open it in Audition. Then go to File > Save As to save your new project. Make sure to save it in the same place as any .wav recordings to make sure you do not lose them!
Note
If you are recording by yourself using only the PodMic, you do not need to use multitrack recording. Instead, simply set your input and output to Rodecaster Pro Stereo under Adobe Audition > Preferences > Audio Hardware and record your audio to a .wav file.
InDesign gives you many options to control how your document prints, so you will need to pay attention to settings such as printer selection, paper size and feed, color profile, and page selection to make sure you get the results you want.
The Print Dialog
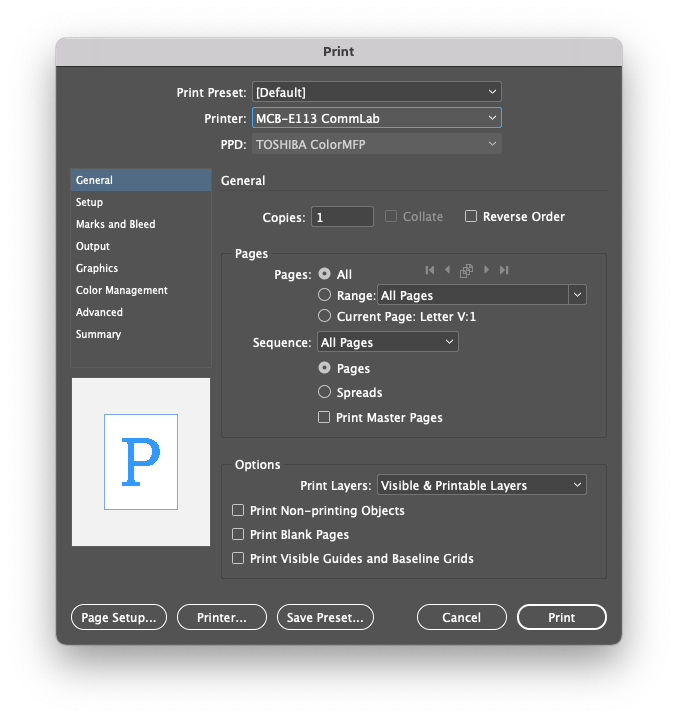
Open the print dialog box by going to File > Print. This is the main dialog for printing in InDesign and contains the following options:
Printer: Determines what printer the document will go to.
Page Range: Selects which pages will be printed. You can enter a range (e.g. 1-3), a list (e.g. 1, 2, 3), or a combination of the two (e.g. 1-3, 5).
Sequence: Determines whether pages will be printed individually (Pages) or as part of a spread (Spreads)
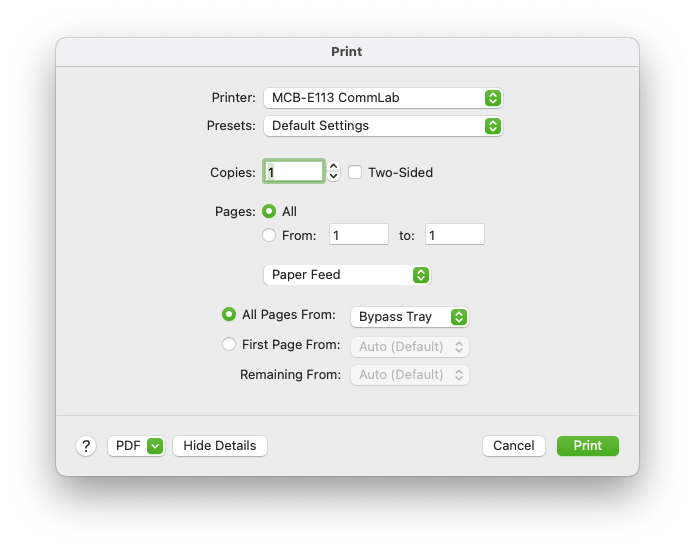
Printer…: Opens the printer settings dialog, which lets you select paper feed.
Printer Settings
The printer settings dialog lets you choose which paper tray the document will print from. If you are using the Epson printer in the lab, select Bypass Tray to load your own paper.
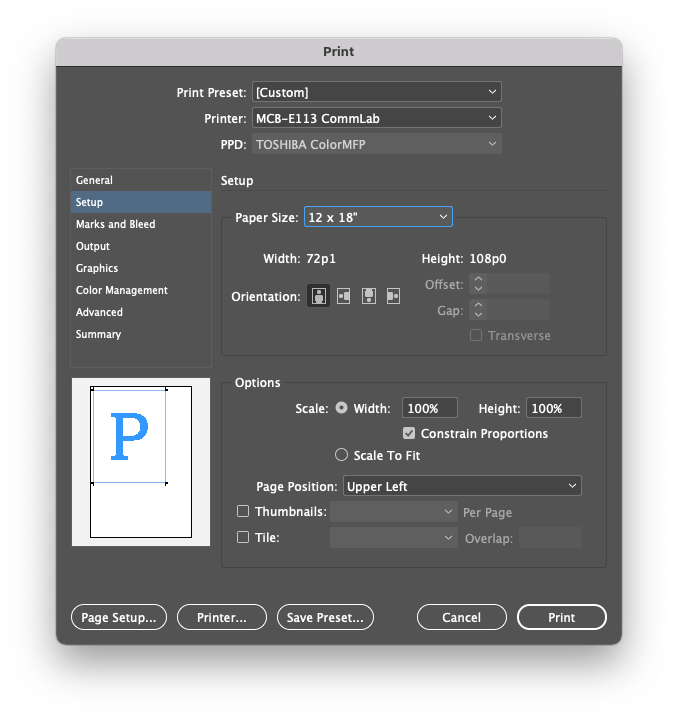
Setup
The Setup tab in the main print dialog lets you choose the paper size, position of the document on the page, and any tiling options you want.
Paper Size: Selects a paper size from a list of presets.
Page Position: Positions the document on the sheet with left/right align and centering.
Tile: Allows a large document to be printed over multiple smaller sheets of paper.
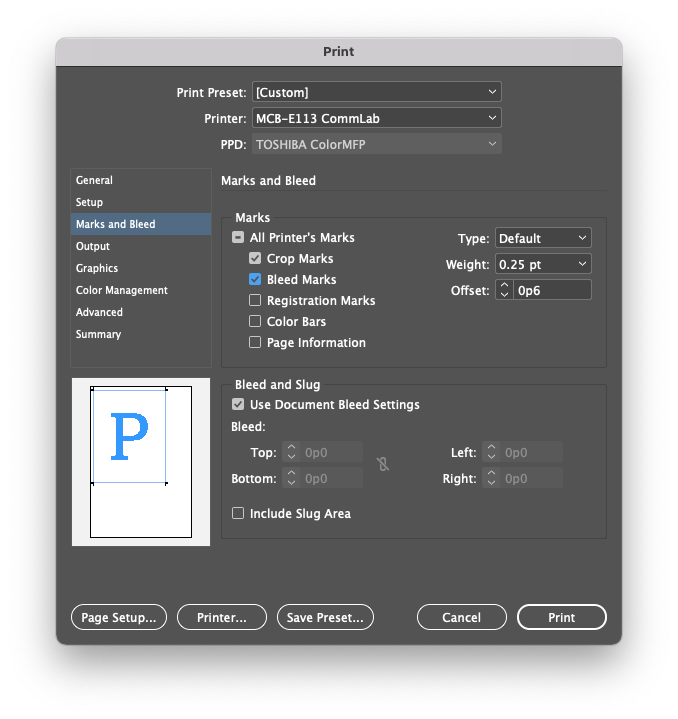
Marks and Bleed
This tab in the main print dialog allows you to print extra information or guide marks on your document.
Crop Marks: Prints lines on the outside of your document to show where to trim it. You can change the distance using the Offset.
Bleed Marks: Shows where the edge of the document bleed is.