
In this tutorial, I will be using the following image to demonstrate how to cut an image in Adobe Photoshop.

Step 1) Open the file in Photoshop and save it as a Photoshop file

Saving as a psd file will ensure that the quality of the image is not decreased every time you save.
Step 2) Duplicate the background layer

Right click on the background layer and select ‘Duplicate Layer.’ This is the layer we’ll be working on. Click on the ‘eye’ icon of the Background layer to hide it while you’re working.
Step 3) Select the Polygonal Lasso Tool from the toolbar
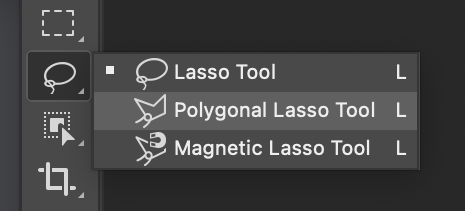
If not listed on the toolbar, look under Lasso (as seen above) by right clicking or holding down on the Lasso Tool icon.
Step 4) Cut out your image
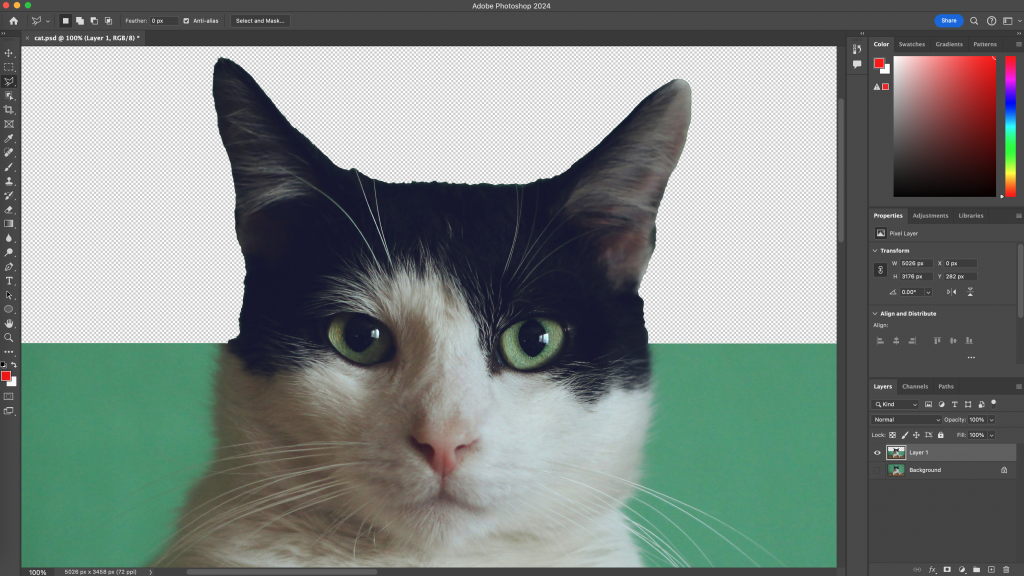
- Make small approximating points with the Polygonal Lasso Tool to trace over your image.
- When satisfied with a traced ‘chunk’ of your image, with the Polygonal Lasso Tool still selected, move your cursor past the edge of your image and make two clicks, one about the same height as the last point and another about the same height as your first point. Then move your cursor back to your initial starting point to close the selected area.
- Press delete to make the selection transparent.
- Press ‘Cmd + D’ to deselect the area.
Tip 1) Work close
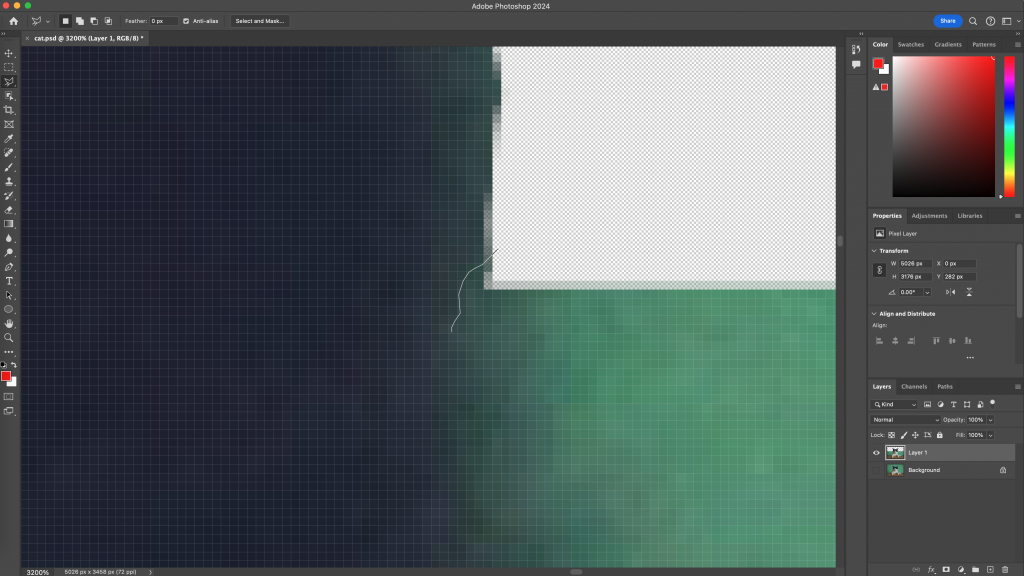
Zoom in so that you can see the individual pixels as you’re tracing your image. This way you can’t see any ‘rough edges’ and your end product looks more clean. It also makes it easier to see what you are doing.
Tip 2) Work in chunks
Working in chunks ensures that if you make a mistake when placing your points, you don’t have to deselect a large amount of work and start over.
Tip 3) It’s better to cut more than too little

It’s easy to notice a ‘ring’ around your image when you haven’t cut enough. It’s difficult to notice when you’ve cut a little too far in. See the green around the cat’s fur?
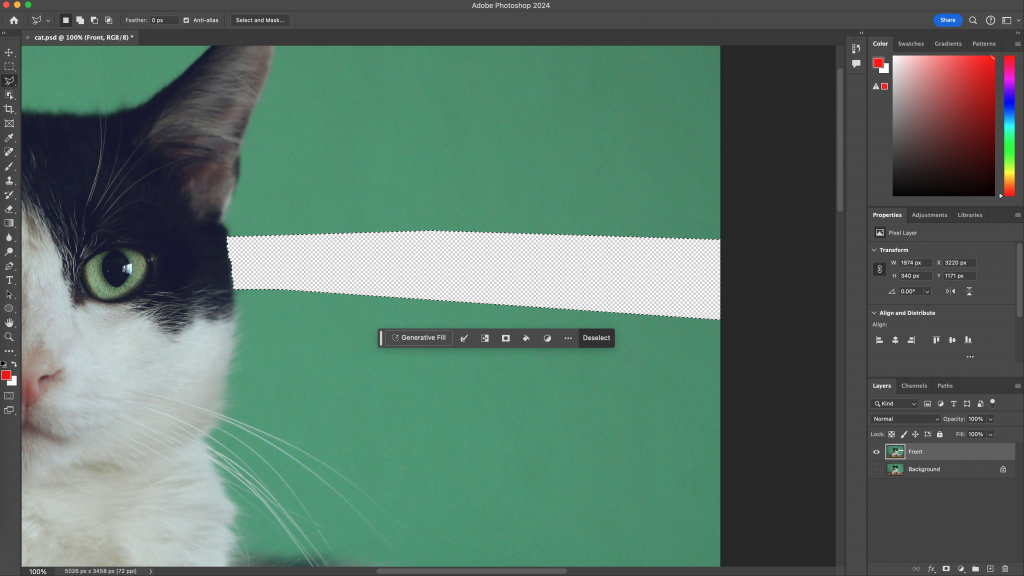
Trick 1) If you cut too much, paste from the Background layer


- Select the Background layer and click the ‘eye’ icon to make it visible.
- With the Polygonal Lasso Tool selected, trace over the part you want to add back in and do ‘Cmd + C’ and ‘Cmd + V.’
- The pasted portion should show up in your Layers. Select it and the Front layer. Right click and select ‘Merge Layers.’
Trick 2) Quick deselection by double clicking
If you need to quickly deselect an area due to a mistake, double clicking will instantly close the area and you can deselect using ‘Cmd + D.’