
FontExplorer X Pro is a software for finding and managing fonts, available on all lab computers. It works similarly to Adobe Fonts in that you can find and activate new fonts from a server.
Activating fonts from the server
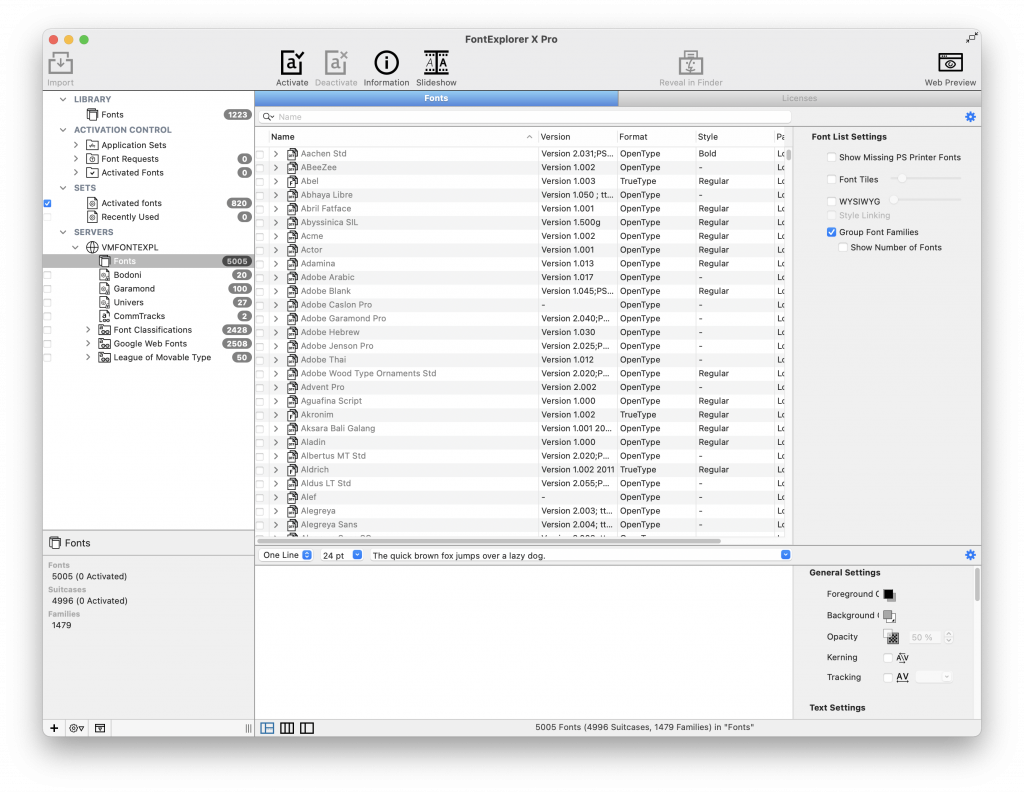
To add a font from the FontExplorer server, click on the SERVERS dropdown menu, select VMFONTEXPL, then Fonts. This will show a list of all the fonts available on the server.
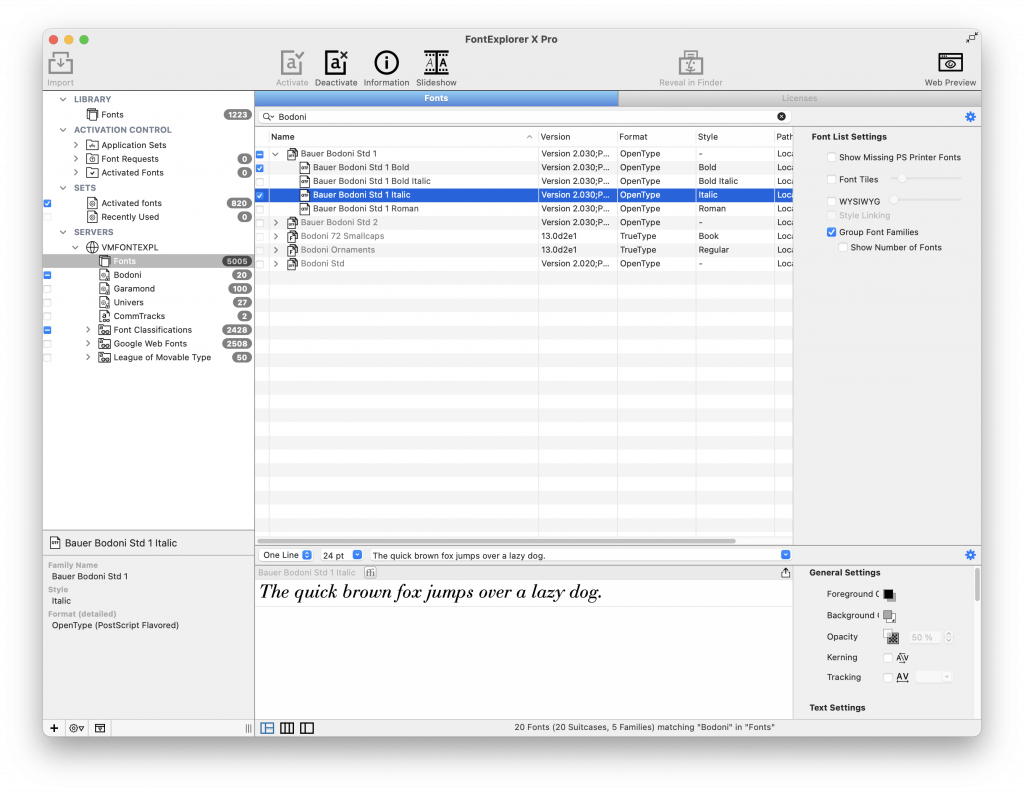
If you want to activate a specific font, start typing its name into the search bar. When you see the font you want, click on the checkbox next to its name to activate it. You can activate select styles from the font (e.g. italic, bold) by clicking the dropdown arrow next to the font’s name. Click on a style to preview it.
Adding downloaded fonts
You can also add fonts that you downloaded from other sources. Unzip the file that you downloaded and open the folder. There should be a list of font files inside.
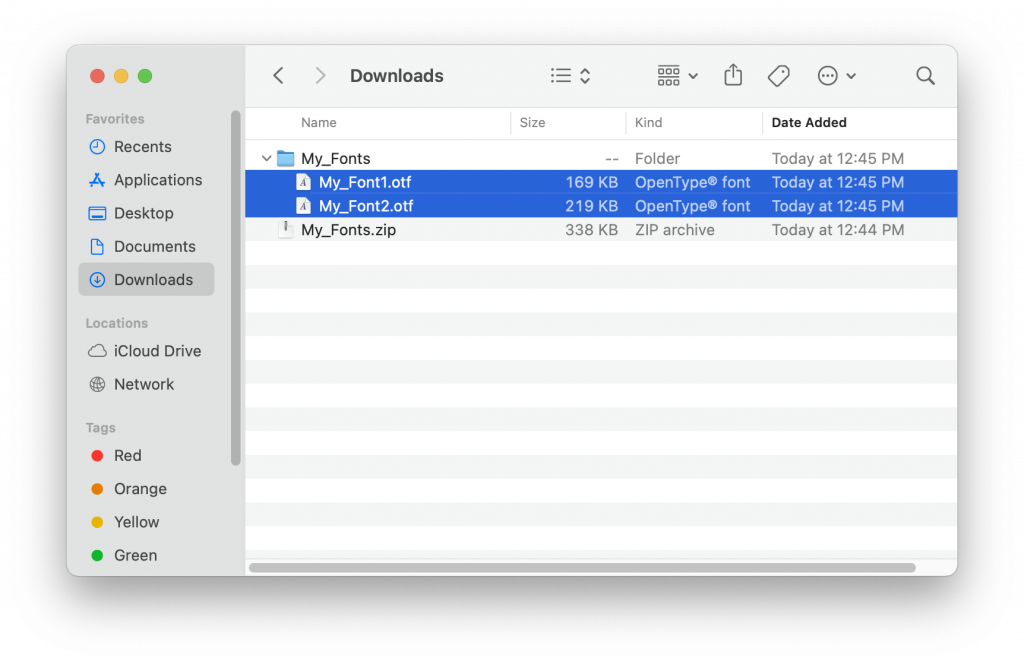
Select all of the ones you want to add to FontExplorer, then drag them onto the FontExplorer window until a green plus sign appears. This will add the fonts to Font Explorer so you can access them from InDesign or other software.
Troubleshooting
FontExplorer must be open and running in order for you to access your fonts. Don’t quit FontExplorer until you are ready to log off.
If you accidentally open another font management software, such as FontBook, it will conflict with FontExplorer and you will get this message. Click Proceed to quit FontBook and continue using your FontExplorer fonts.
