Turning Off Double-Sided Printing and Printing from the Bypass Tray

Print settings have changed slightly since the installation of the new computers. The instructions below will walk you through how to turn off double-sided printing and how to change setting to print from the bypass tray.

Turning Off Double-Sided Printing

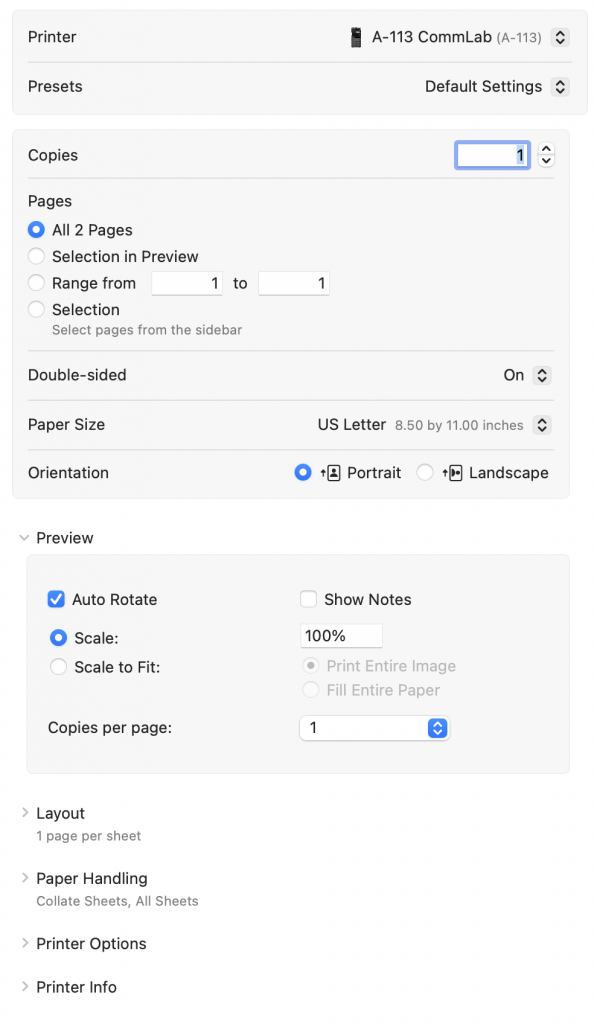
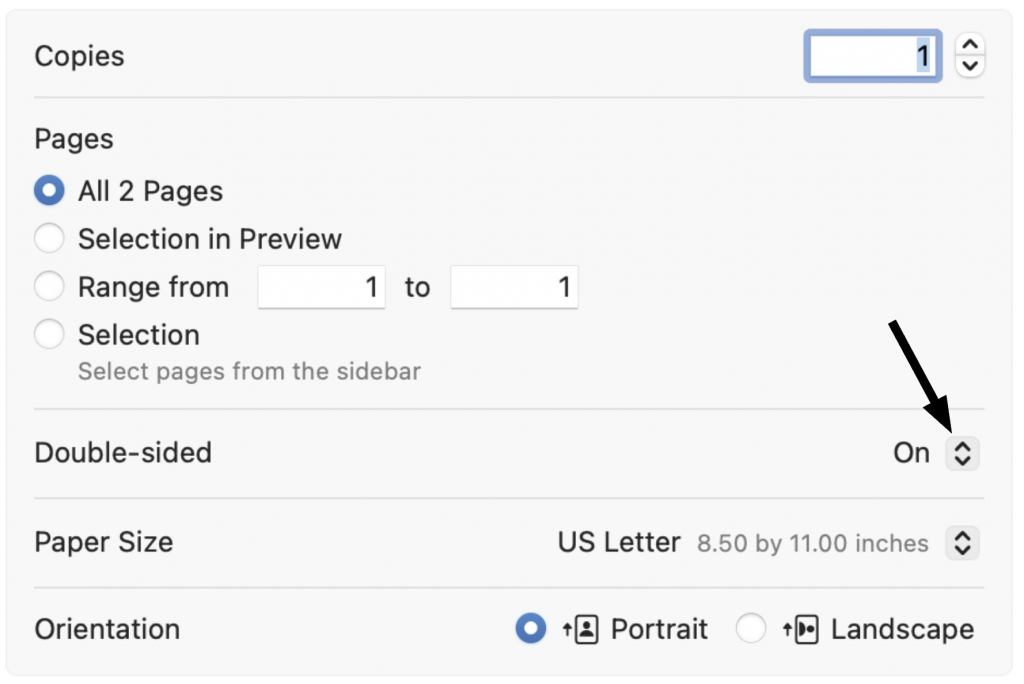
To turn off double-sided printing go to the Copies box, located at the top of the print screen.

On the right side of the Double-sided option click on the symbol with two arrowheads.

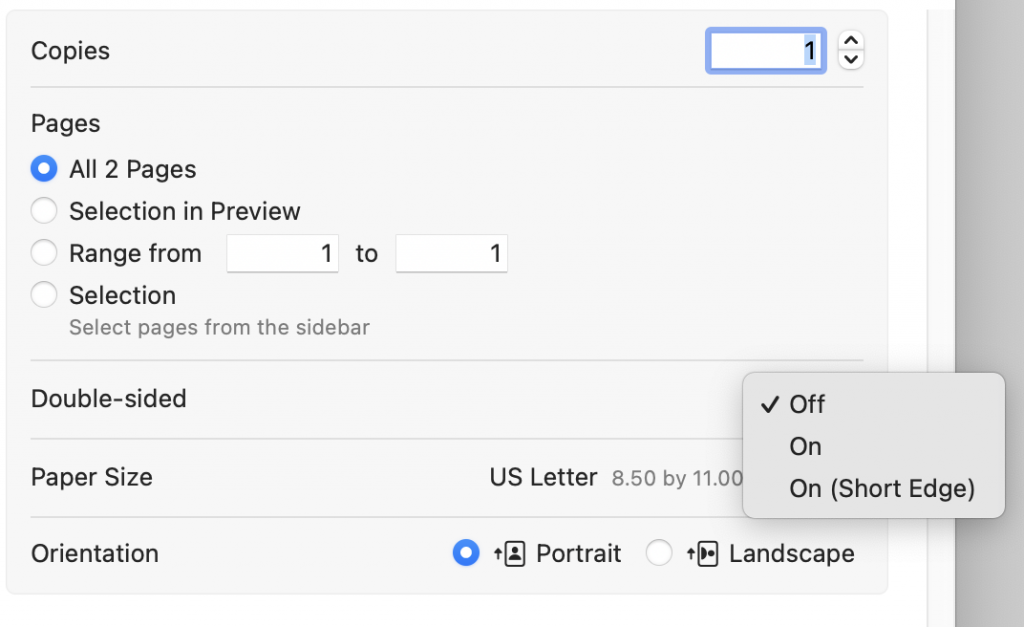
A drop down menu will appear. Select Off.

Printing from the Bypass Tray

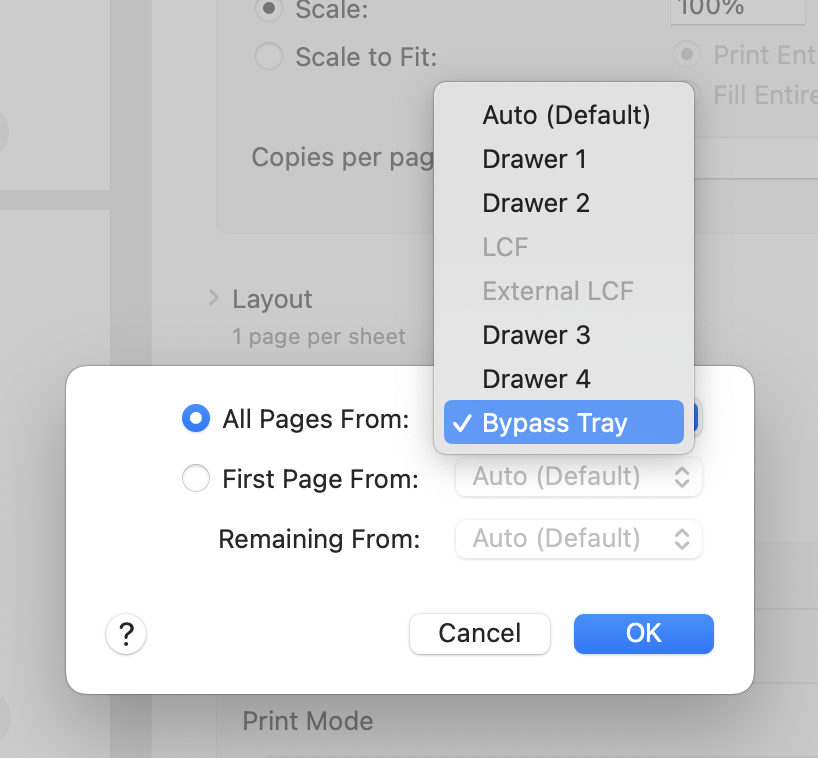
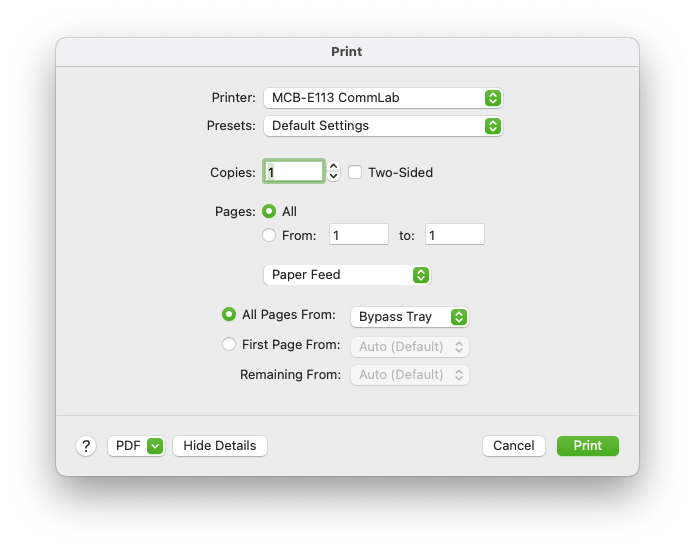
To print from the bypass tray expand the Printer Options menu item. Go to Paper Feed and click the information icon on the right hand side. A pop up box should appear.

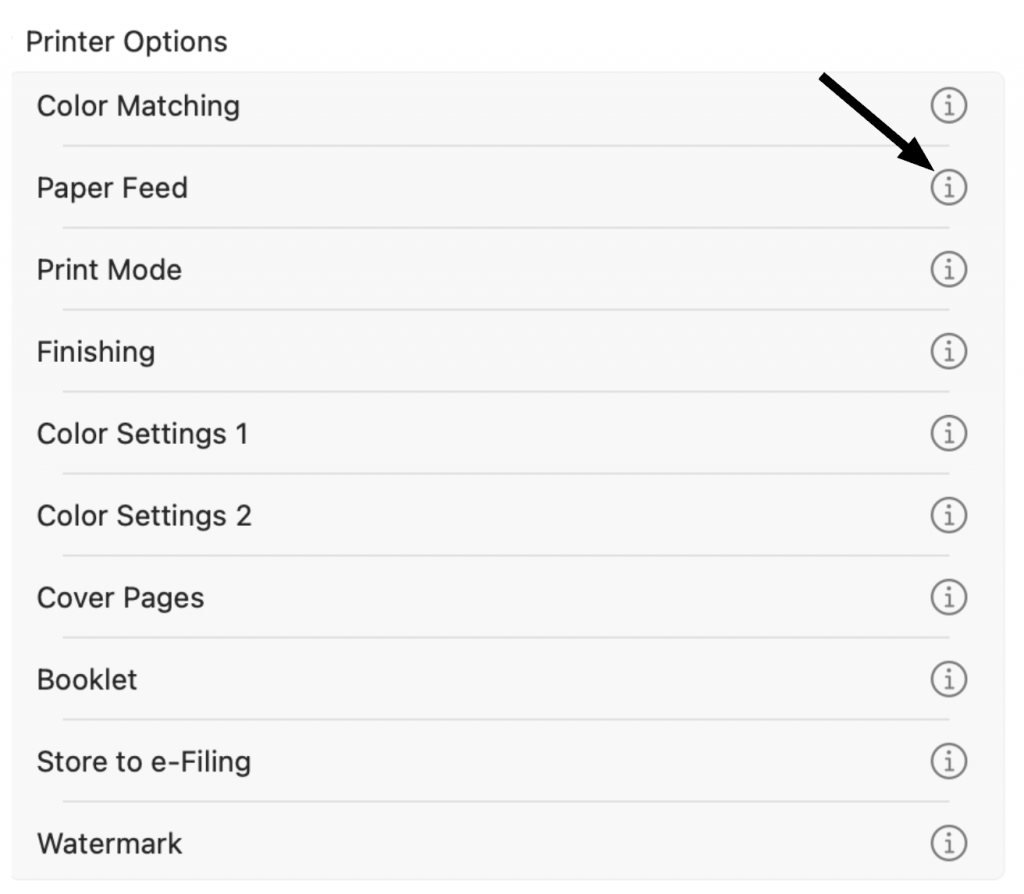
Click on the drop down menu and select Bypass Tray and select OK. Now when you go to print the document the printer will pull paper from the bypass tray.

How to Print From InDesign

InDesign gives you many options to control how your document prints, so you will need to pay attention to settings such as printer selection, paper size and feed, color profile, and page selection to make sure you get the results you want.

The Print Dialog

Open the print dialog box by going to File > Print. This is the main dialog for printing in InDesign and contains the following options:

  • Printer: Determines what printer the document will go to.
  • Page Range: Selects which pages will be printed. You can enter a range (e.g. 1-3), a list (e.g. 1, 2, 3), or a combination of the two (e.g. 1-3, 5).
  • Sequence: Determines whether pages will be printed individually (Pages) or as part of a spread (Spreads)
  • Printer…: Opens the printer settings dialog, which lets you select paper feed.

Printer Settings

The printer settings dialog lets you choose which paper tray the document will print from. If you are using the Epson printer in the lab, select Bypass Tray to load your own paper.

Setup

The Setup tab in the main print dialog lets you choose the paper size, position of the document on the page, and any tiling options you want.

  • Paper Size: Selects a paper size from a list of presets.
  • Page Position: Positions the document on the sheet with left/right align and centering.
  • Tile: Allows a large document to be printed over multiple smaller sheets of paper.

Marks and Bleed

This tab in the main print dialog allows you to print extra information or guide marks on your document.

  • Crop Marks: Prints lines on the outside of your document to show where to trim it. You can change the distance using the Offset.
  • Bleed Marks: Shows where the edge of the document bleed is.