Step 1) Open the file in Photoshop and save it as a Photoshop file
Saving as a psd file will ensure that the quality of the image is not decreased every time you save.
Step 2) Duplicate the background layer
Right click on the background layer and select ‘Duplicate Layer.’ This is the layer we’ll be working on. Click on the ‘eye’ icon of the Background layer to hide it while you’re working.
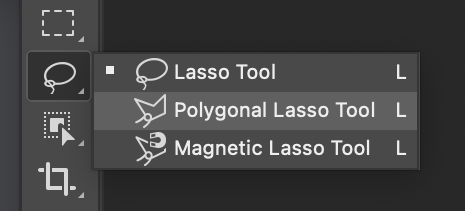
Step 3) Select the Polygonal Lasso Tool from the toolbar
If not listed on the toolbar, look under Lasso (as seen above) by right clicking or holding down on the Lasso Tool icon.
Step 4) Cut out your image
Make small approximating points with the Polygonal Lasso Tool to trace over your image.
When satisfied with a traced ‘chunk’ of your image, with the Polygonal Lasso Tool still selected, move your cursor past the edge of your image and make two clicks, one about the same height as the last point and another about the same height as your first point. Then move your cursor back to your initial starting point to close the selected area.
Press delete to make the selection transparent.
Press ‘Cmd + D’ to deselect the area.
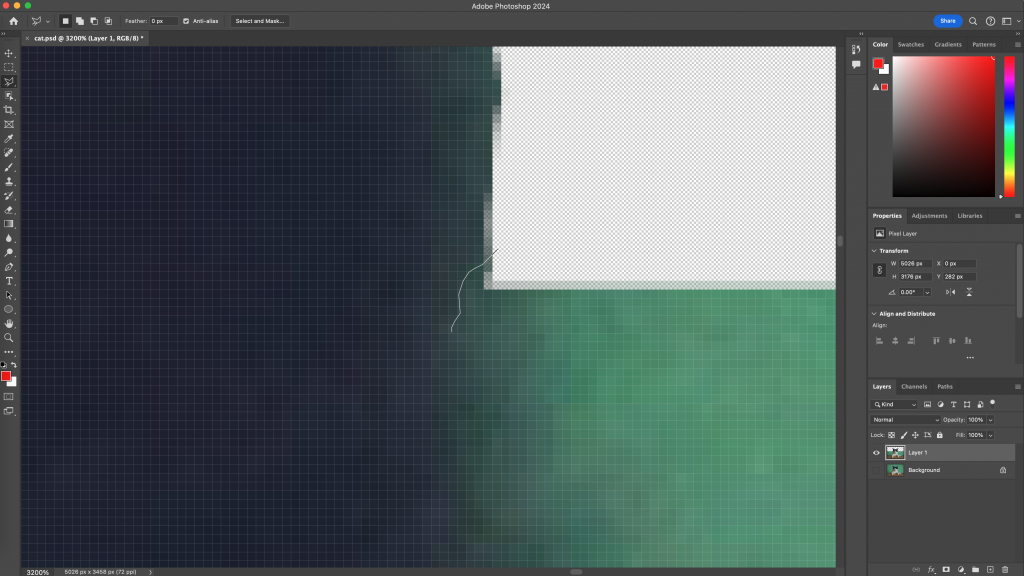
Tip 1) Work close
Zoom in so that you can see the individual pixels as you’re tracing your image. This way you can’t see any ‘rough edges’ and your end product looks more clean. It also makes it easier to see what you are doing.
Tip 2) Work in chunks
Working in chunks ensures that if you make a mistake when placing your points, you don’t have to deselect a large amount of work and start over.
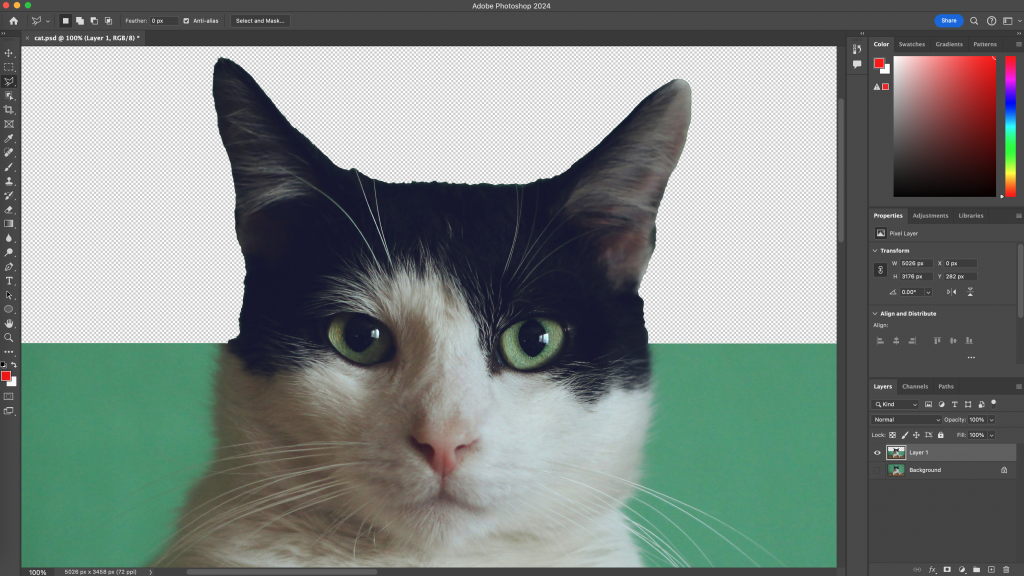
Tip 3) It’s better to cut more than too little
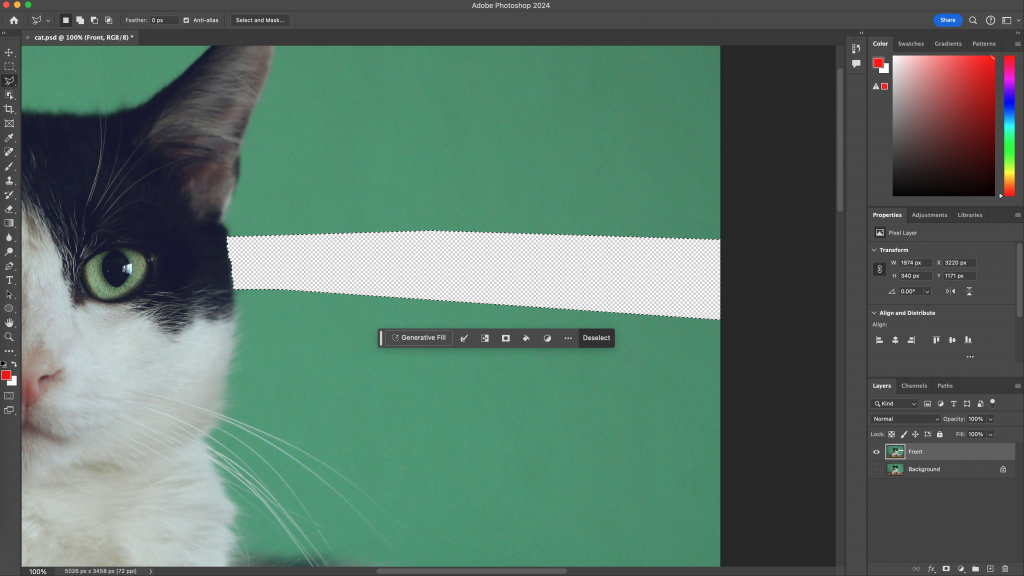
It’s easy to notice a ‘ring’ around your image when you haven’t cut enough. It’s difficult to notice when you’ve cut a little too far in. See the green around the cat’s fur?
Trick 1) If you cut too much, paste from the Background layer
Select the Background layer and click the ‘eye’ icon to make it visible.
With the Polygonal Lasso Tool selected, trace over the part you want to add back in and do ‘Cmd + C’ and ‘Cmd + V.’
The pasted portion should show up in your Layers. Select it and the Front layer. Right click and select ‘Merge Layers.’
Trick 2) Quick deselection by double clicking
If you need to quickly deselect an area due to a mistake, double clicking will instantly close the area and you can deselect using ‘Cmd + D.’
Let’s say you have created an awesome poster in InDesign and you want to feature it in your design journal. What are your options? You could save a picture of the poster as a PDF or JPEG and place that in your design journal document…or you could place the original InDesign file!
What are the advantages of this? Well, to start, any edits you make to your poster later are easily synced with the document you placed it in. You also don’t have to worry about what resolution or colors your JPEG file uses, because those will be retained from your InDesign document. So let’s get started!
Selecting a file
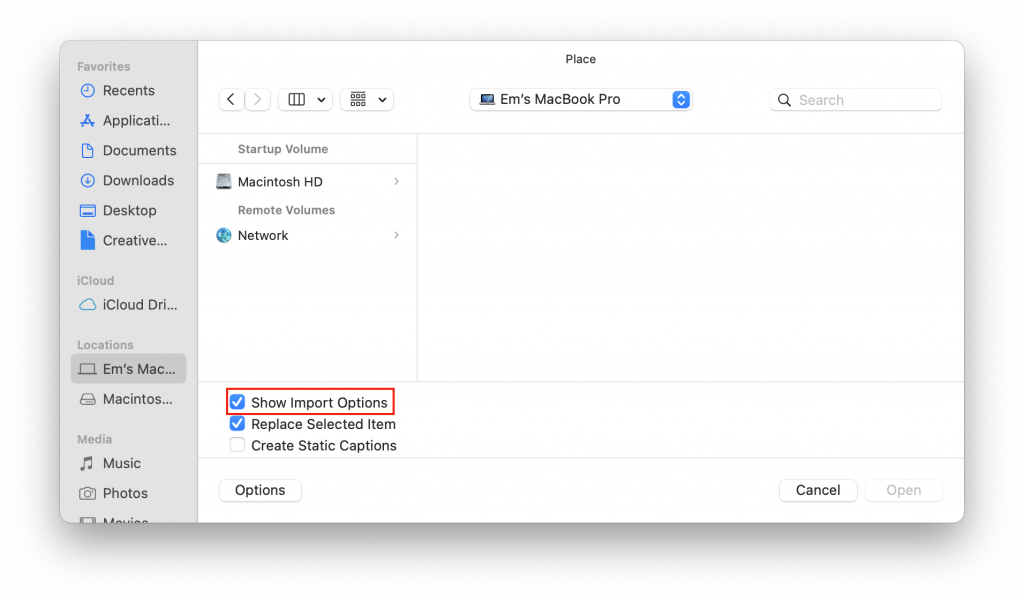
Just like placing any other object in your InDesign document, start by going to File > Place. Navigate to the file you want to use. Before you open it, click the Options button and check the box labeled Show Import Options. Then click Open. If you don’t check this box, InDesign will place the first page of your document by default.
Selecting pages
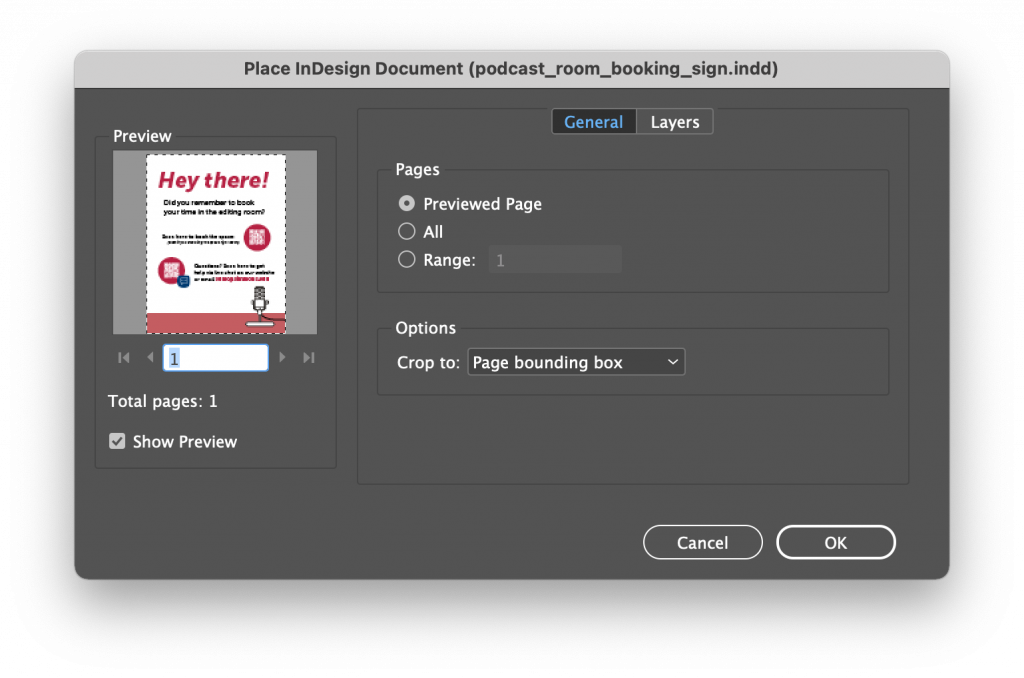
By default, InDesign will place the first page of the document. If you want to place a different page, or more than one page, you can do so in this dialog box:
Previewed Page places the page you see in the preview panel. You can changed the previewed page by clicking on the arrow buttons on the bottom.
All Pages places each page in the document, one after the other.
Page Range allows you to select a single page by its page number, or a range of pages. Entering 2 will give you page 2, entering 3-5 will give you pages 3, 4, and 5, and entering 3, 5 will give you pages 3 and 5.
Placing pages
Once you have selected the pages you want to place, click OK. The first page you selected is now attached to your cursor. Click and drag to draw a frame and the page will automatically be placed inside (clicking once places the page at full size). If you selected more than one page, your cursor will have the next page ready to go on your next click. If you selected too many pages, you can press Esc to cancel.
Changing the page
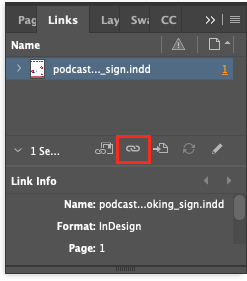
If you want to change which page you place, select its frame and open the Links panel (Window > Links). Click the chain icon to Relink. This will let you select the file again and change the pages that you import. You can also relink the file in the Properties panel (Window > Properties) by clicking the Import File button under Quick Actions.
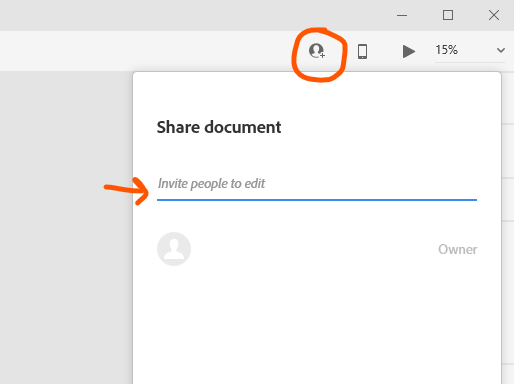
Invite faculty and staff to access your design file by entering their name or email address. Be sure to use your student login in order to successfully find people by name.
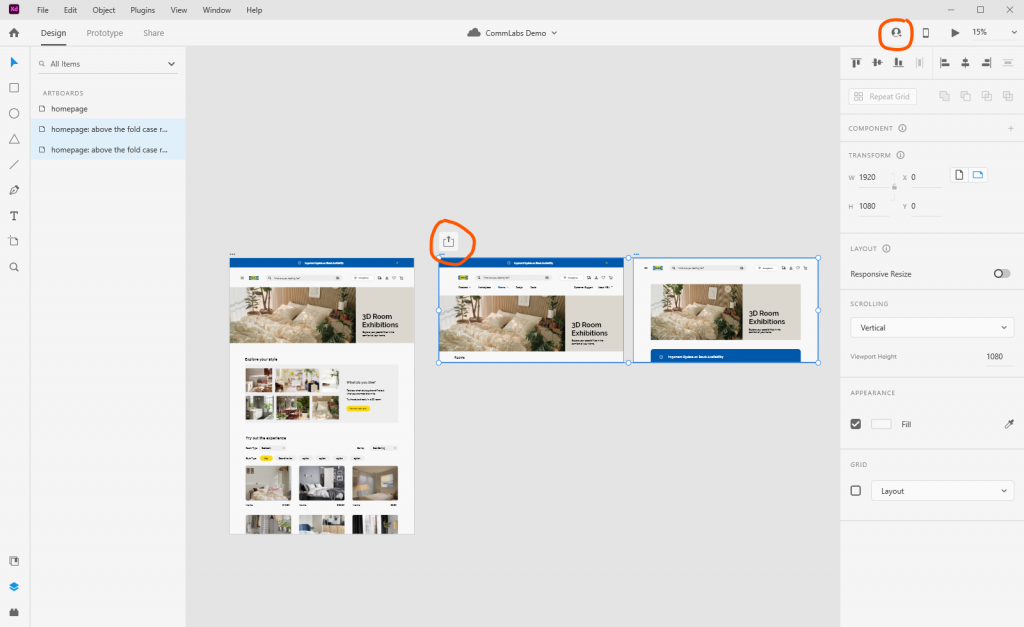
Click on the icon to show the “Share document” popup
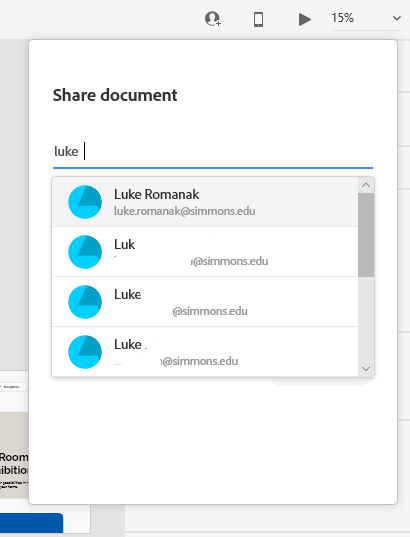
Option 1. Find the Simmons faculty, staff, or student you want to give edit access to
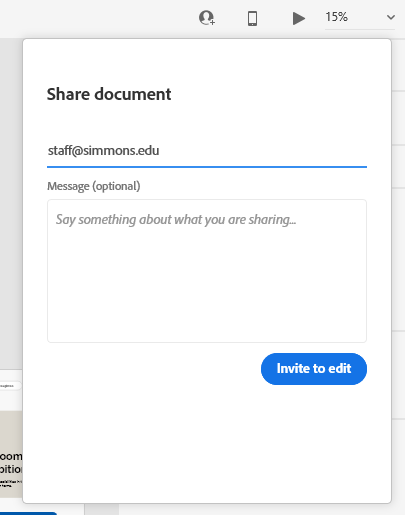
Option 2. Type their email
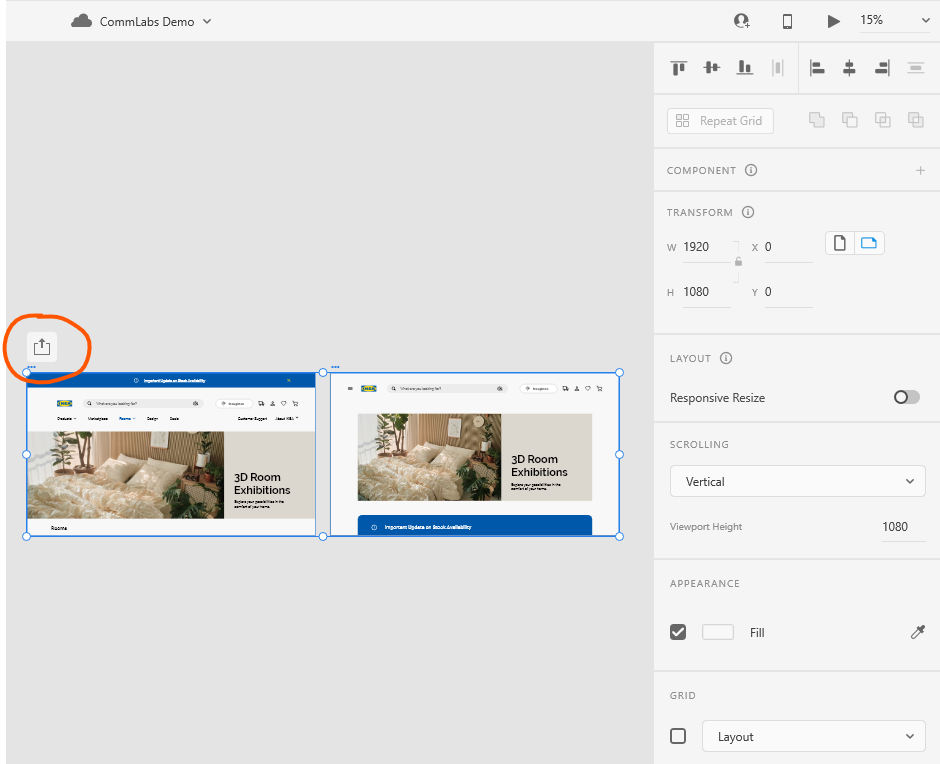
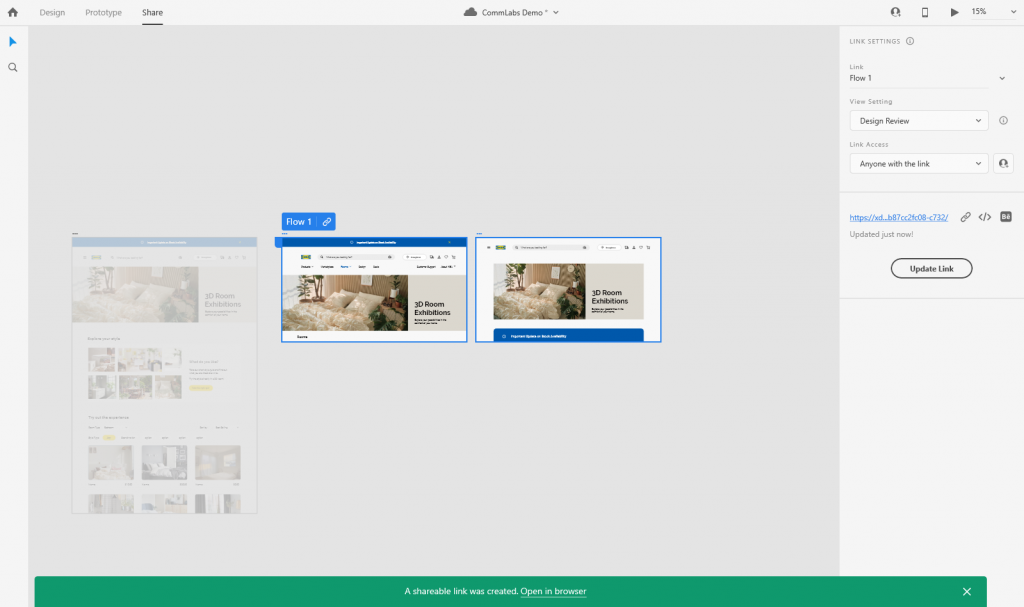
Sharing a selection of artboards
Share select artboards so they can access only these designs for comment and review.
You’re now directed to the Share mode where you can name your link, set its intention (design review, user testing, send to the development team, or presentation). Note: If you update your designs after creating the link, you must update the link.
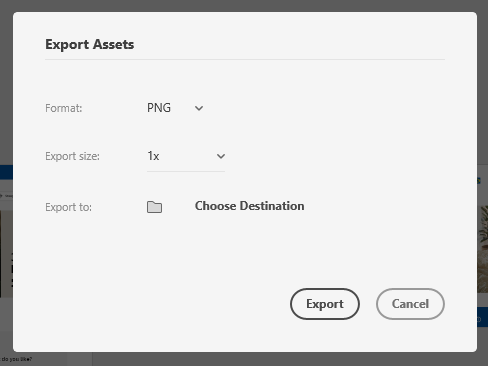
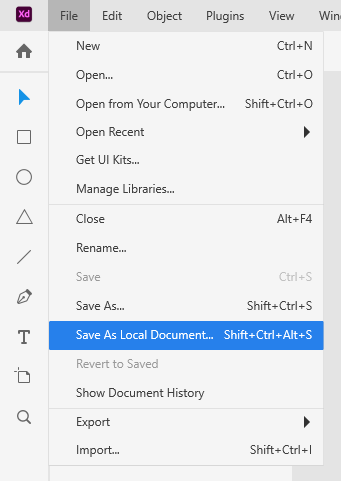
Select an object or an artboard, navigate to File > Export or press Cmd + E.
Windows
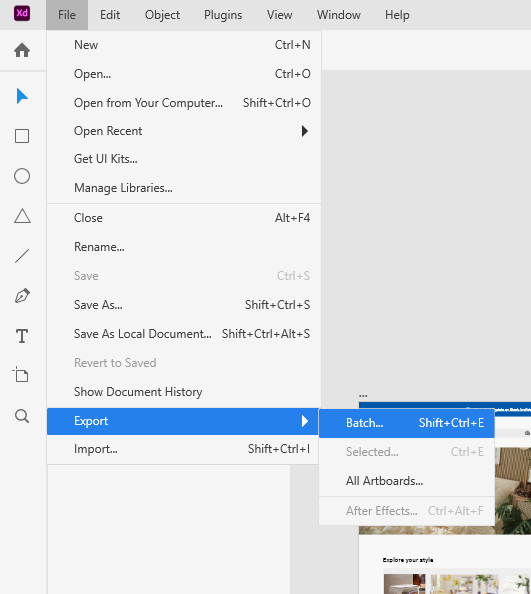
Select an object or an artboard and navigate to File > Export.
Batch: You can batch export assets that are marked using Mark for Export option in the Property Inspector. To export multiple objects as a single asset, group the objects before export.
Selected: You can select and export specific assets.
All artboards: You can select all the artboards for export in a design project.
After Effects: You can select the asset to export to After Effects.
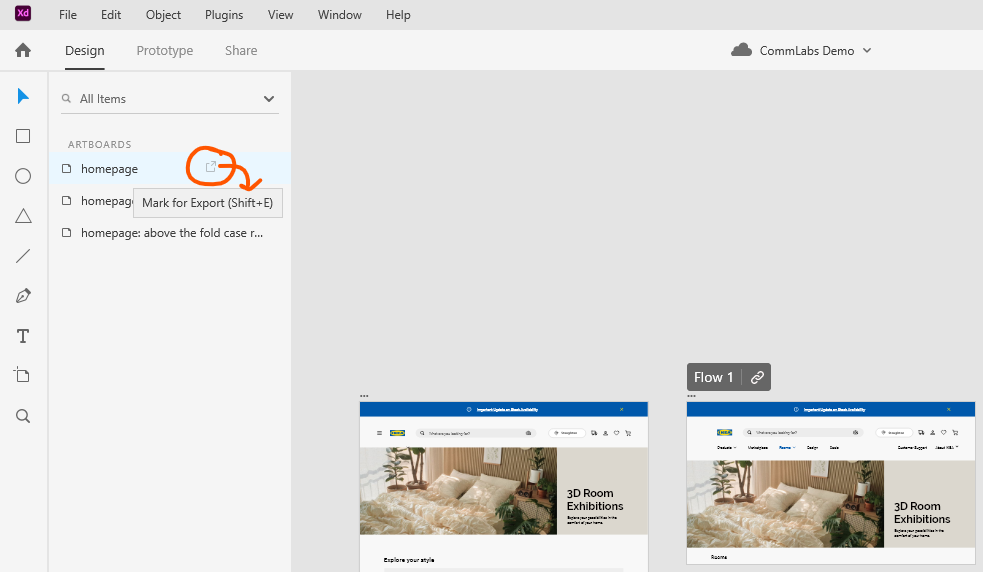
Mark artboards for batch export
Go to your Layers panel (hotkeys: CTRL + Y) to view your list of artboards
Hover over an artboard to show the Mark for Export symbol or use the keys Shift + E. Click on the button.
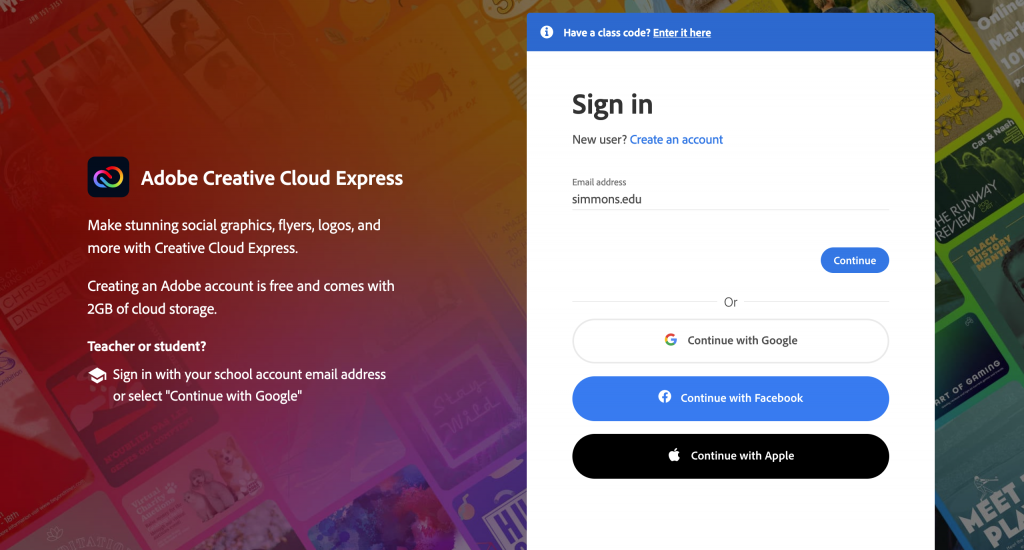
Creative Cloud Express (formerly known as Adobe Spark) is Adobe’s web-based platform for content creation. You can use it to create websites, presentations, and more. Here’s how to log in with your Simmons account to use this service.
2. In the box that for your email address, type simmons.edu only (NOT your Simmons email address) and hit Continue. This will redirect you to the Simmons SSO page.
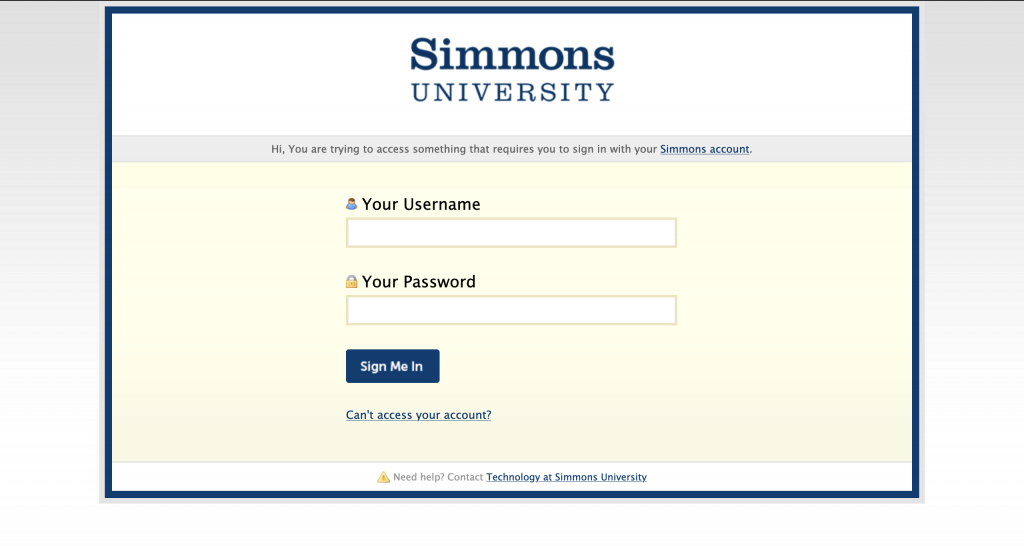
3. Enter your Simmons account info. Once you log in, you will be redirected back to Adobe.
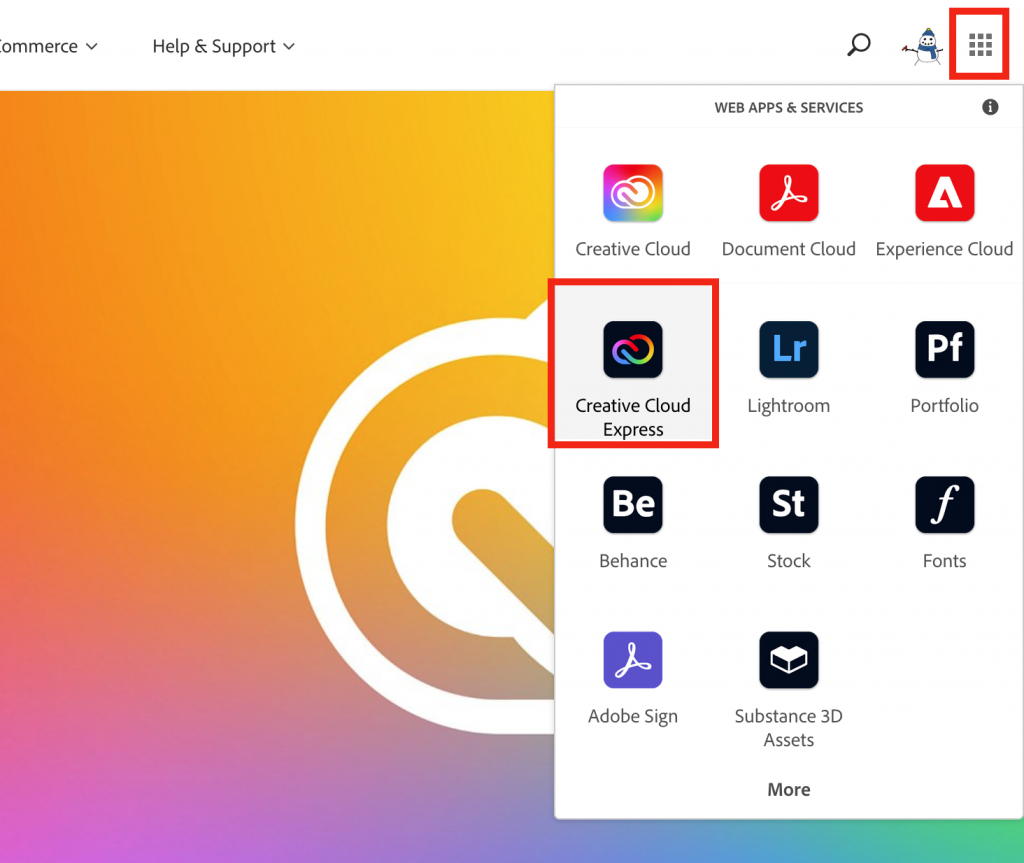
If you are already logged into adobe.com, you can access Express and other web-based services from the apps menu.