Placing an InDesign Document in InDesign

Let’s say you have created an awesome poster in InDesign and you want to feature it in your design journal. What are your options? You could save a picture of the poster as a PDF or JPEG and place that in your design journal document…or you could place the original InDesign file!

What are the advantages of this? Well, to start, any edits you make to your poster later are easily synced with the document you placed it in. You also don’t have to worry about what resolution or colors your JPEG file uses, because those will be retained from your InDesign document. So let’s get started!

Selecting a file

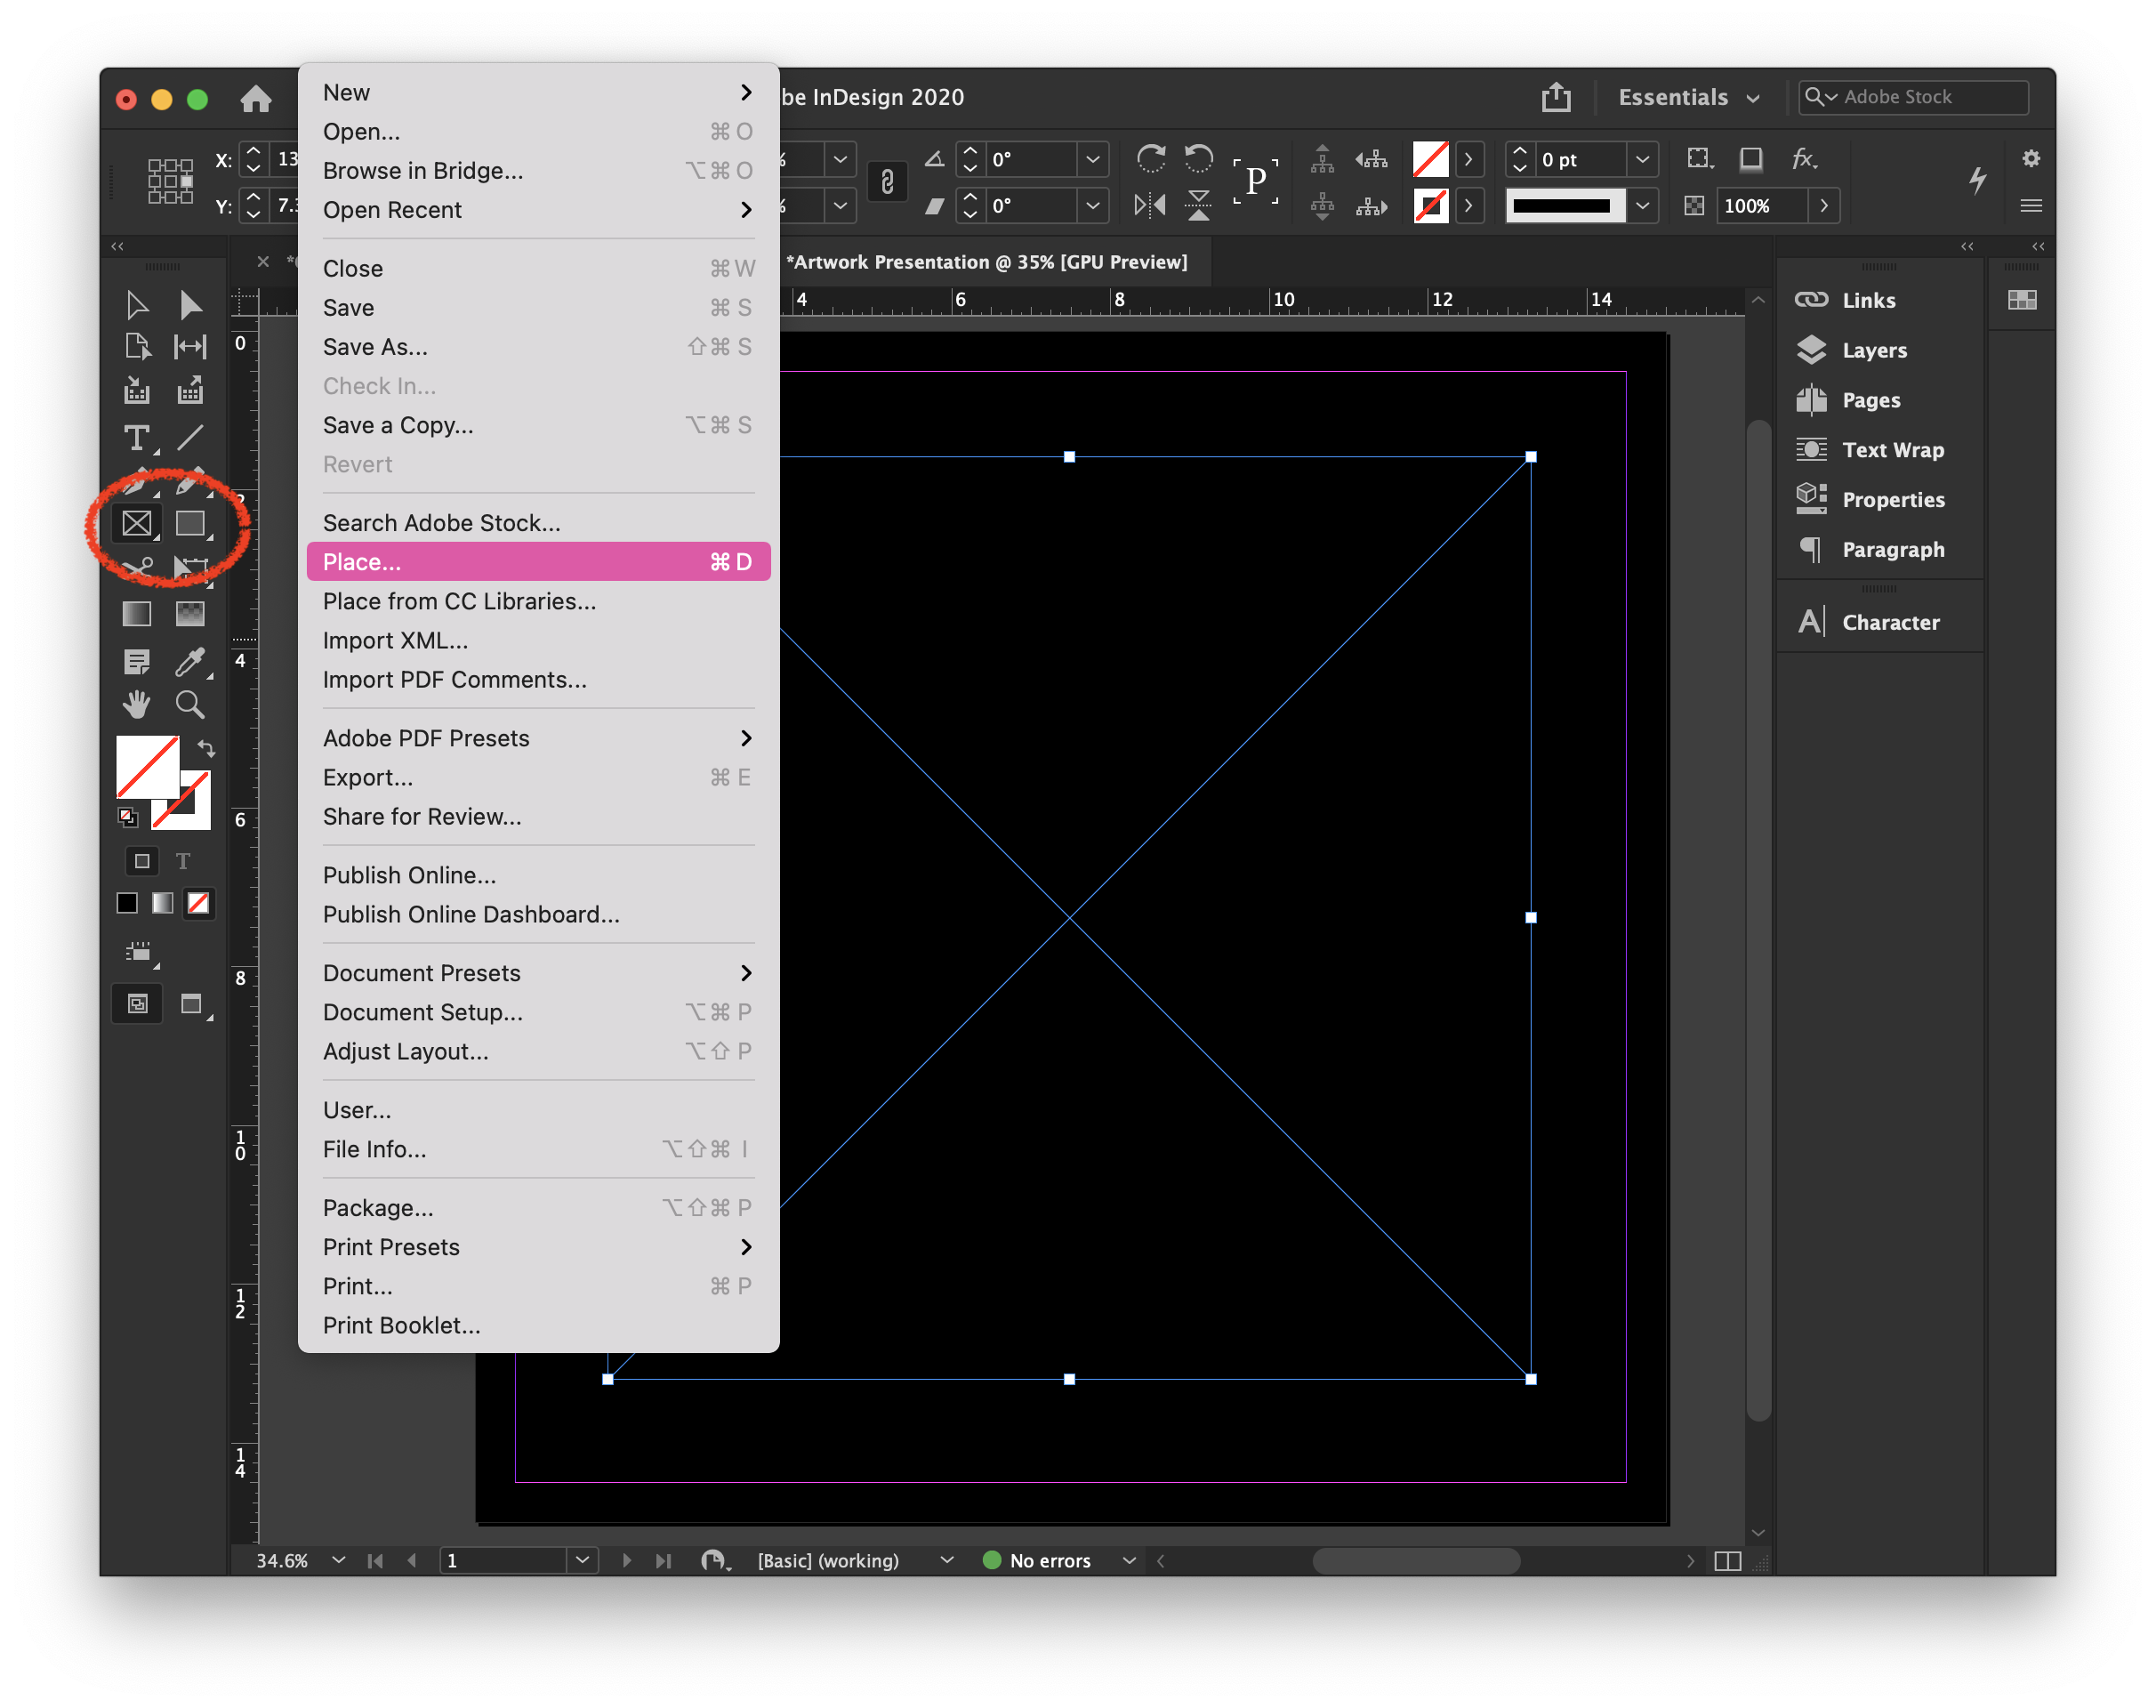
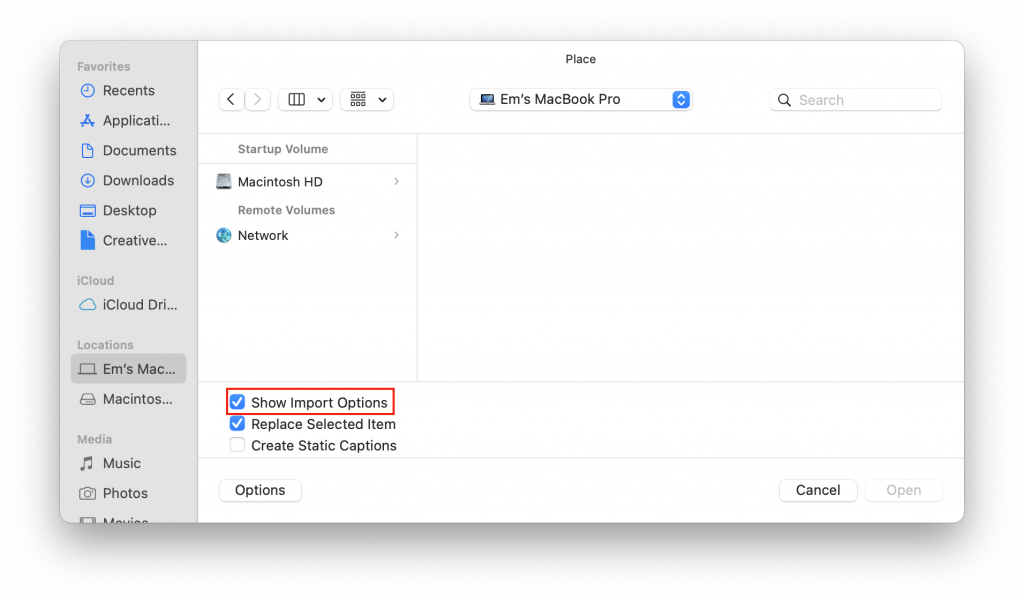
Just like placing any other object in your InDesign document, start by going to File > Place. Navigate to the file you want to use. Before you open it, click the Options button and check the box labeled Show Import Options. Then click Open. If you don’t check this box, InDesign will place the first page of your document by default.

Selecting pages

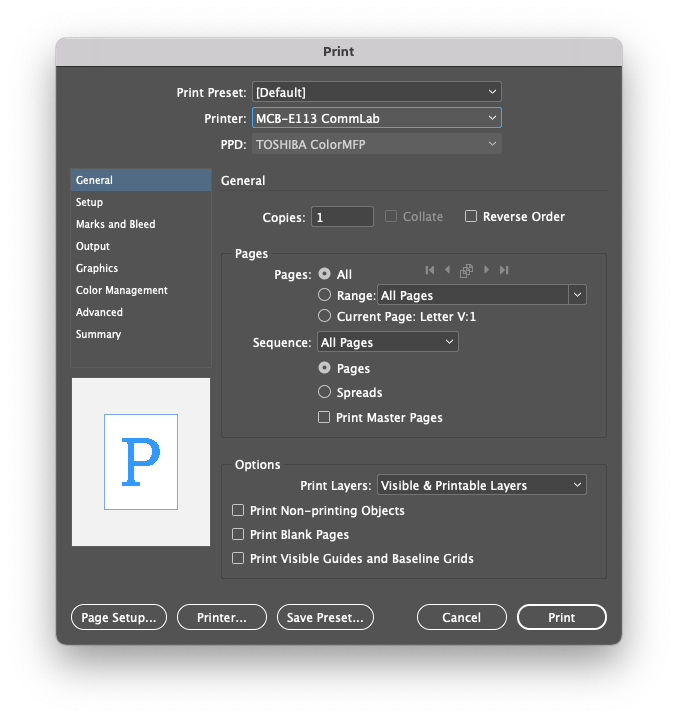
By default, InDesign will place the first page of the document. If you want to place a different page, or more than one page, you can do so in this dialog box:

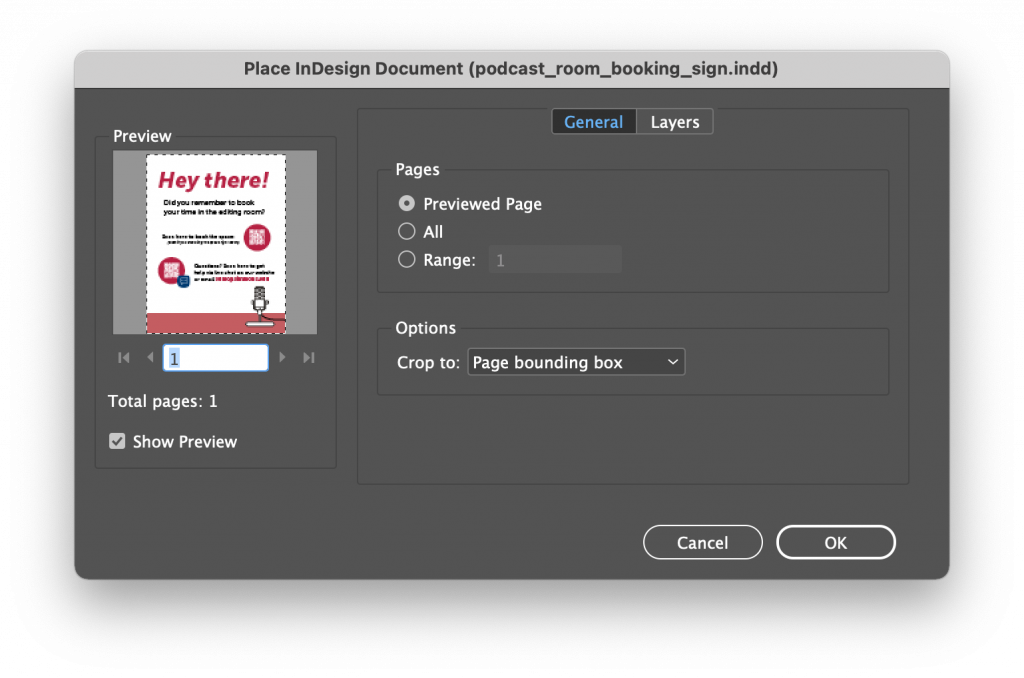
  • Previewed Page places the page you see in the preview panel. You can changed the previewed page by clicking on the arrow buttons on the bottom.
  • All Pages places each page in the document, one after the other.
  • Page Range allows you to select a single page by its page number, or a range of pages. Entering 2 will give you page 2, entering 3-5 will give you pages 3, 4, and 5, and entering 3, 5 will give you pages 3 and 5.

Placing pages

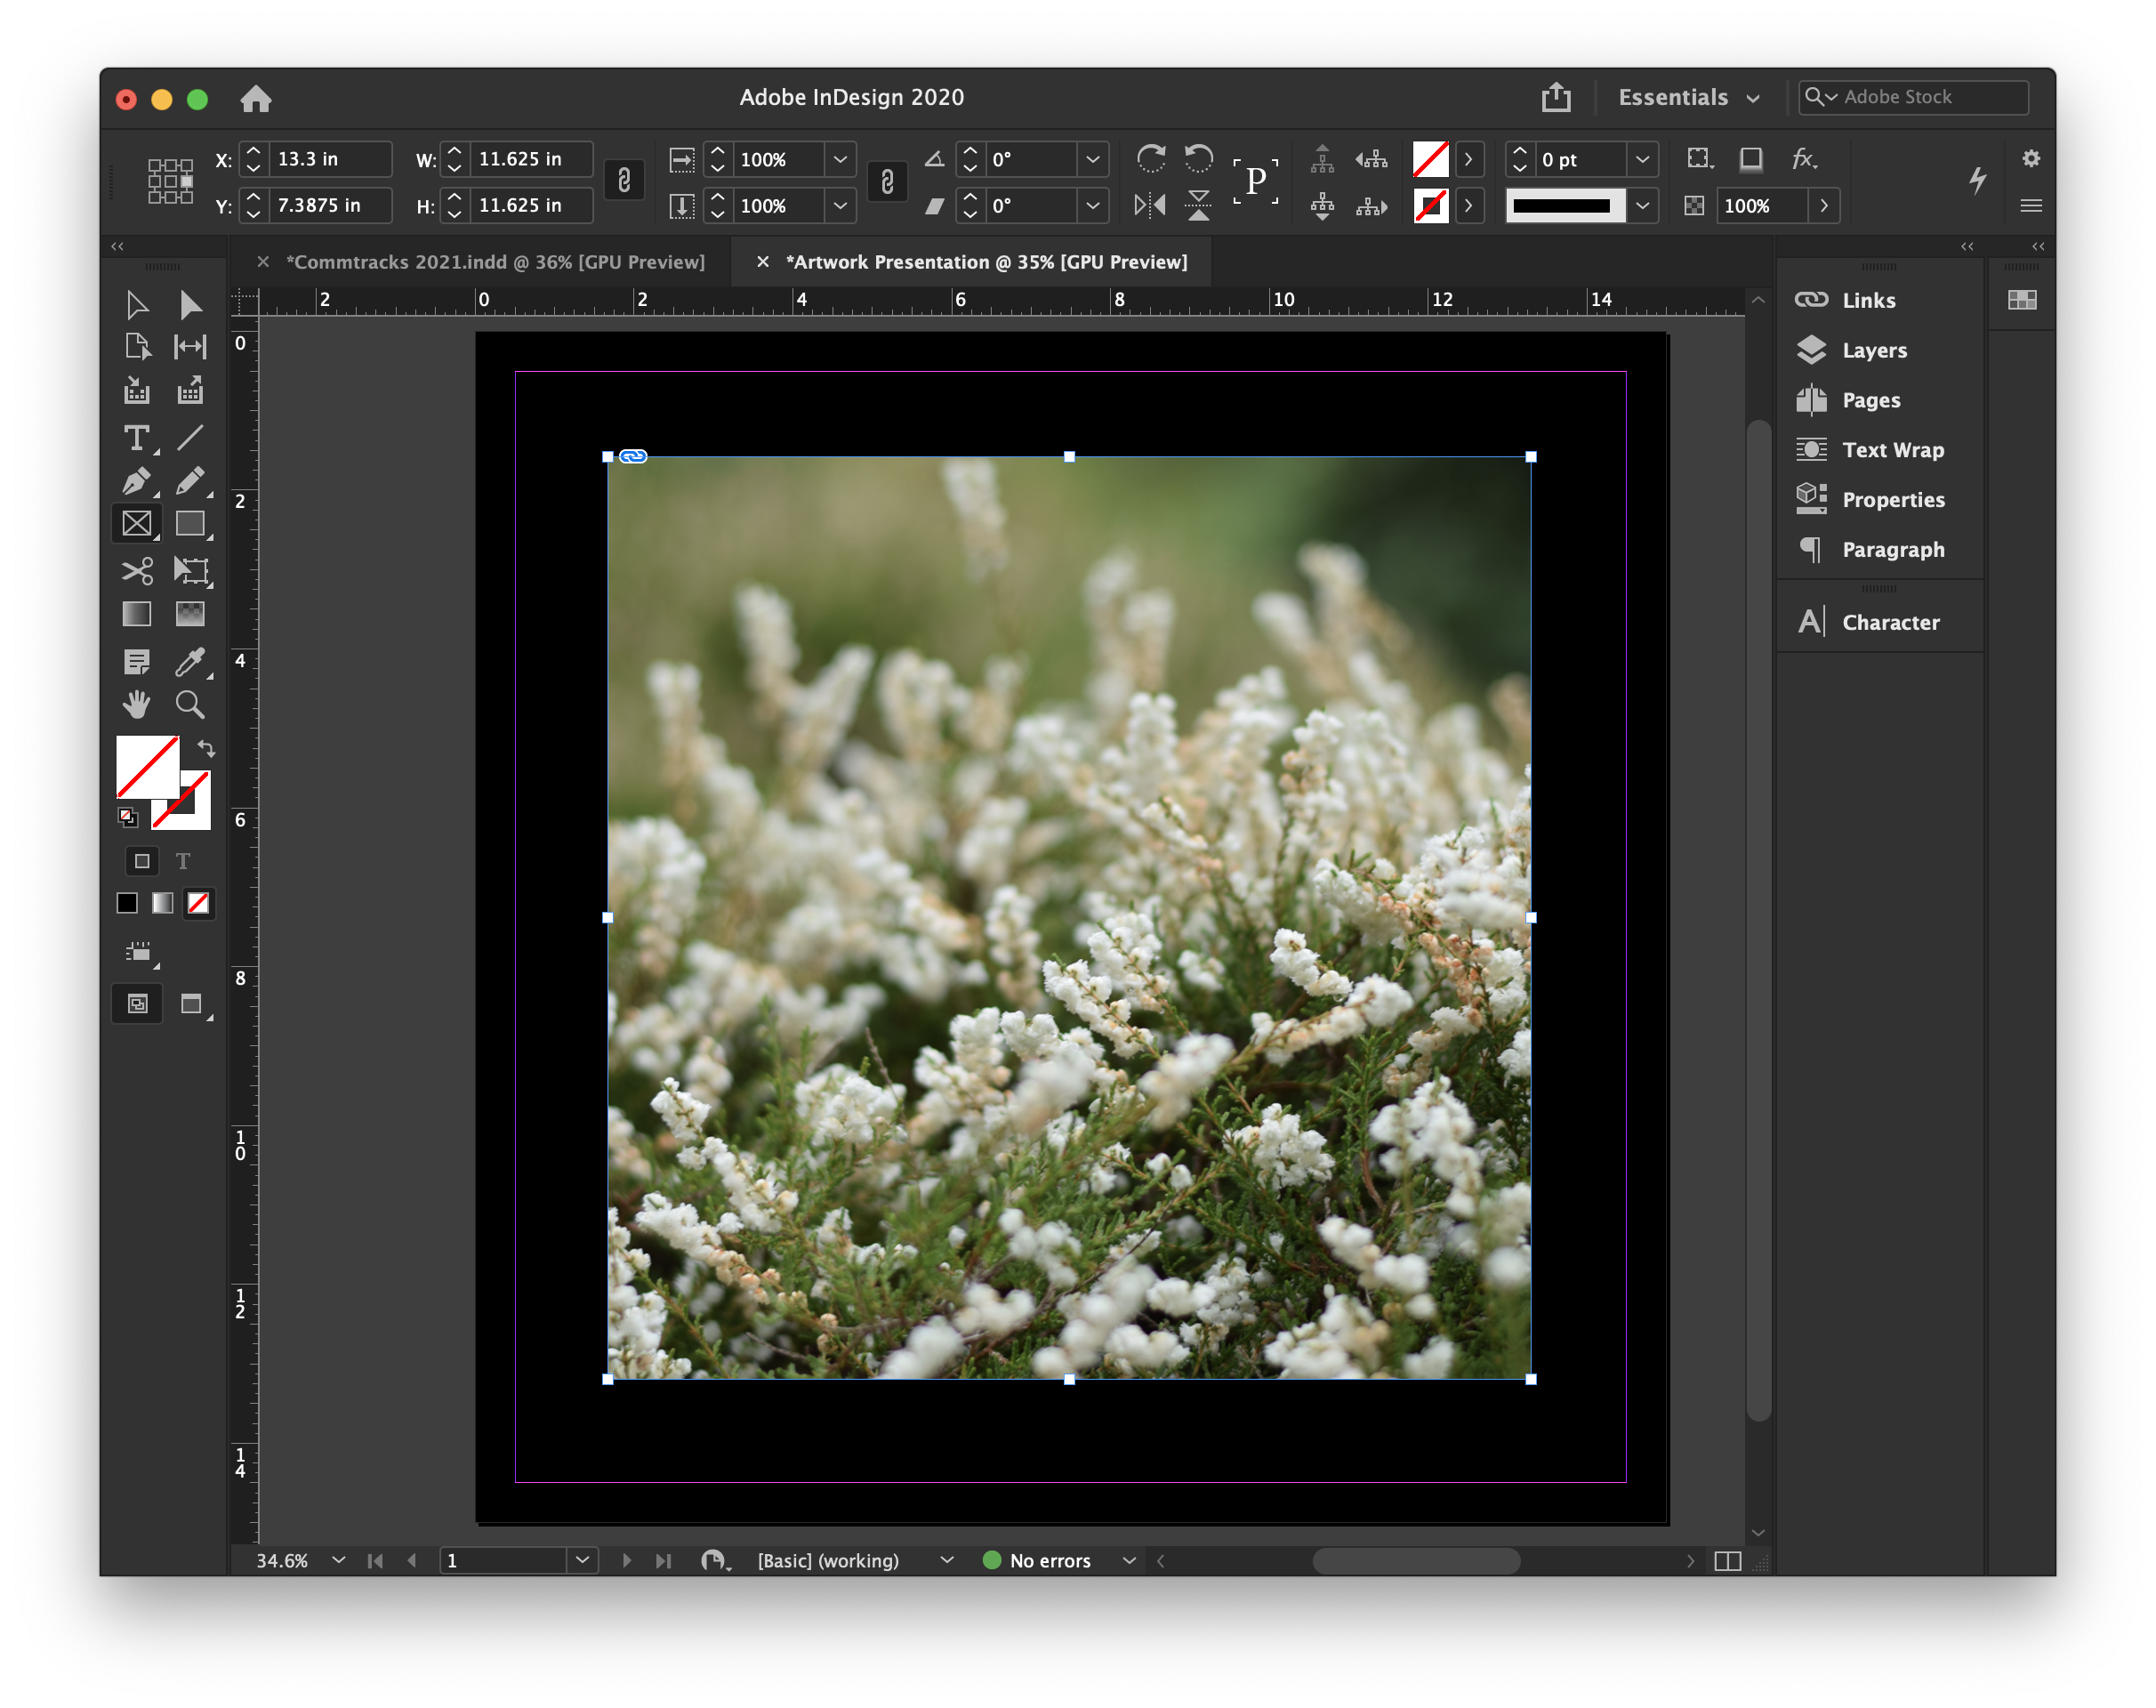
Once you have selected the pages you want to place, click OK. The first page you selected is now attached to your cursor. Click and drag to draw a frame and the page will automatically be placed inside (clicking once places the page at full size). If you selected more than one page, your cursor will have the next page ready to go on your next click. If you selected too many pages, you can press Esc to cancel.
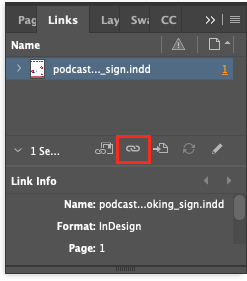
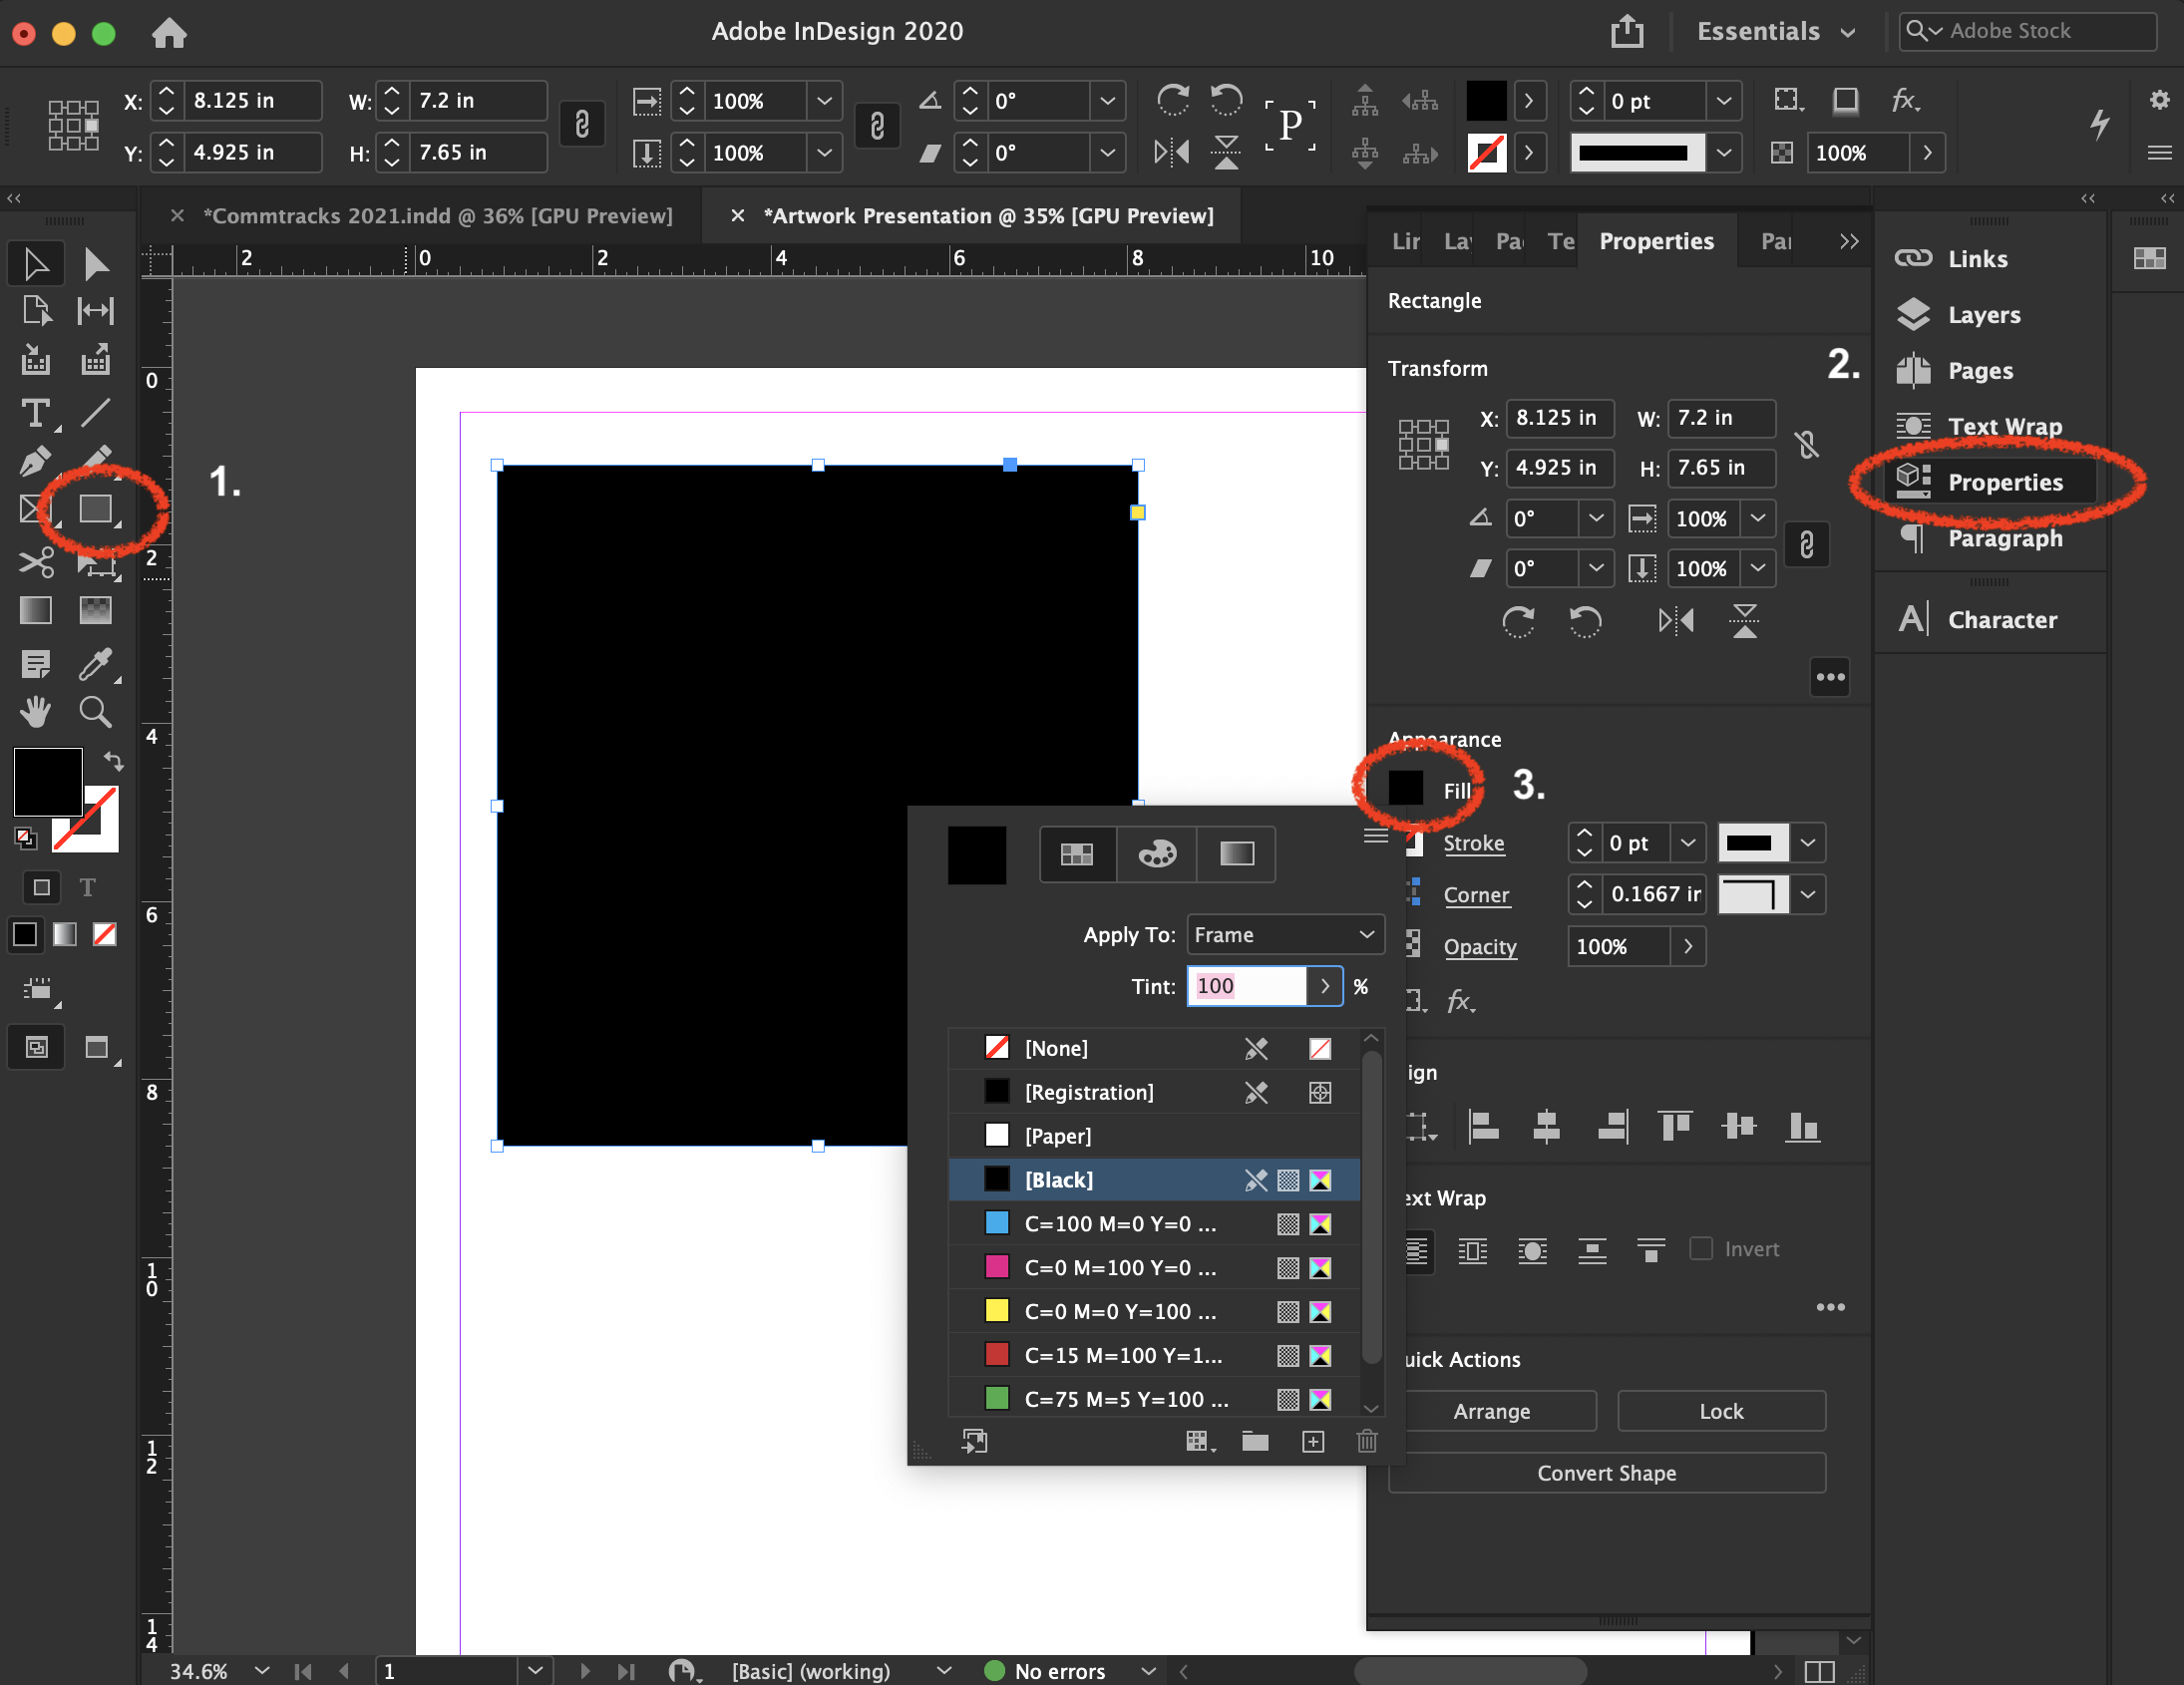
Changing the page

If you want to change which page you place, select its frame and open the Links panel (Window > Links). Click the chain icon to Relink. This will let you select the file again and change the pages that you import. You can also relink the file in the Properties panel (Window > Properties) by clicking the Import File button under Quick Actions.

Share for Review on InDesign

Setup your design document for review

Step 1. Click on the share icon on the top right section of the navigation. It’s located on the left side of the workspace dropdown menu.

Step 2. Click on share for review

Step 3. Give your design a title, then click “Create” on the bottom right

From this point forward, you have 2 options to share your document: 1) Invite members or 2) Send a weblink

Option 1: Invite members to review your design

Step 1. Click on “Add People”

Step 2. Type out the reviewer’s name or email

Optional Step 3. Send a comment

If you’re signed into InDesign through your Simmons account (and completed the 2 Factor Authentication), you can type the name of the student or faculty.

Step 4. Submit the invitation by clicking on the button, “Invite to view”, on the bottom right

What does the InDesign invite look like for people who were added manually?

Option 2: Share a public web link

Step 1. Copy the URL to your clipboard by clicking on the icon on the left of the address.

In other words, if you click on the clipboard icon that’s on the left of the blue text, this will act as a “CTRL+C”/”CMD+C” copy shortcut.

Note: If you click on the blue text, it will open the design review in a new browser.

Step 2. Paste (CTRL+V or CMD+V) the link anywhere you want

Caution! Every time you update your design, you need to update the link and reshare this to people.

How to Print From InDesign

InDesign gives you many options to control how your document prints, so you will need to pay attention to settings such as printer selection, paper size and feed, color profile, and page selection to make sure you get the results you want.

The Print Dialog

Open the print dialog box by going to File > Print. This is the main dialog for printing in InDesign and contains the following options:

  • Printer: Determines what printer the document will go to.
  • Page Range: Selects which pages will be printed. You can enter a range (e.g. 1-3), a list (e.g. 1, 2, 3), or a combination of the two (e.g. 1-3, 5).
  • Sequence: Determines whether pages will be printed individually (Pages) or as part of a spread (Spreads)
  • Printer…: Opens the printer settings dialog, which lets you select paper feed.

Printer Settings

The printer settings dialog lets you choose which paper tray the document will print from. If you are using the Epson printer in the lab, select Bypass Tray to load your own paper.

Setup

The Setup tab in the main print dialog lets you choose the paper size, position of the document on the page, and any tiling options you want.

  • Paper Size: Selects a paper size from a list of presets.
  • Page Position: Positions the document on the sheet with left/right align and centering.
  • Tile: Allows a large document to be printed over multiple smaller sheets of paper.

Marks and Bleed

This tab in the main print dialog allows you to print extra information or guide marks on your document.

  • Crop Marks: Prints lines on the outside of your document to show where to trim it. You can change the distance using the Offset.
  • Bleed Marks: Shows where the edge of the document bleed is.

Artwork Presentation in InDesign

Open up InDesign and enter in your values for your document settings. If you are placing your photograph or artwork onto a 15×15 inch black square, see the image below for the preset details. Once you’re happy, click “Create”.

With the rectangle tool, create a square to cover your whole board, go into the “Properties” panel and set the color to your what you need.

To place your artwork or photography, select either the Frame Tool or Rectangle Tool, hold “SHIFT” as your click and drag where you want your image to be. Click “File” and “Place” to insert your image (or Command/Control+D).

Use the “Align” tool under the “Properties” panel to center your elements. Now you’ve successfully placed your work into InDesign.

Template Set-Up and Marble Effect for Zines in InDesign

This tutorial walks you through multiple set-ups for your zine, the marble effect, and font design in InDesign.

Download the templates and fonts to replicate the design. The marble effect can add a unique, contemporary feel to all your zines. Configuring your template first will help your zine look professional and uniform.

Happy creating!