Printing a color image in black and white can make it look washed out or flat on paper. Instead, use these methods to make your image black and white in Photoshop and have more control over how the final image looks!
Method #1: Use a Black and White Adjustment Layer
This method is non-destructive, meaning the layer simply covers the colors instead of removing them from the image permanently.
- Make a black and white adjustment layer. From the Layers Panel, click on the New Adjustment Layer icon (half black/white circle) and select Black & White.

2. Adjust the color sliders. In the Properties Panel, there are six sliders: Reds, Yellows, Greens, Cyans, Blues, and Magentas. These sliders control the brightness of the greyscale version of each color. For example, moving the Reds slider to the right will lighten the pixels that were originally red. This can be used to create contrast and depth in the image.

Method #2: Convert Image with the Camera Raw Filter
This method is destructive, meaning that the image will be permanently changed to black and white once applied.
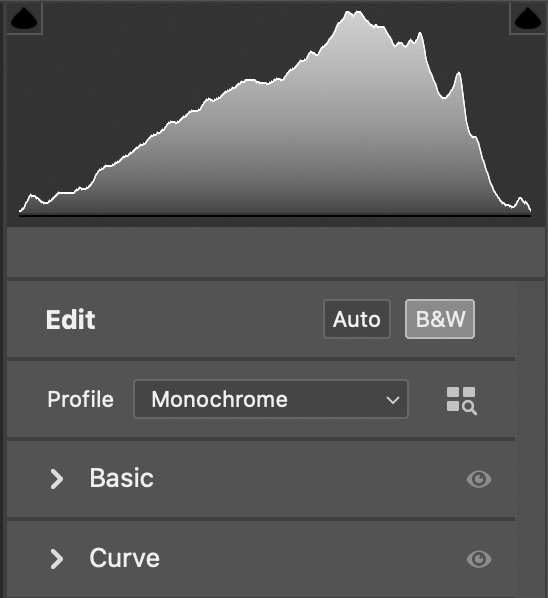
- Apply the Camera Raw Filter. Go into Filter and select Camera Raw Filter.

2. Convert image to black and white. Either click on the B&W button or select Monochrome from the Profile drop-down menu.
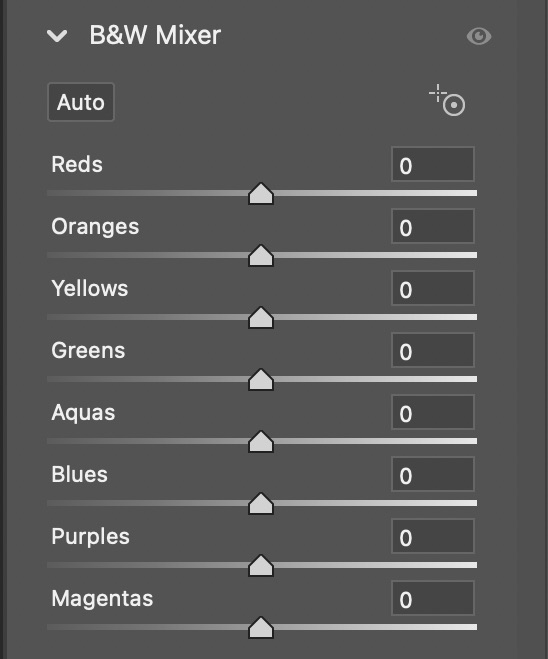
3. Adjust the color sliders. Under B&W Mixer, there are eight sliders: Reds, Oranges, Yellows, Greens, Aquas, Blues, Purples, and Magentas. These sliders control the brightness of the greyscale version of each color. For example, moving the Reds slider to the right will lighten the pixels that were originally red. Because of the two additional sliders, you have more control over the image compared to using a black and white layer.