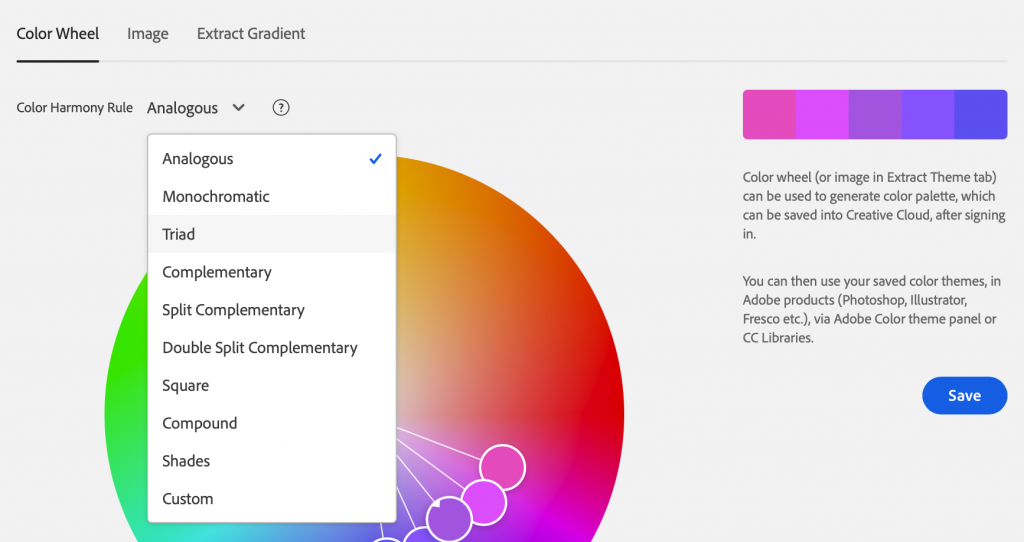
Using the Adobe Color Wheel is a simple way to quickly create a color palette to work with. As stated on their site, the color wheel can be used to generate a color palette which can be saved into Creative Cloud and used for your projects.
On the color wheel page, you can change colors by clicking on points within the wheel itself or by adjusting the sliders at the bottom of the page. With the color wheel, you can choose between Analogous, monochromatic, triad, complementary, split complementary, double split complementary, square, compound, shades, and a custom choice.
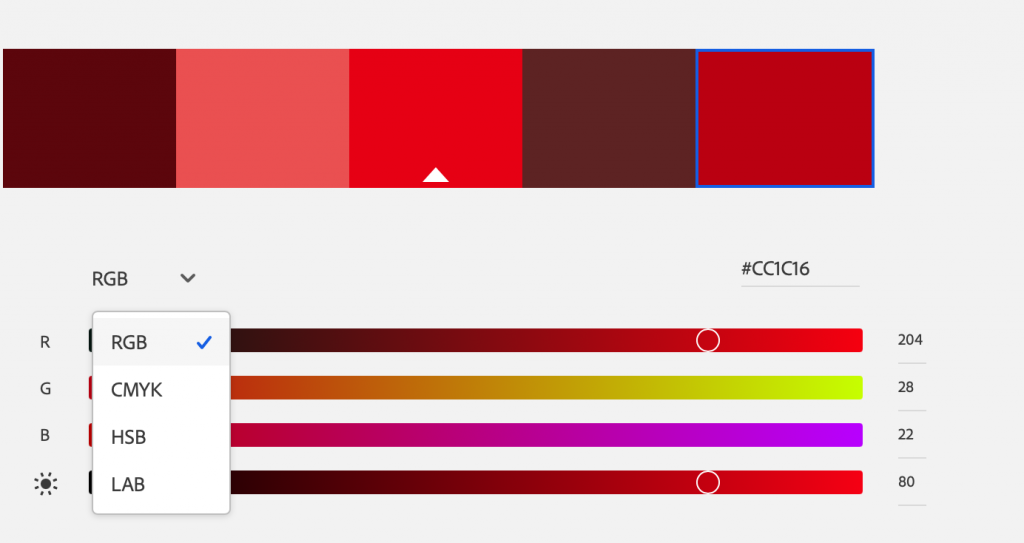
The sliders also have a number of options to choose from including RGB, CMYK, HSB, and LAB.
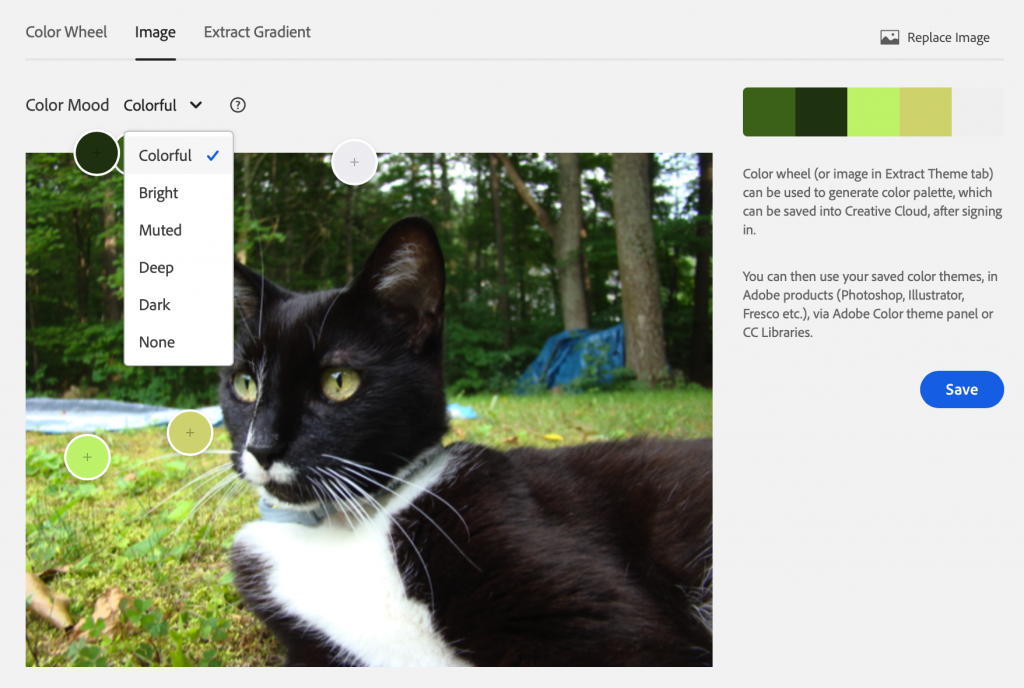
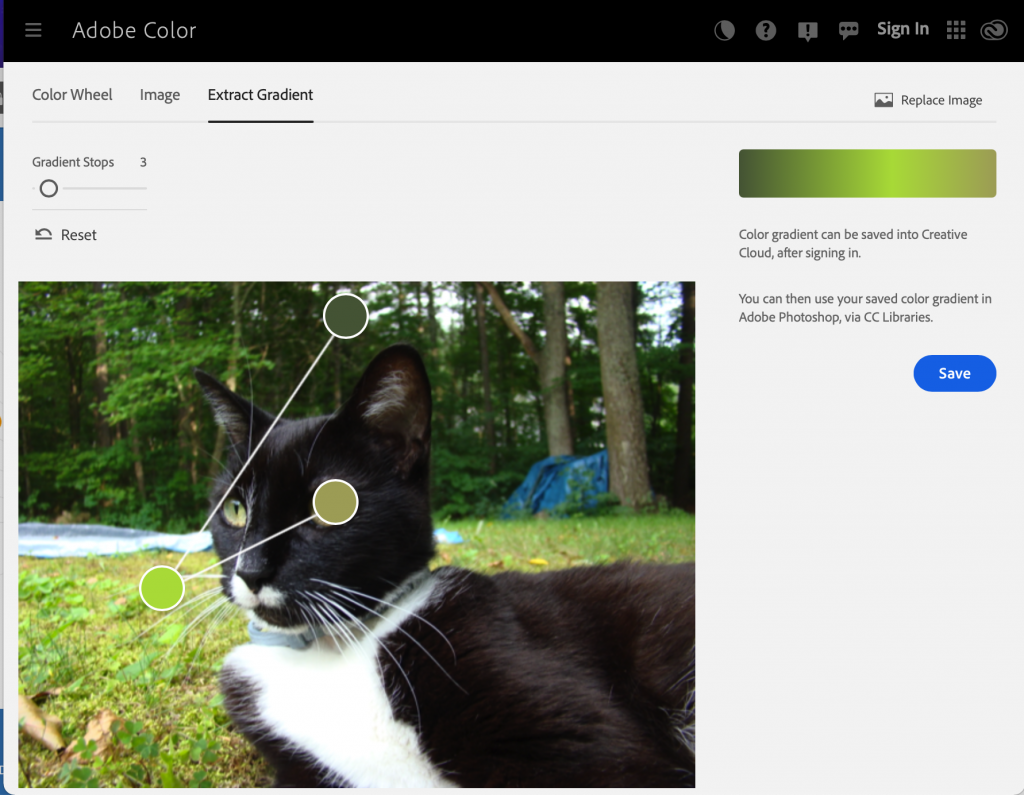
At the top of the page, it lists “Image” and “Extract Gradient” next to “Color Wheel”. In those tabs, you can generate a color palette from an uploaded image. You can change the mood of the auto generated color palette which will change the points selected as color references. By clicking and dragging the color points, you can also manually change individual colors in the palette.
You can also generate a color gradient from that image. Just select an image and it will auto generate a palette or a gradient. You can move the selection points and change the selected colors to create a palette that suits your needs. You can also increase the number of “Gradient Stops” with the slider in the top left corner.
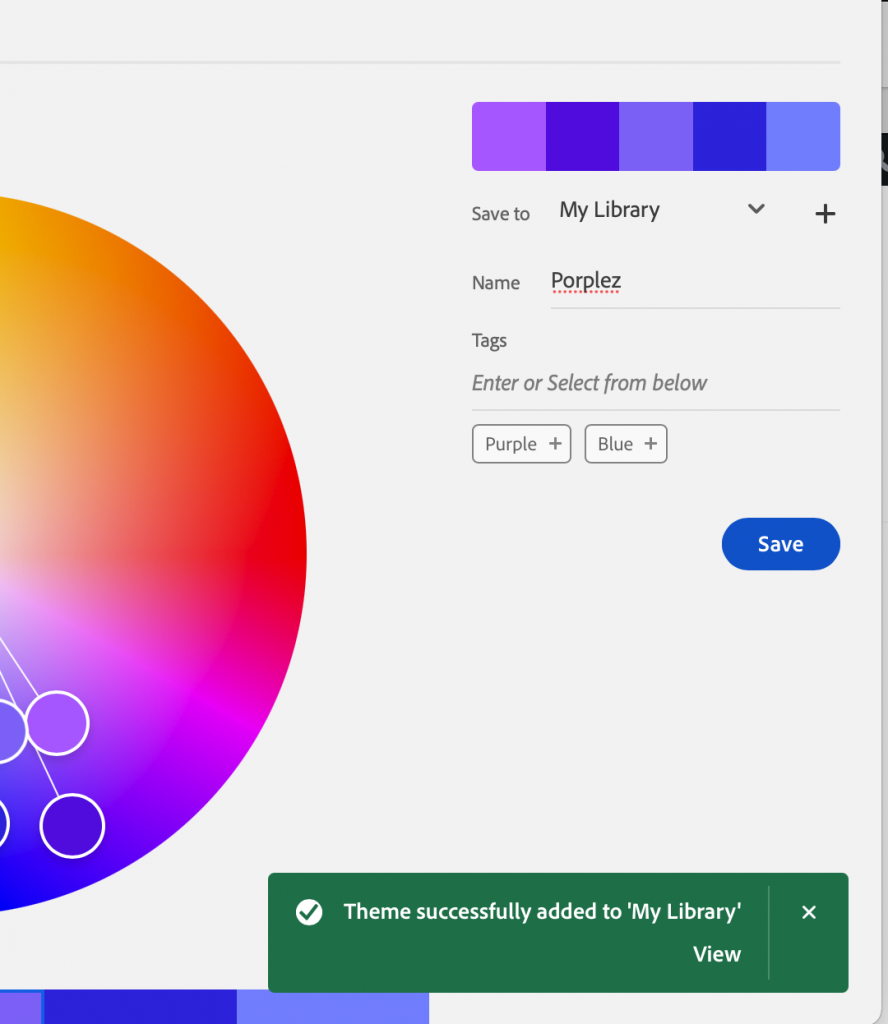
When you’re ready to save the palette, make sure you’re signed in first. Then, go back to the “Color Wheel” tab and you will have the option to name your palette and add tags.