If you want to use Photoshop, InDesign, or any other Creative Cloud apps at Simmons, you’ll first need to log in to Creative Cloud through your Simmons account.
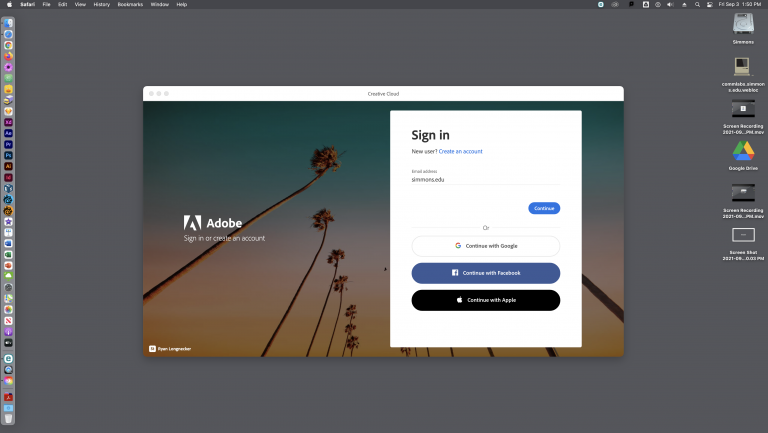
Open the Creative Cloud app and you will see the Sign In prompt. Do not enter your Simmons email address or username yet! All you have to type here is simmons.edu and hit Continue.
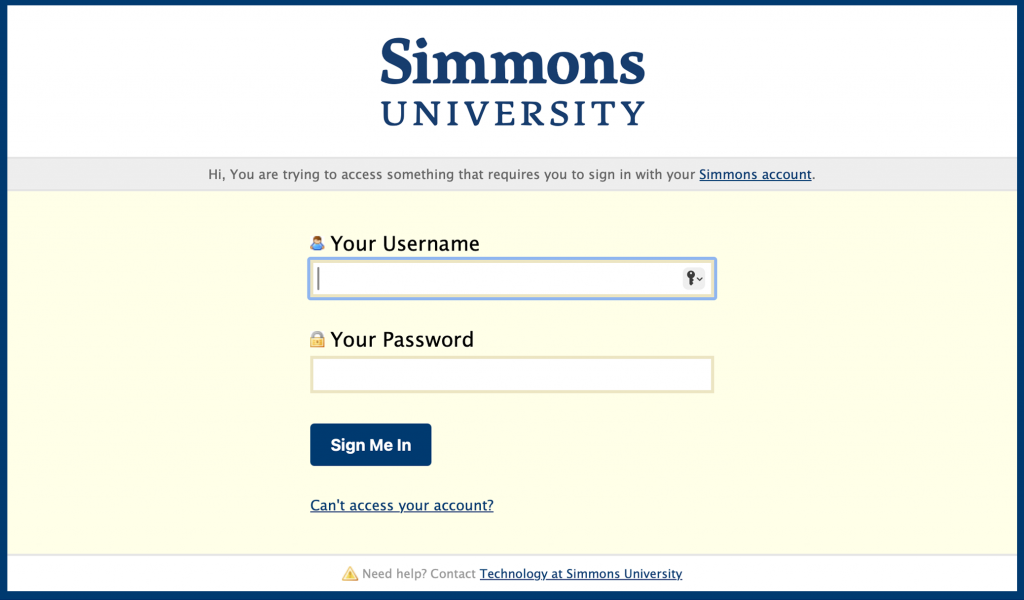
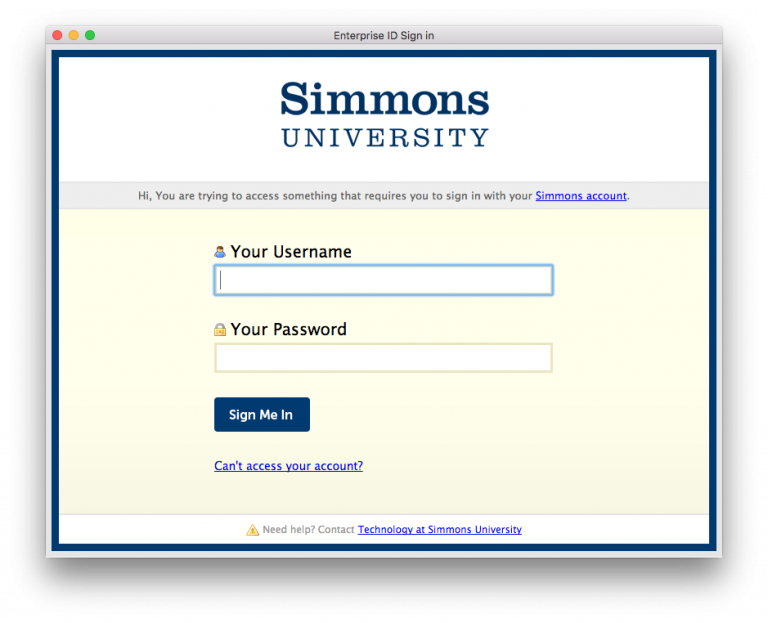
When you reach the Simmons sign on screen, you can enter your Simmons username and password. Complete Duo authentication if necessary.
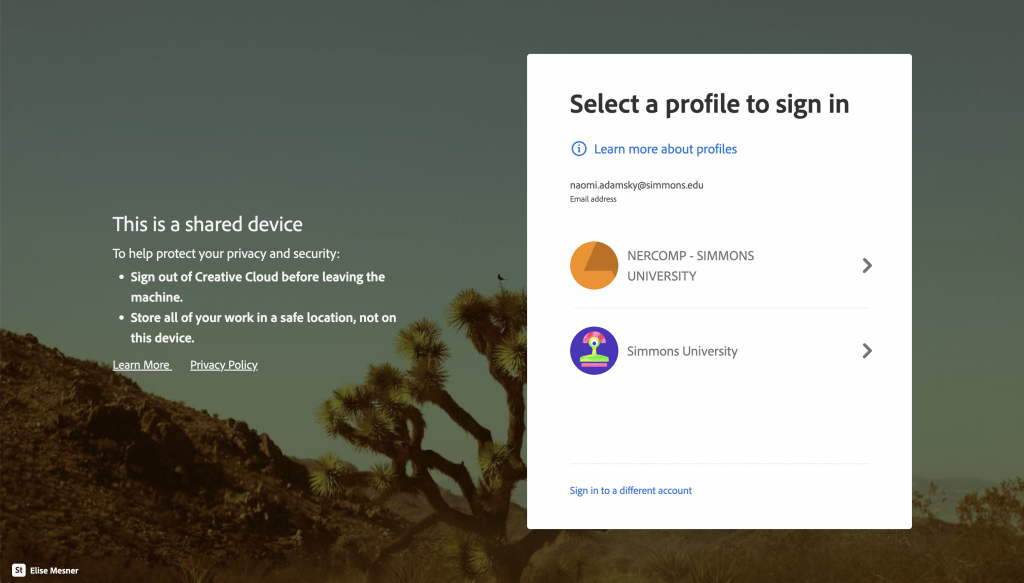
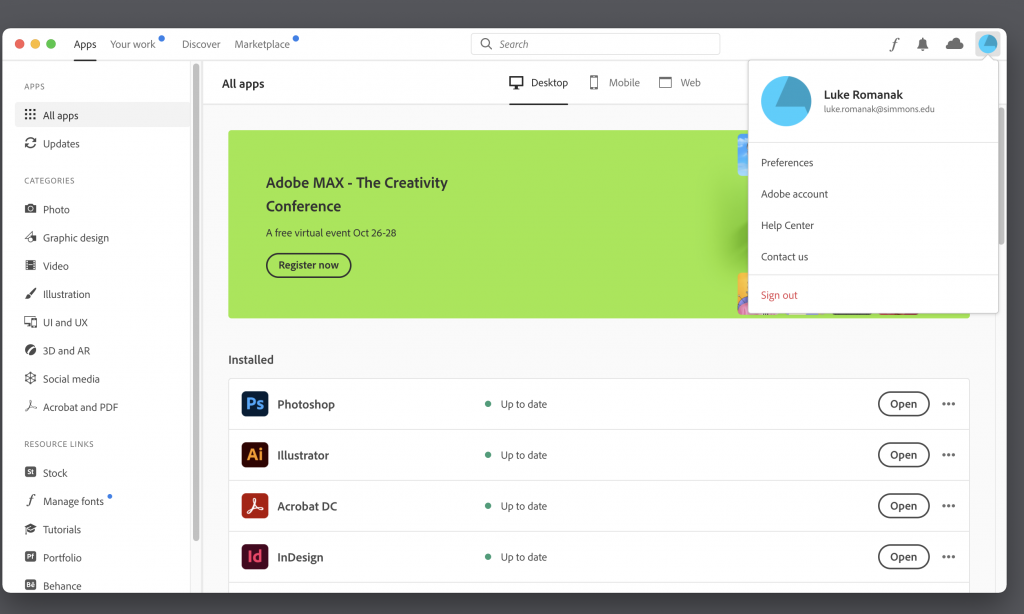
Once you sign in you will be prompted to select a profile. You will want to select NERCOMP.
Once you finishing signing in, you can access all the Creative Cloud apps from the Creative Cloud window!
You’ve made it through the semester. Your assignments are done, your projects are finalized, and you’re proud of the work you’ve done. YAY! But wait, before you log off, archive your work. This is a great way to maintain your portfolio and keep your work organized for future use.
Follow along for best practices to archive your semester’s work.
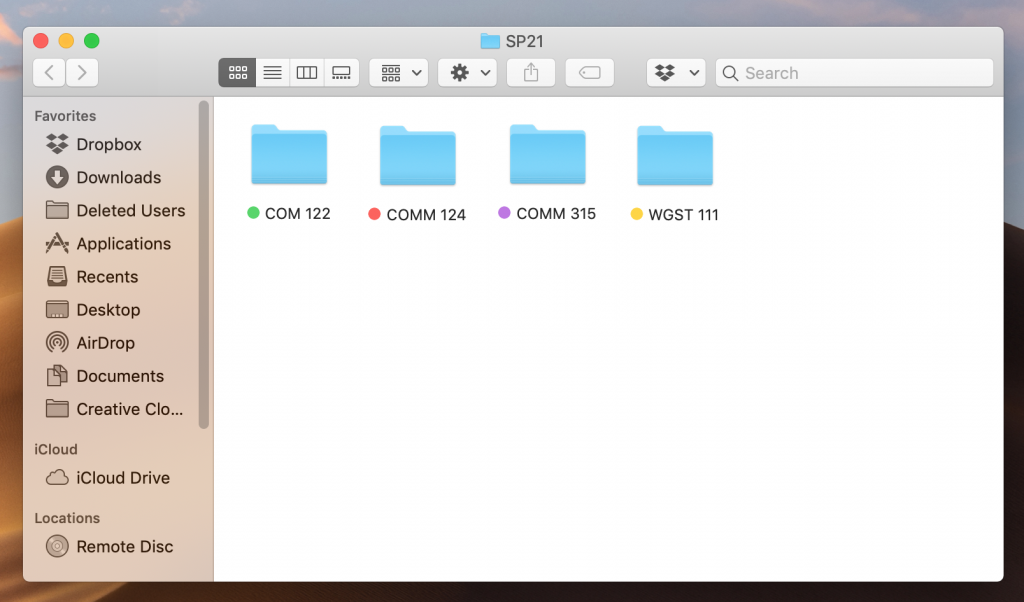
Start by creating a folder for your work from this semester
This will be the home for your semester portfolio. Once you have the main folder, you can create other specific folders for each class/group of work you’d like to categorize. Label the folder with the semester and year: SP21 = Spring, 2021
2. Create class folders
Next, create a folder for each class you took this semester that you want to be archived. Designate each folder with a different color. Use the same steps as above to create a new folder. Once the folder is created, left-click it and selected a color for the folder. Place all class folders in the semester folder.
3. Create “info” sheets
Once you have a folder for each class, make a document for each folder that says what is in the folder. You can follow the format below or create your own.
Name
Class Title
Semester, Year
Assignment
Date
Short Description (length, what it’s about, category)
Personal Column Final
05/01/21
750 words, LGBTQ voting, op-ed
4. Collect your materials and rename them
Export and download your work, one class at a time, onto your computer (PDF, JPEG, MP3 file, etc). Rename the files. I like to follow this layout for file names: LAST NAME_FIRST INITIAL_assignment name, ex: SHERBURNE_L_personal column final
5. Make it your own
While this tutorial specifically outlines semester portfolio organization, you can also use these steps to organize your work for jobs and research. Simply swap out class names for “Job Application Materials” or “Thesis Research” and create the inner folders according to how you want your work organized
Job Application Folder Ideas
Cover letters
Resumes
Cover Letters
Research Folder Ideas
Lab Data
Report Outlines
Source Lists
Argument Drafts
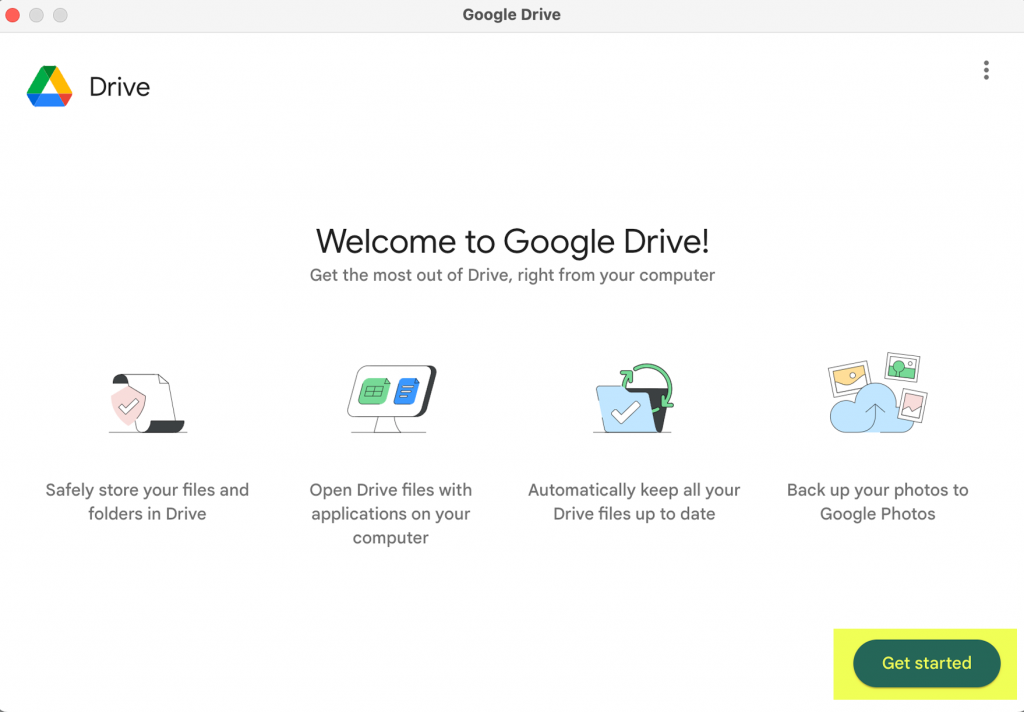
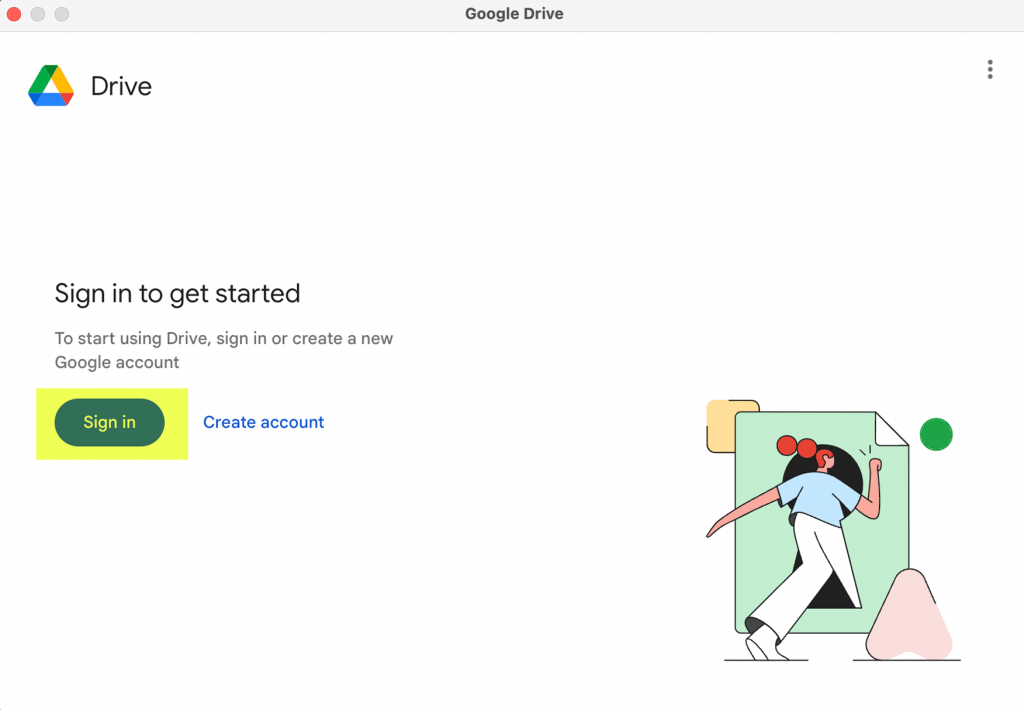
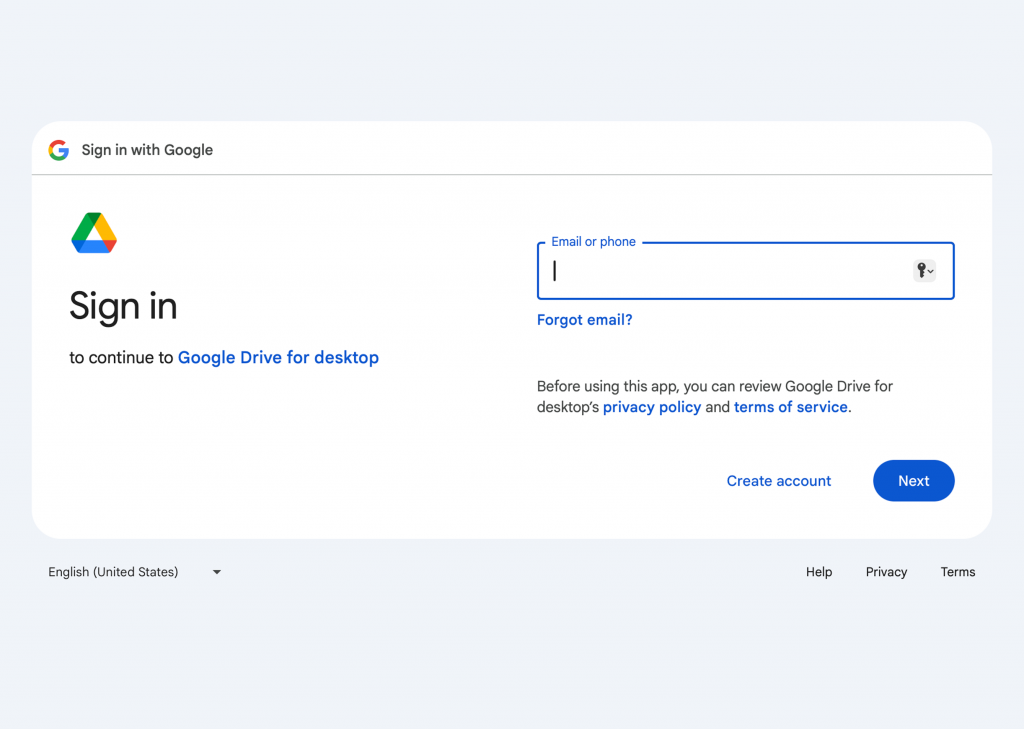
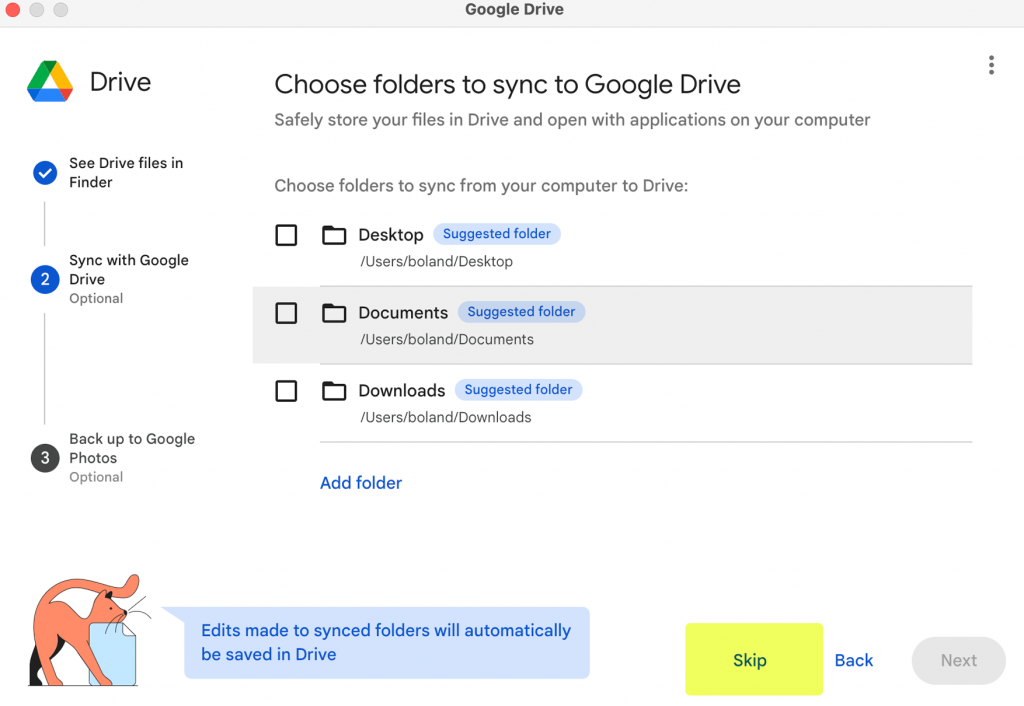
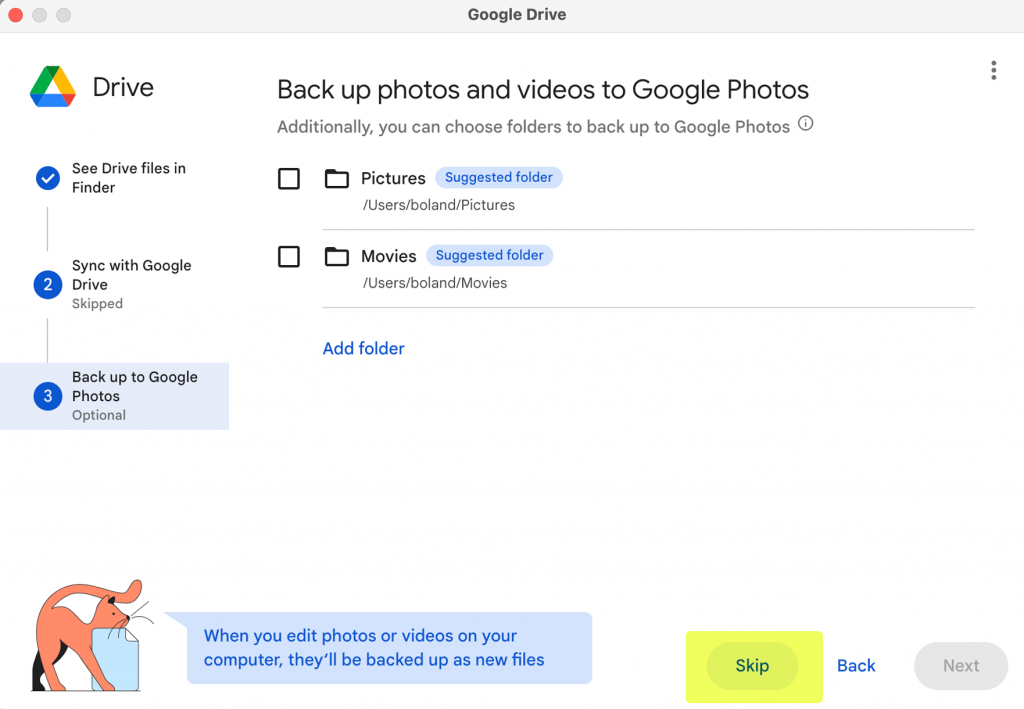
6. Upload to a flash drive, iCloud or Google Drive
You’ve done all the work to create your portfolio, now you want to make sure it stays safe. Exporting your portfolio to a flash drive, or uploading it to iCloud or Google Drive are easy ways to keep digital archives of your newly organized work.
The first step to accessing the CC libraries to find something saved there is to open the Creative Cloud. You can either do this through launching the app or by going to the Creative Cloud website. Once that is done, navigate to “Your work” tab. In both the app and the website it will appear in the top left corner of your screen.
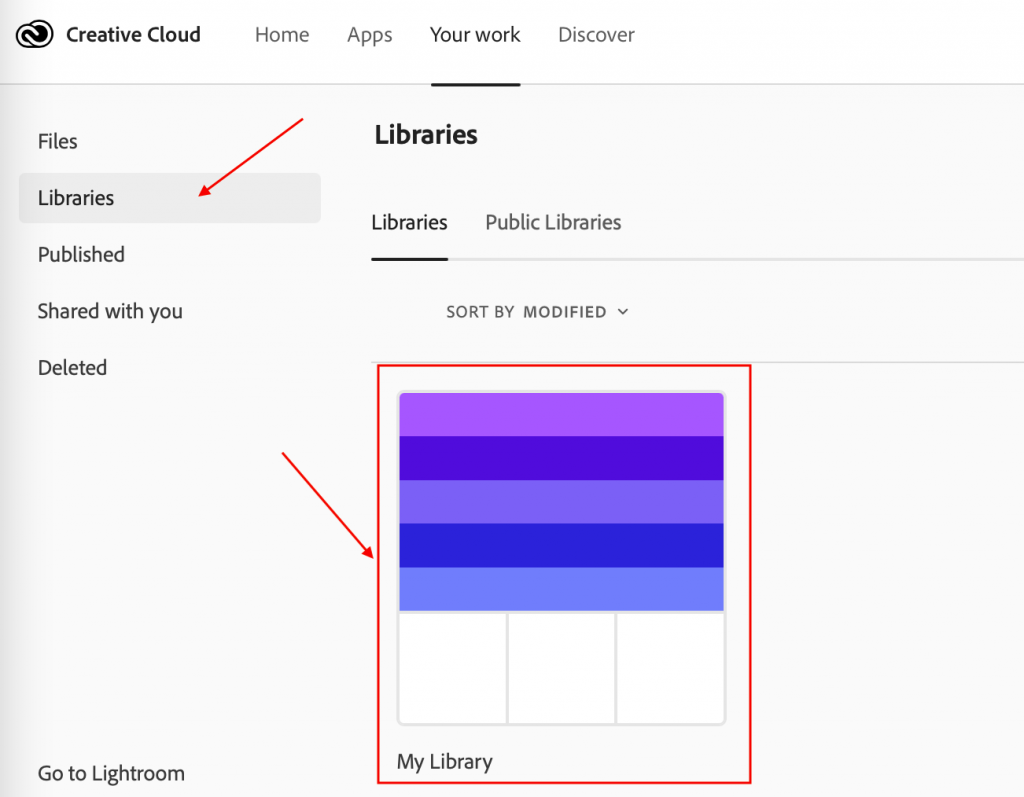
Now in the “Your Work” tab, select “Libraries”. From there, select the library of your choice (mine is “My library”). In the app version, this step is unnecessary as it will automatically pull up your libraries to choose from without first having to select the “Libraries” tab.
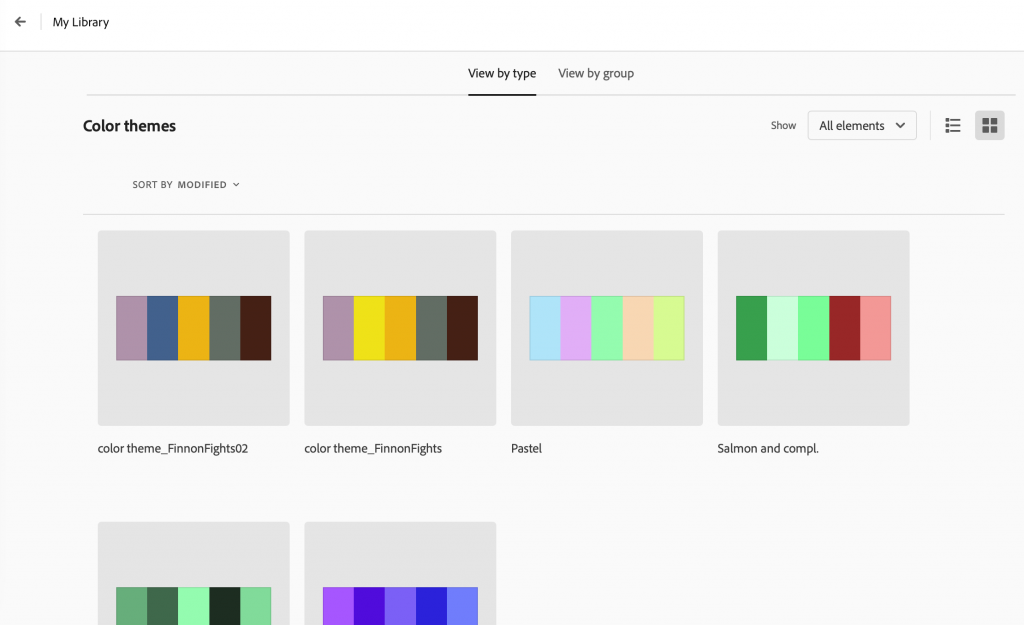
That is where your palette is stored. (See the Color Wheel post for more information on the color palettes).
All these screenshots were taken from the online version of the Creative Cloud, however the app is very similar in layout. The only major difference is that you do not have to select Libraries after going to the “Your Work” tab as it will automatically show them.
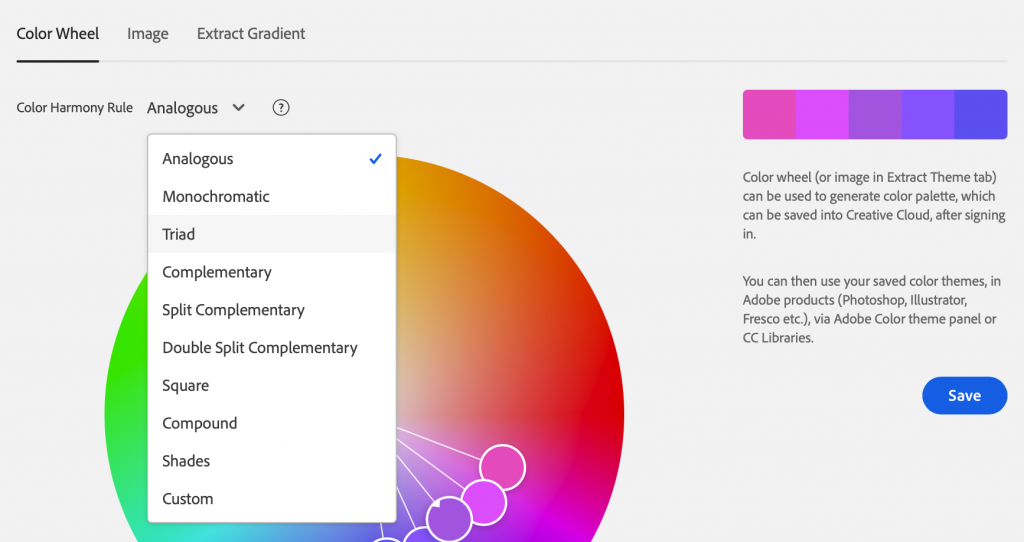
Using the Adobe Color Wheel is a simple way to quickly create a color palette to work with. As stated on their site, the color wheel can be used to generate a color palette which can be saved into Creative Cloud and used for your projects.
On the color wheel page, you can change colors by clicking on points within the wheel itself or by adjusting the sliders at the bottom of the page. With the color wheel, you can choose between Analogous, monochromatic, triad, complementary, split complementary, double split complementary, square, compound, shades, and a custom choice.
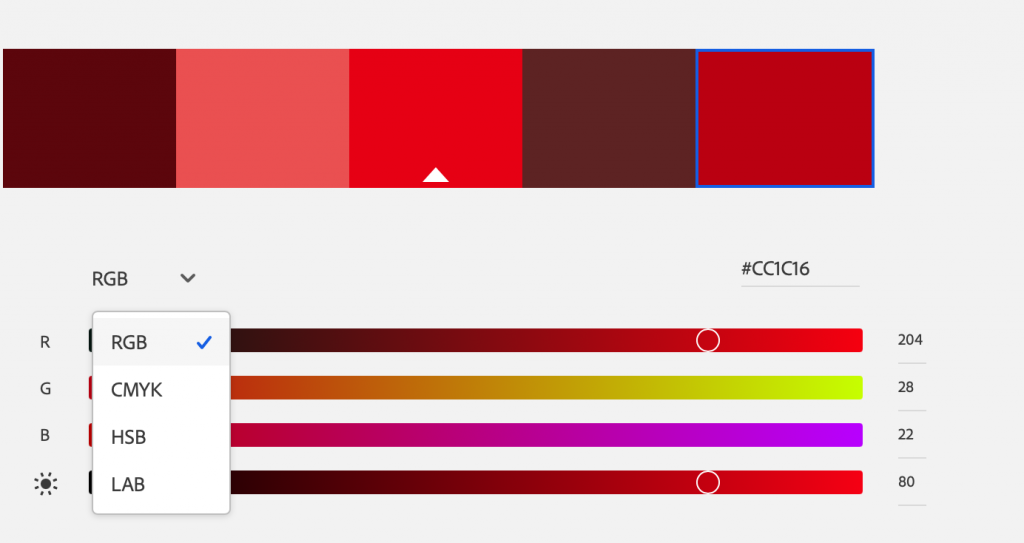
The sliders also have a number of options to choose from including RGB, CMYK, HSB, and LAB.
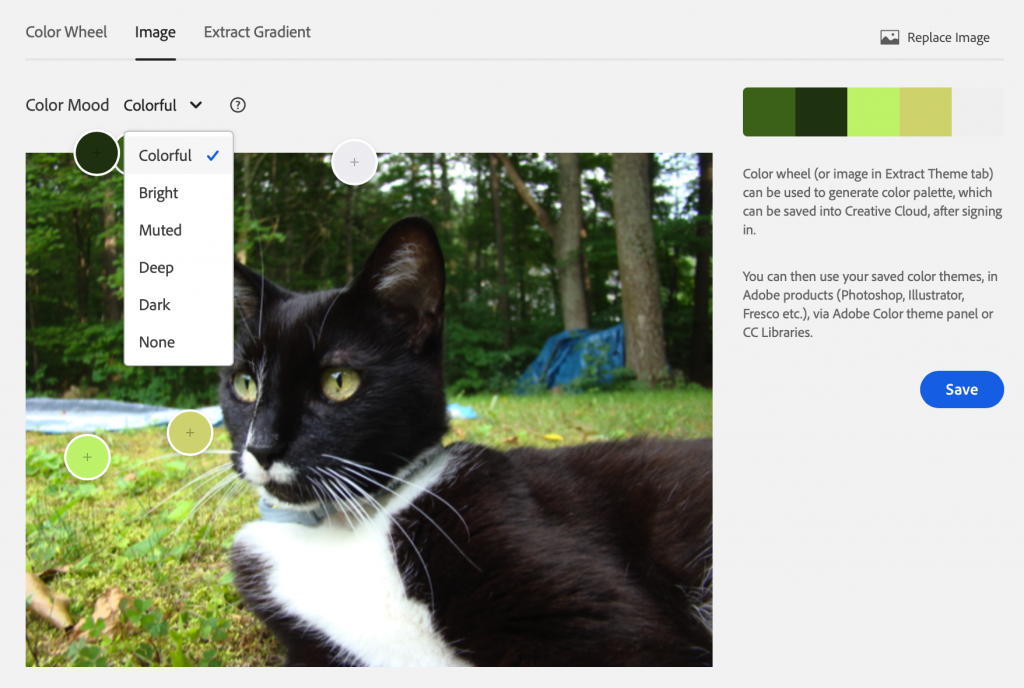
At the top of the page, it lists “Image” and “Extract Gradient” next to “Color Wheel”. In those tabs, you can generate a color palette from an uploaded image. You can change the mood of the auto generated color palette which will change the points selected as color references. By clicking and dragging the color points, you can also manually change individual colors in the palette.
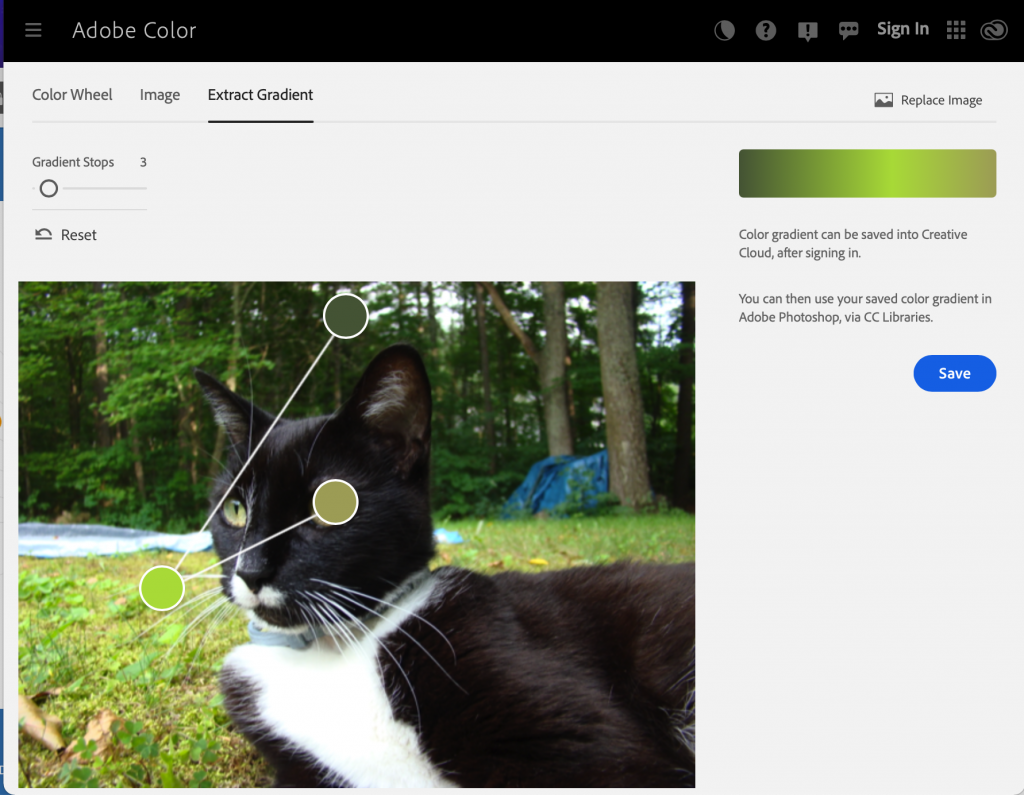
You can also generate a color gradient from that image. Just select an image and it will auto generate a palette or a gradient. You can move the selection points and change the selected colors to create a palette that suits your needs. You can also increase the number of “Gradient Stops” with the slider in the top left corner.
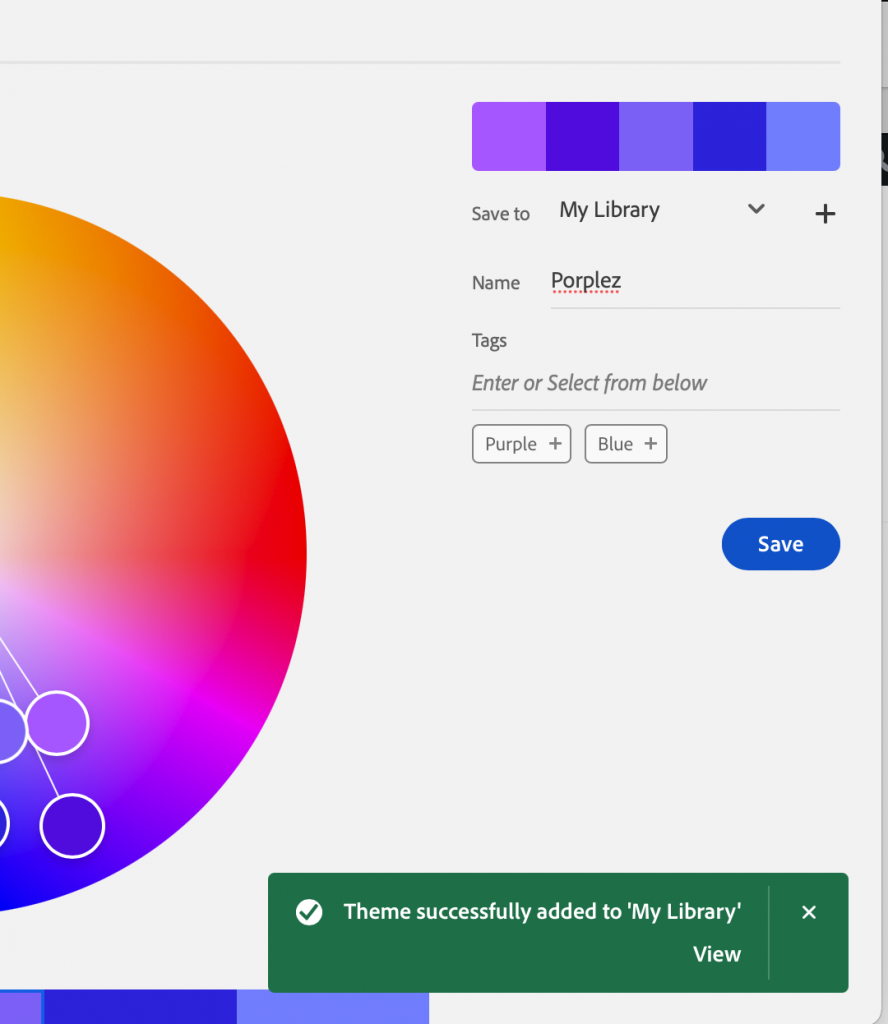
When you’re ready to save the palette, make sure you’re signed in first. Then, go back to the “Color Wheel” tab and you will have the option to name your palette and add tags.
After you’ve named it and hit “Save”, you will get a little green popup stating that the Theme has been successfully added to ‘My Library’.
You’ve worked hard. Your poster is beautiful. You go to save and export it on your laptop and–OH NO! Your file is corrupt!
Don’t panic. Your file is not destroyed. As long as you can open the file, there is hope.
Follow these simple steps to save a corrupt file in InDesign.
Step One: Open your file in InDesign
Step Two: Click ‘File’ then ‘Save As’ or ‘Save a Copy’
Step Three: Make sure to save it on your desktop
Step Four: Click ‘Format’ then select ‘InDesign CS4 or older (IDML)’
Step Five: Click ‘Save’
Saving a file as an IDML file will clean up any unneeded software junk from previous InDesign file versions. The result is an identical, non-corrupt file ready for the world to see!
Check out this video by Pariah Burke for a quick and detailed instruction:
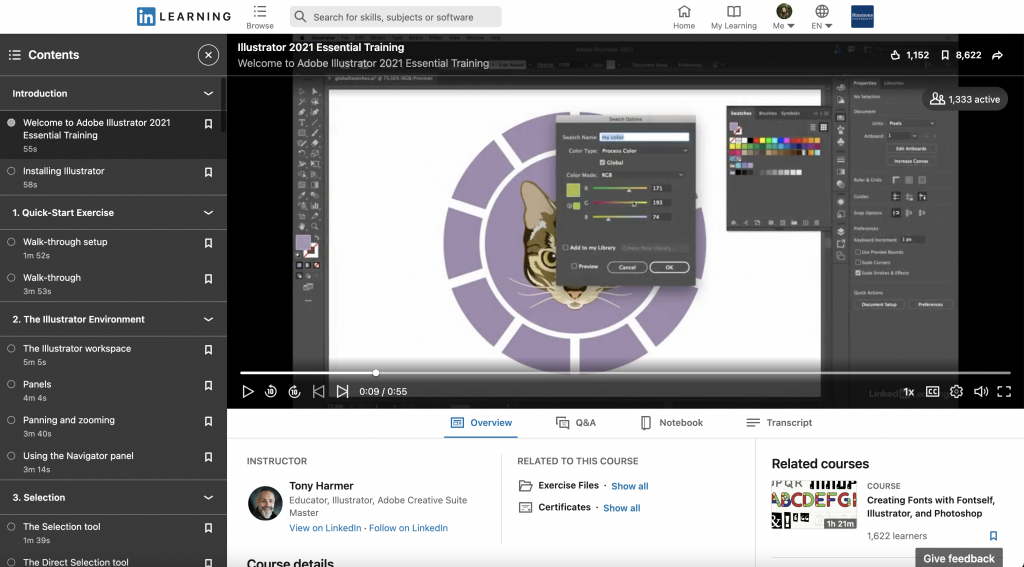
LinkedIn Learning/Lynda is a site that offers video courses taught by experts about business skills, software skills, and for what you are probably here for… creative skills!
As Simmons students, we have access to the site which is a great resource for learning and freshening up on skills. There are courses on Adobe programs, specific skills and techniques, networking, productivity, industry standards, the list goes on.
In order to access the site, head over to lynda.com (LinkedIn Learning) and follow the “sign-in” link. From there, choose the option “sign in with your organization portal” using your Simmons login and password.
Voila!
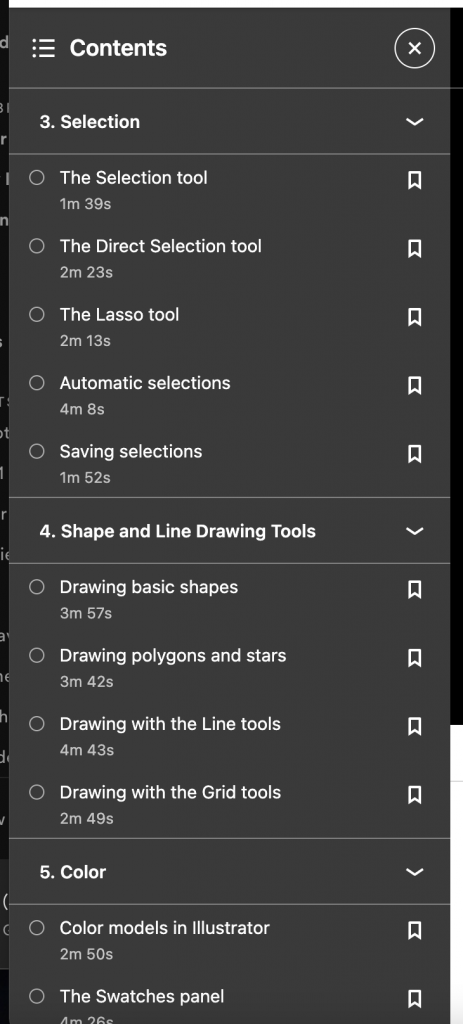
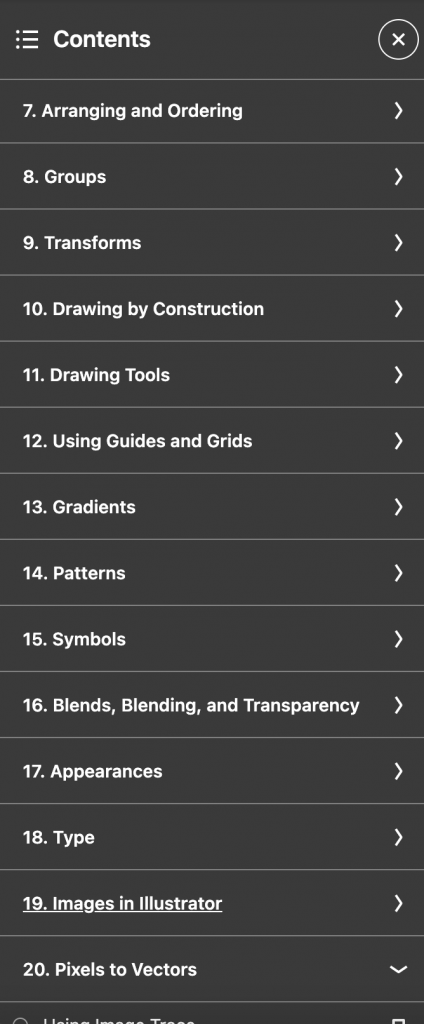
The full courses can be rather long, but they are broken up into digestible sections that are a few minutes long.
Learn how to backup your Adobe Cloud files before your Adobe licensing/subscription expires down below: (Click on images to open them in a new tab)
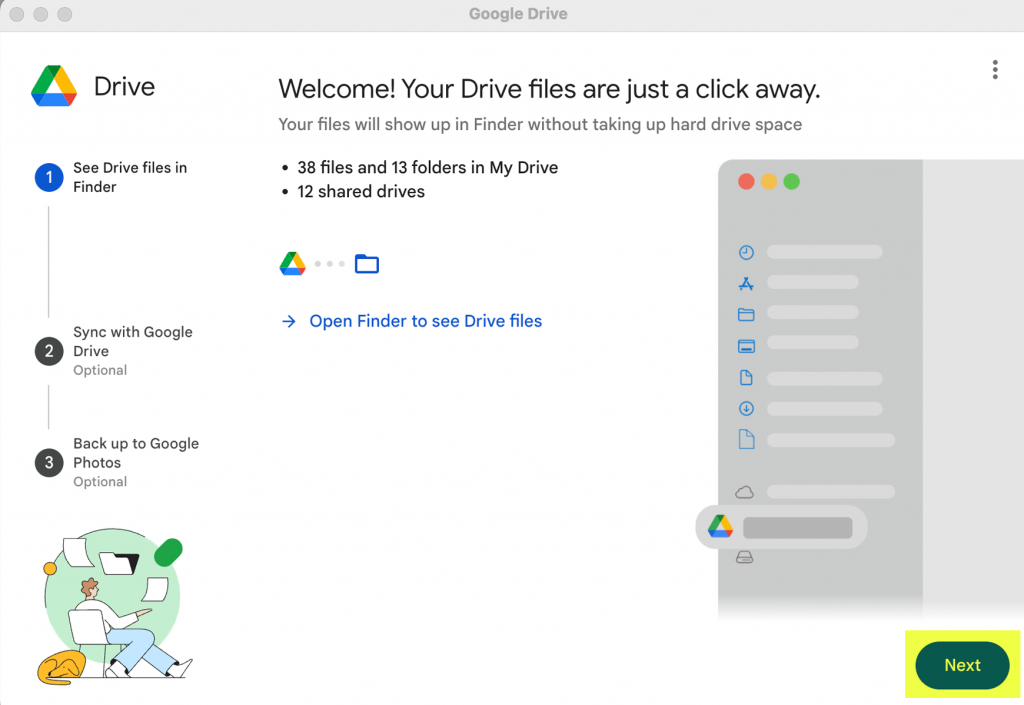
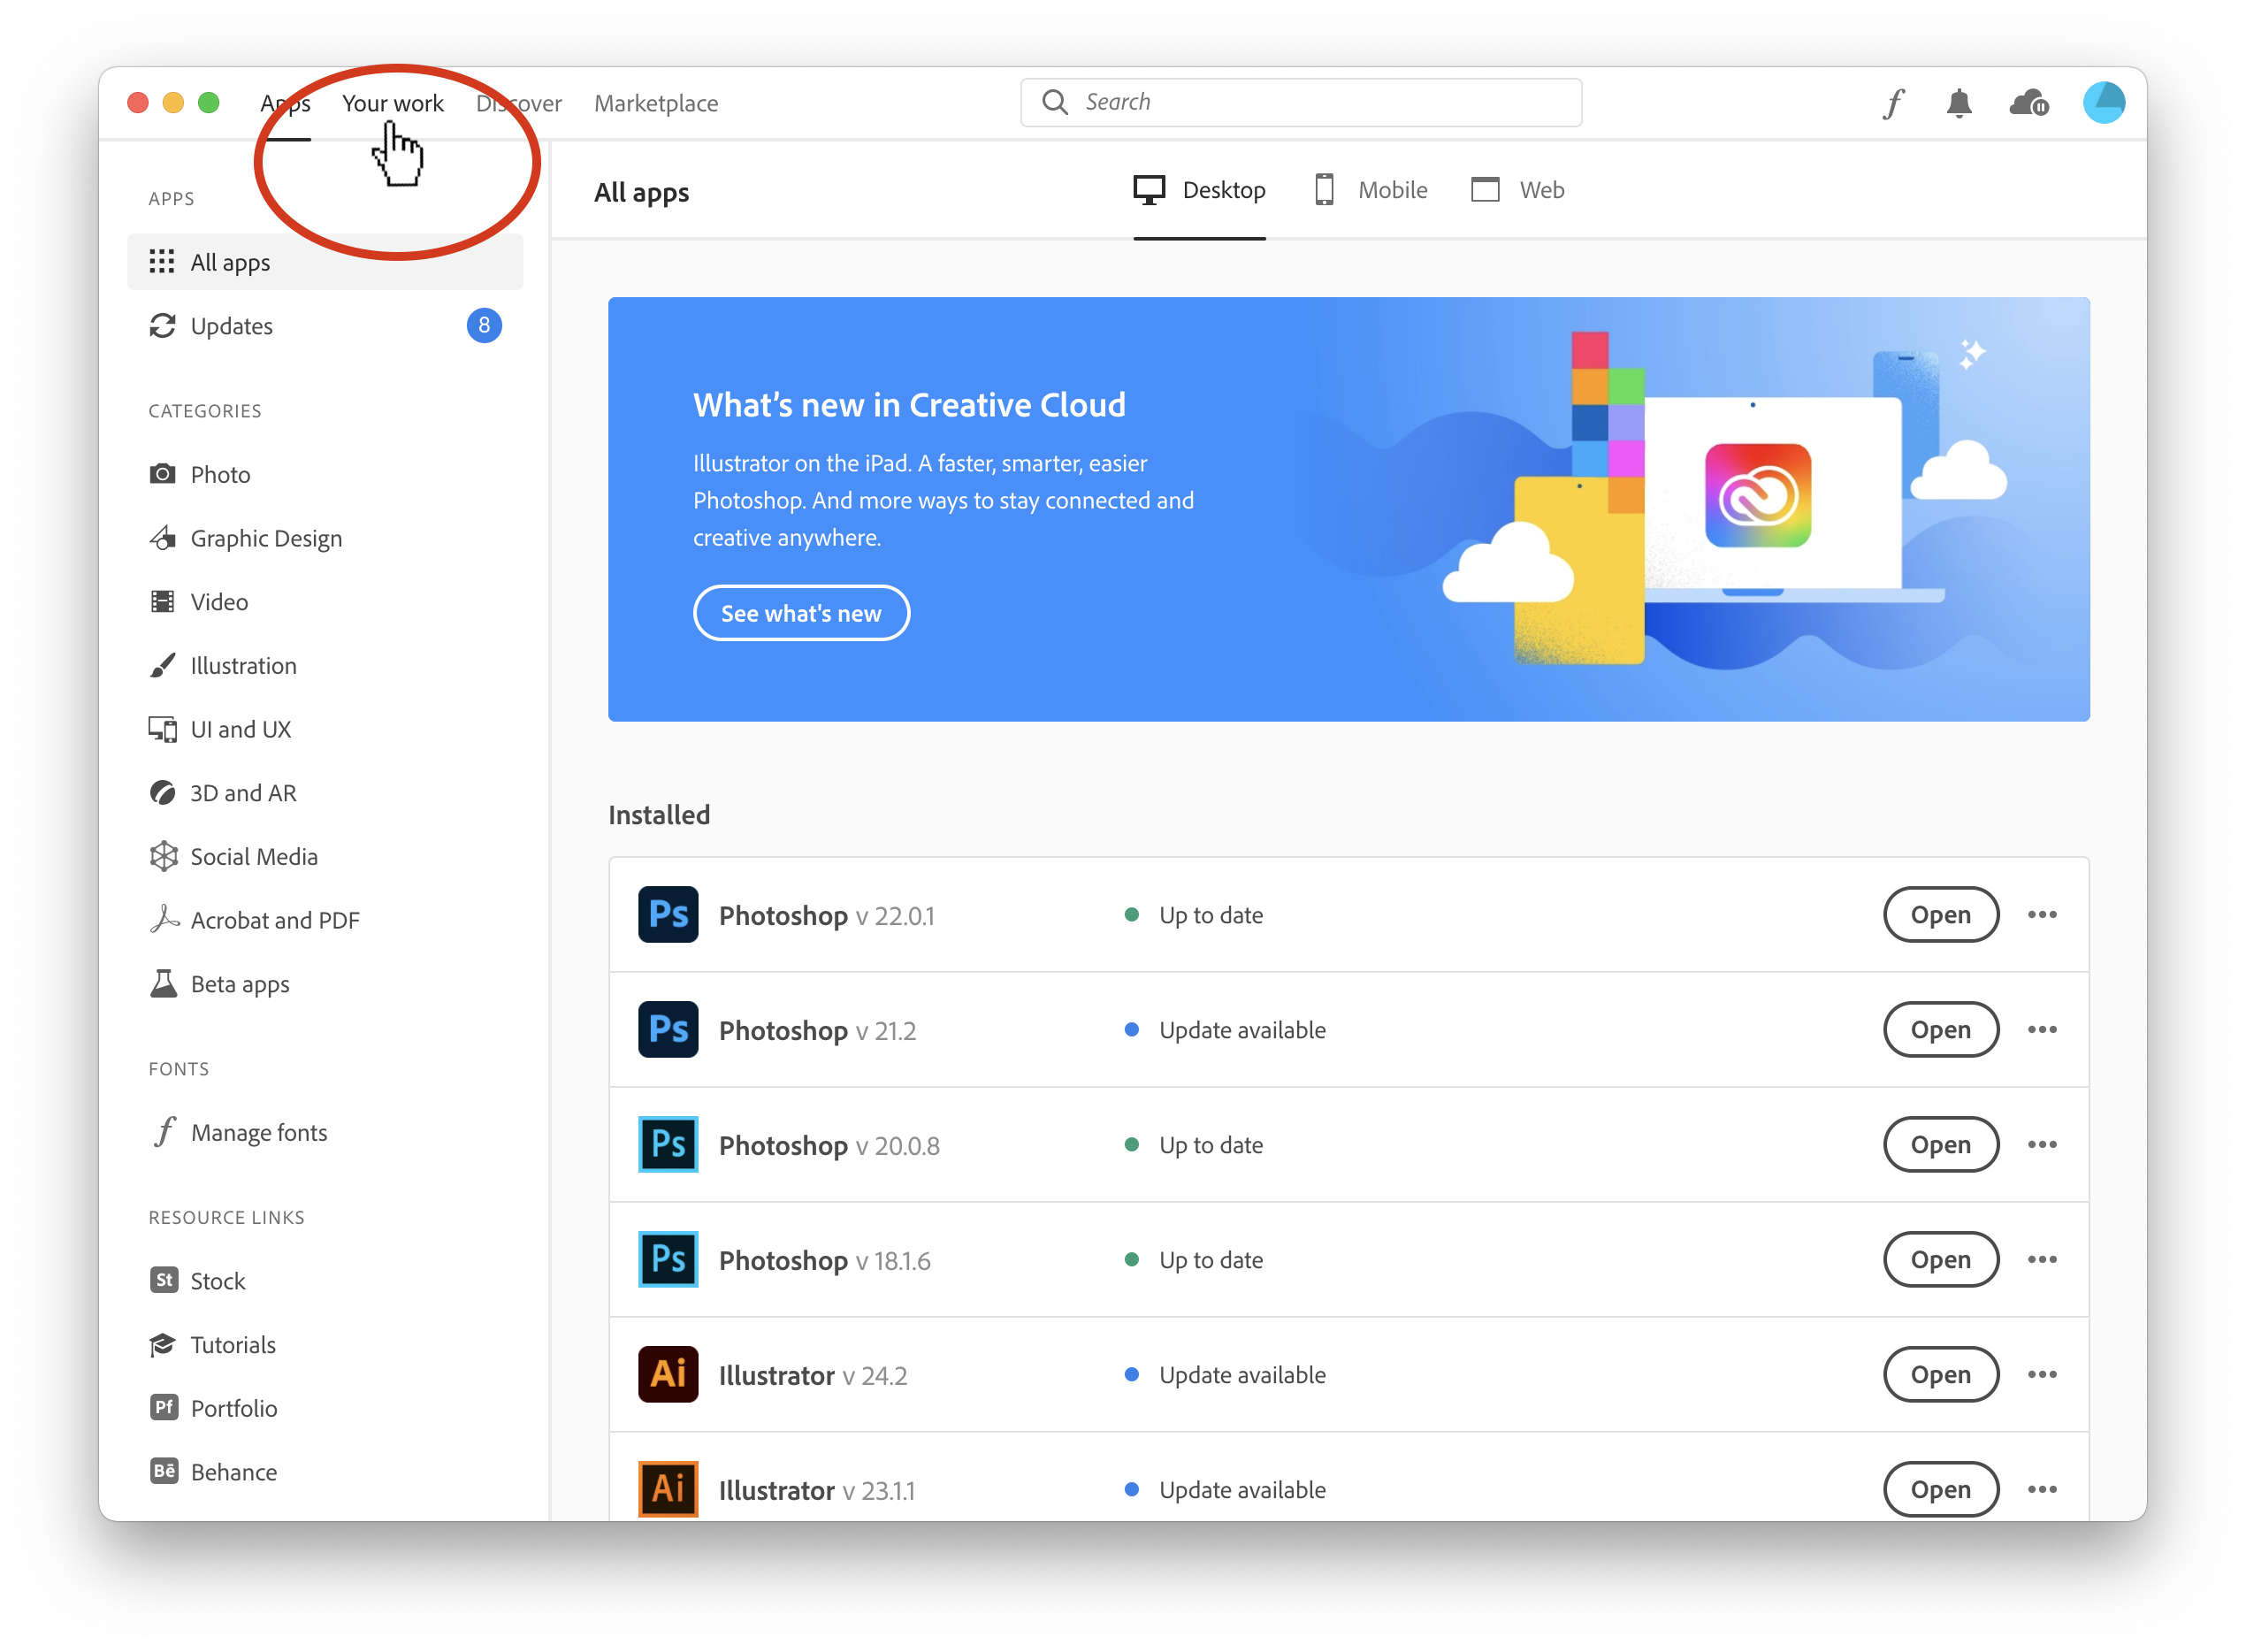
The first way to backup your Adobe cloud files is to open up the Creative Cloud app and click on “Your Work” on the top right corner.
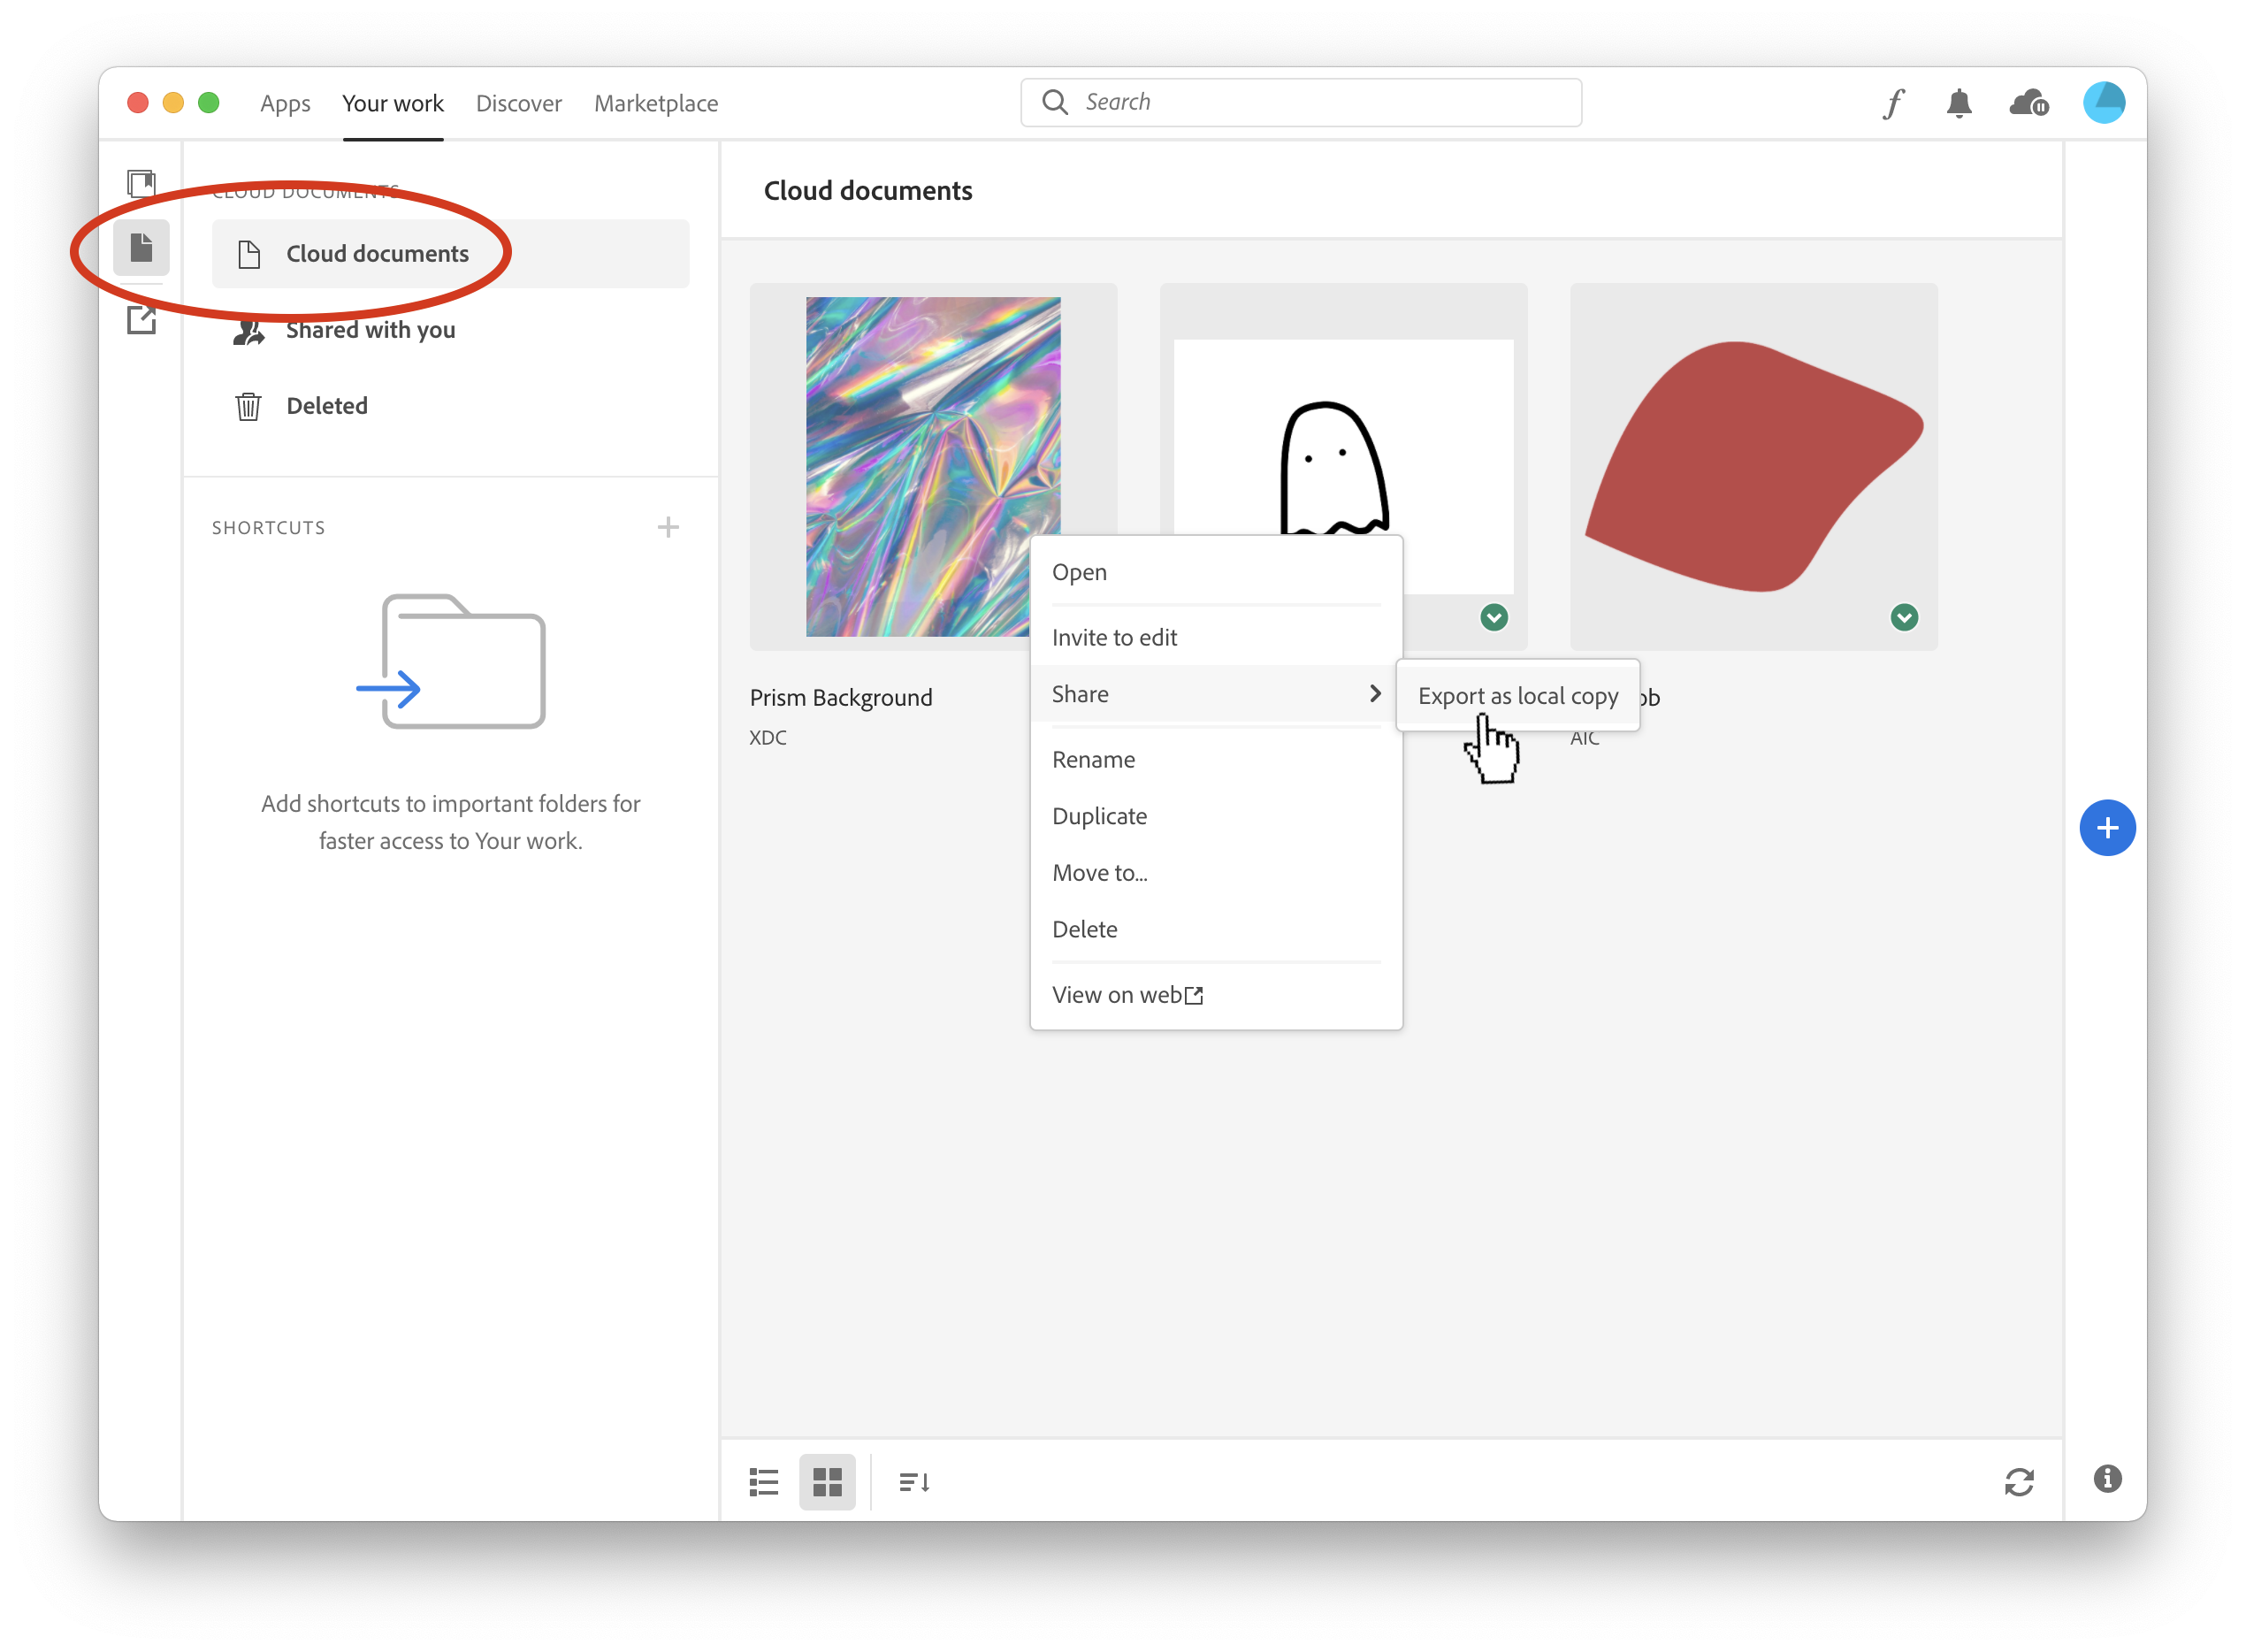
Next, on the far right, click on the second gray document icon to view your Cloud documents. Any local documents will not be found here. Right-click on a file you want to save onto your device, click “Share” and then “Export as local copy” and save to your preferred destination.
Note: You will have to repeat this process for each file you want to backup.
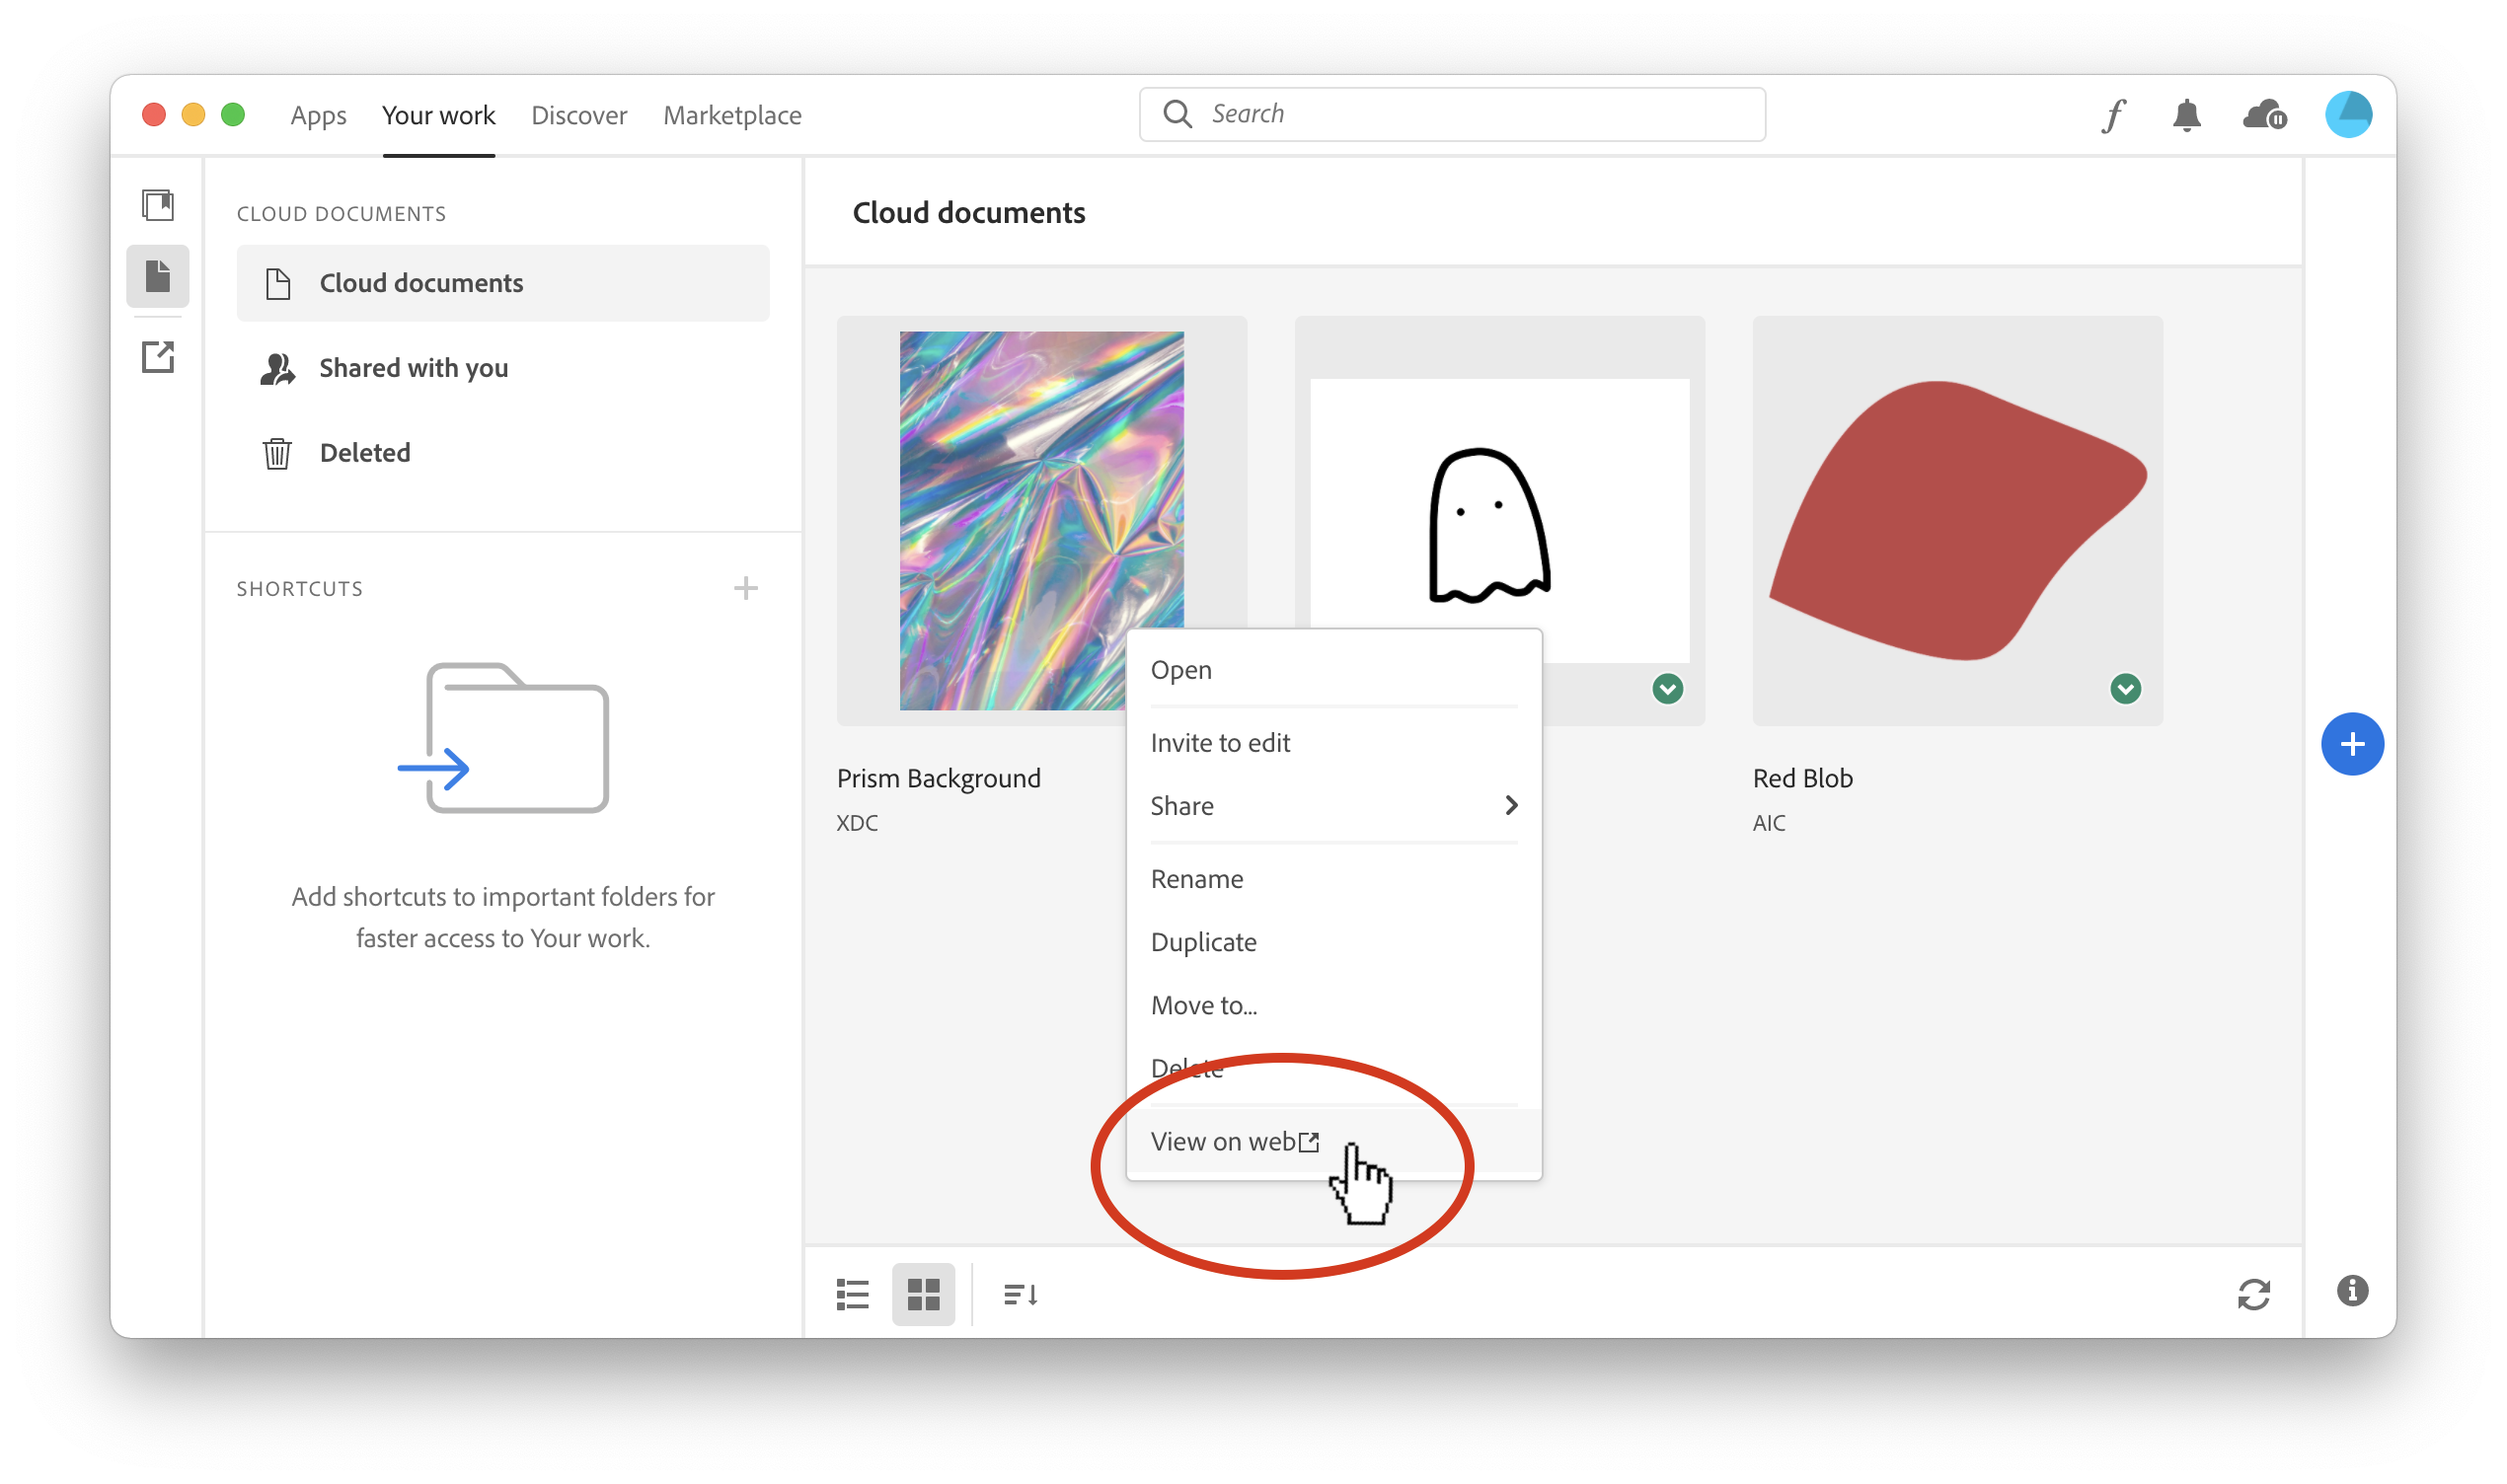
The second way to save your Adobe Creative Cloud files onto your device is by right-clicking on your Adobe file and select “View on web”.
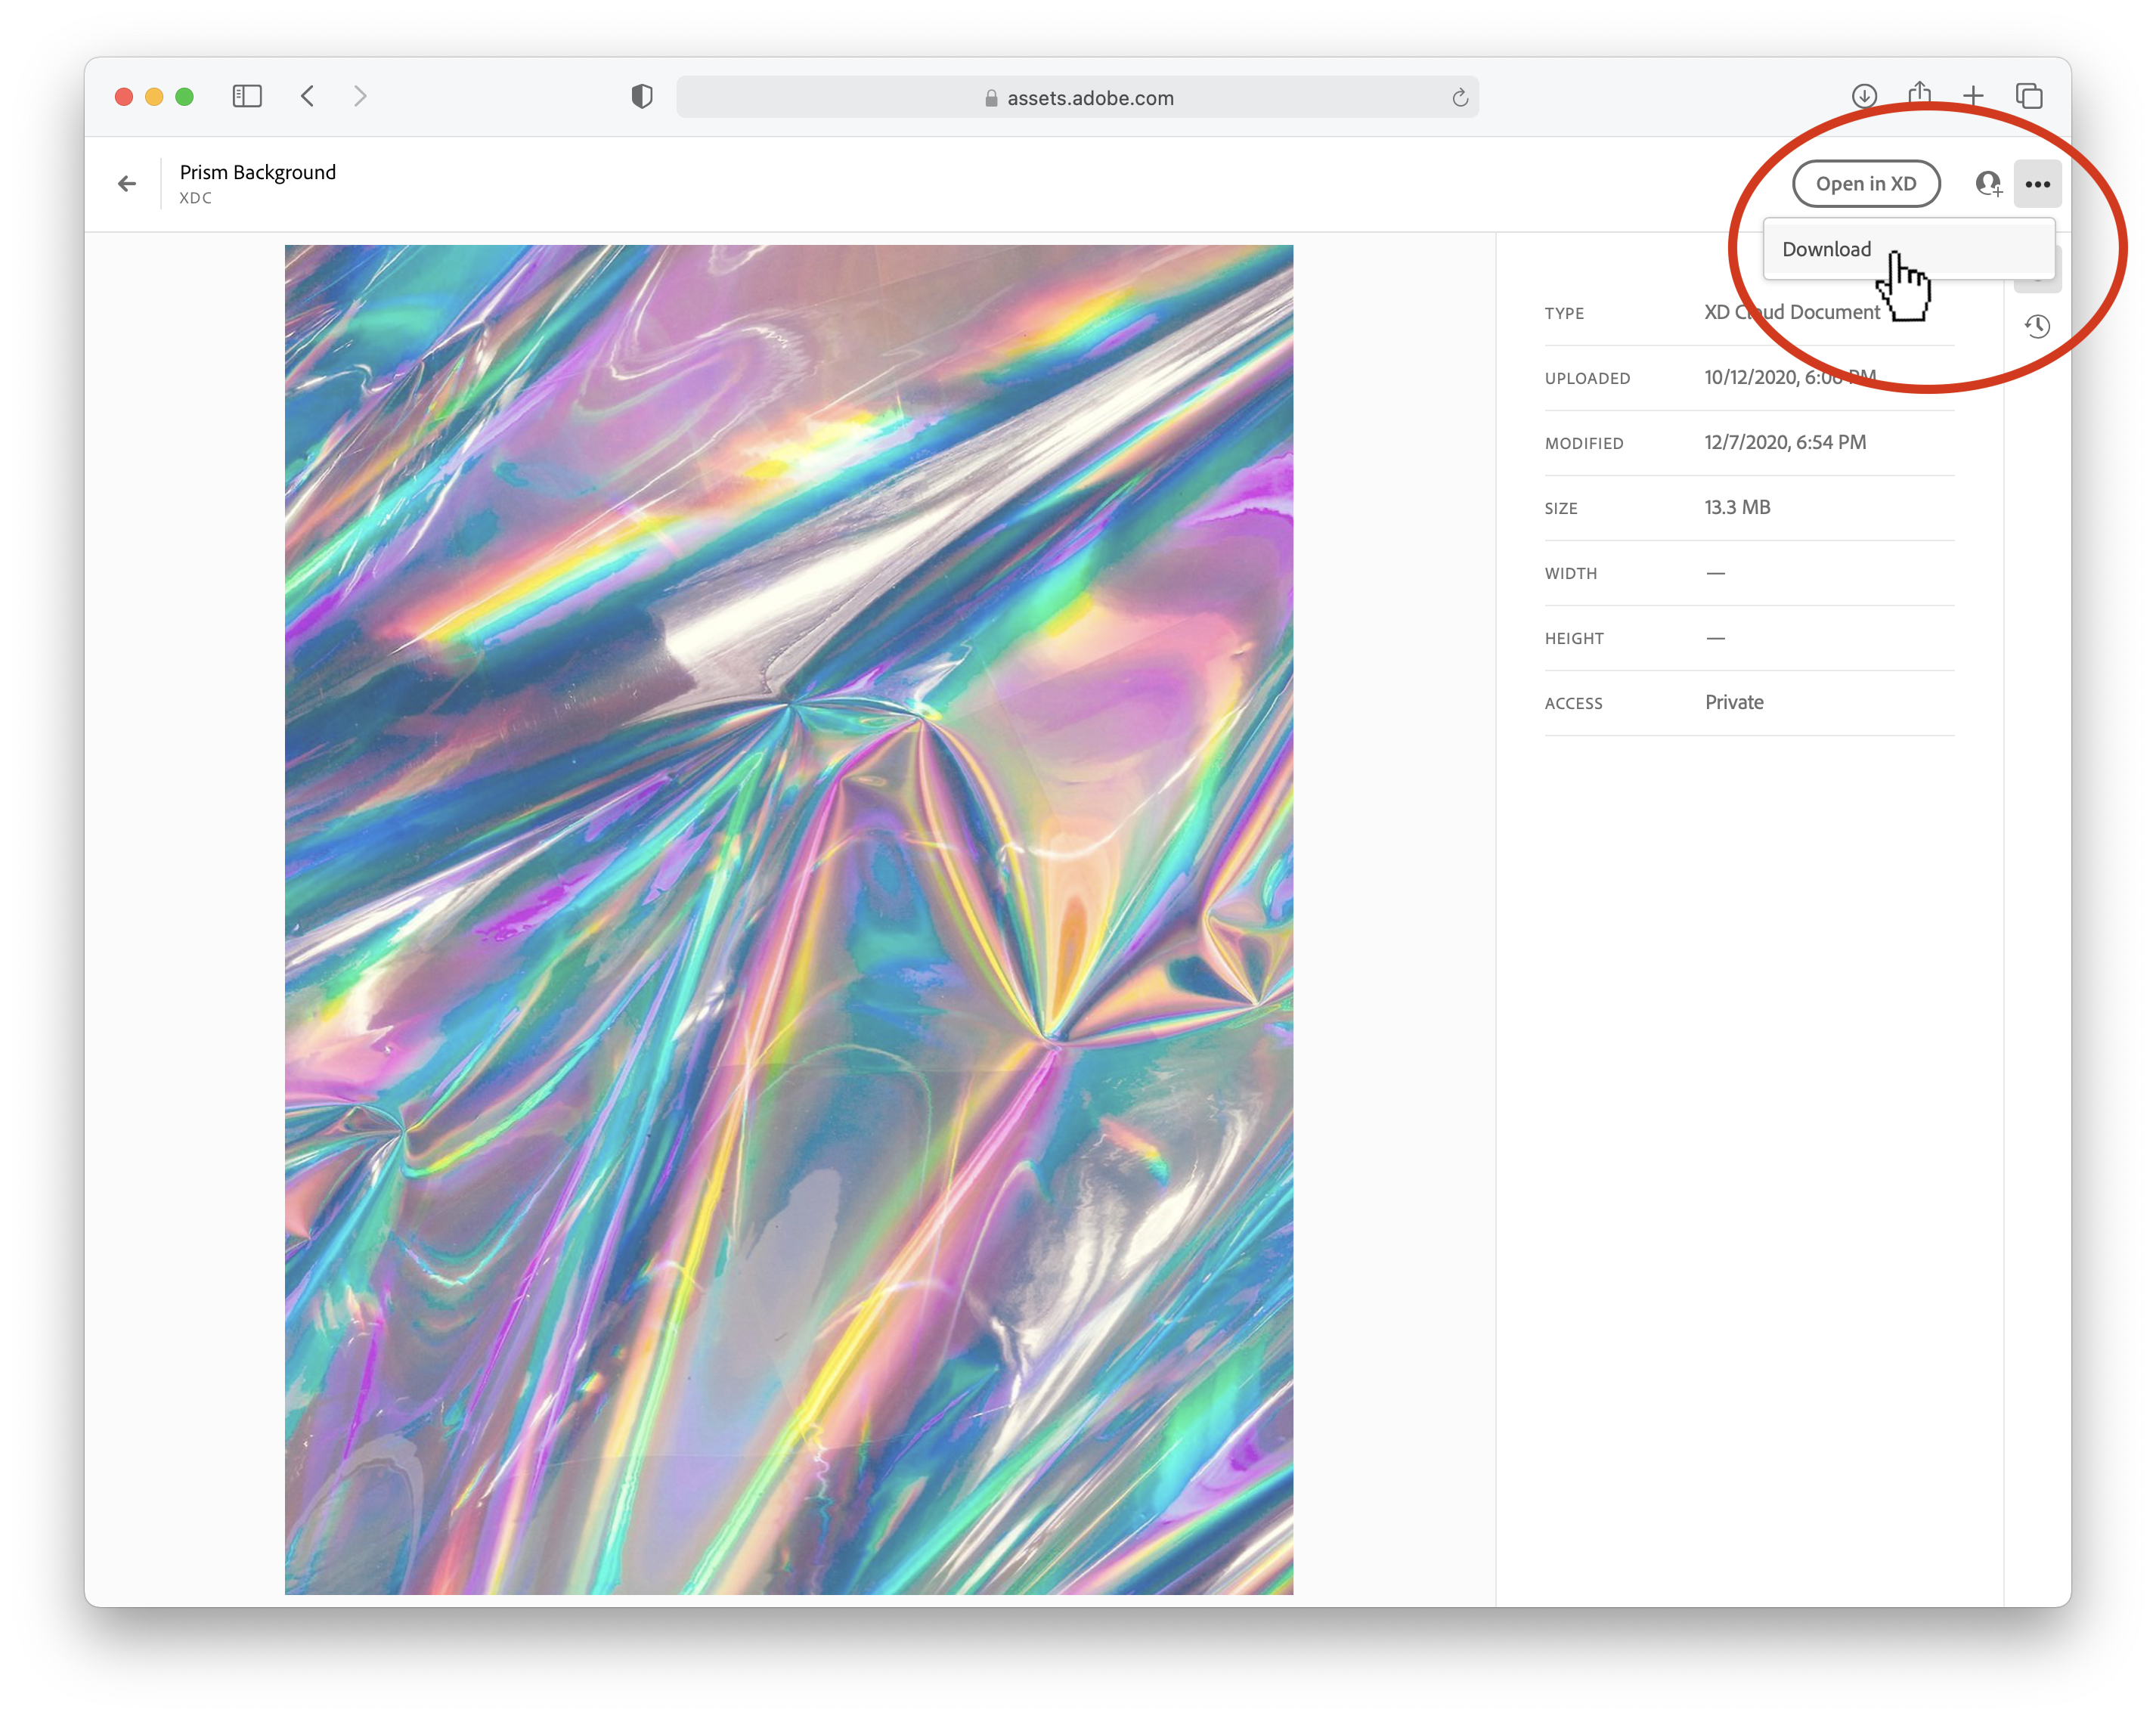
The Creative Cloud app will open up your browser. From here, navigate towards the top far right to click on the ellipsis (the three small dots) and there download your file onto your device.
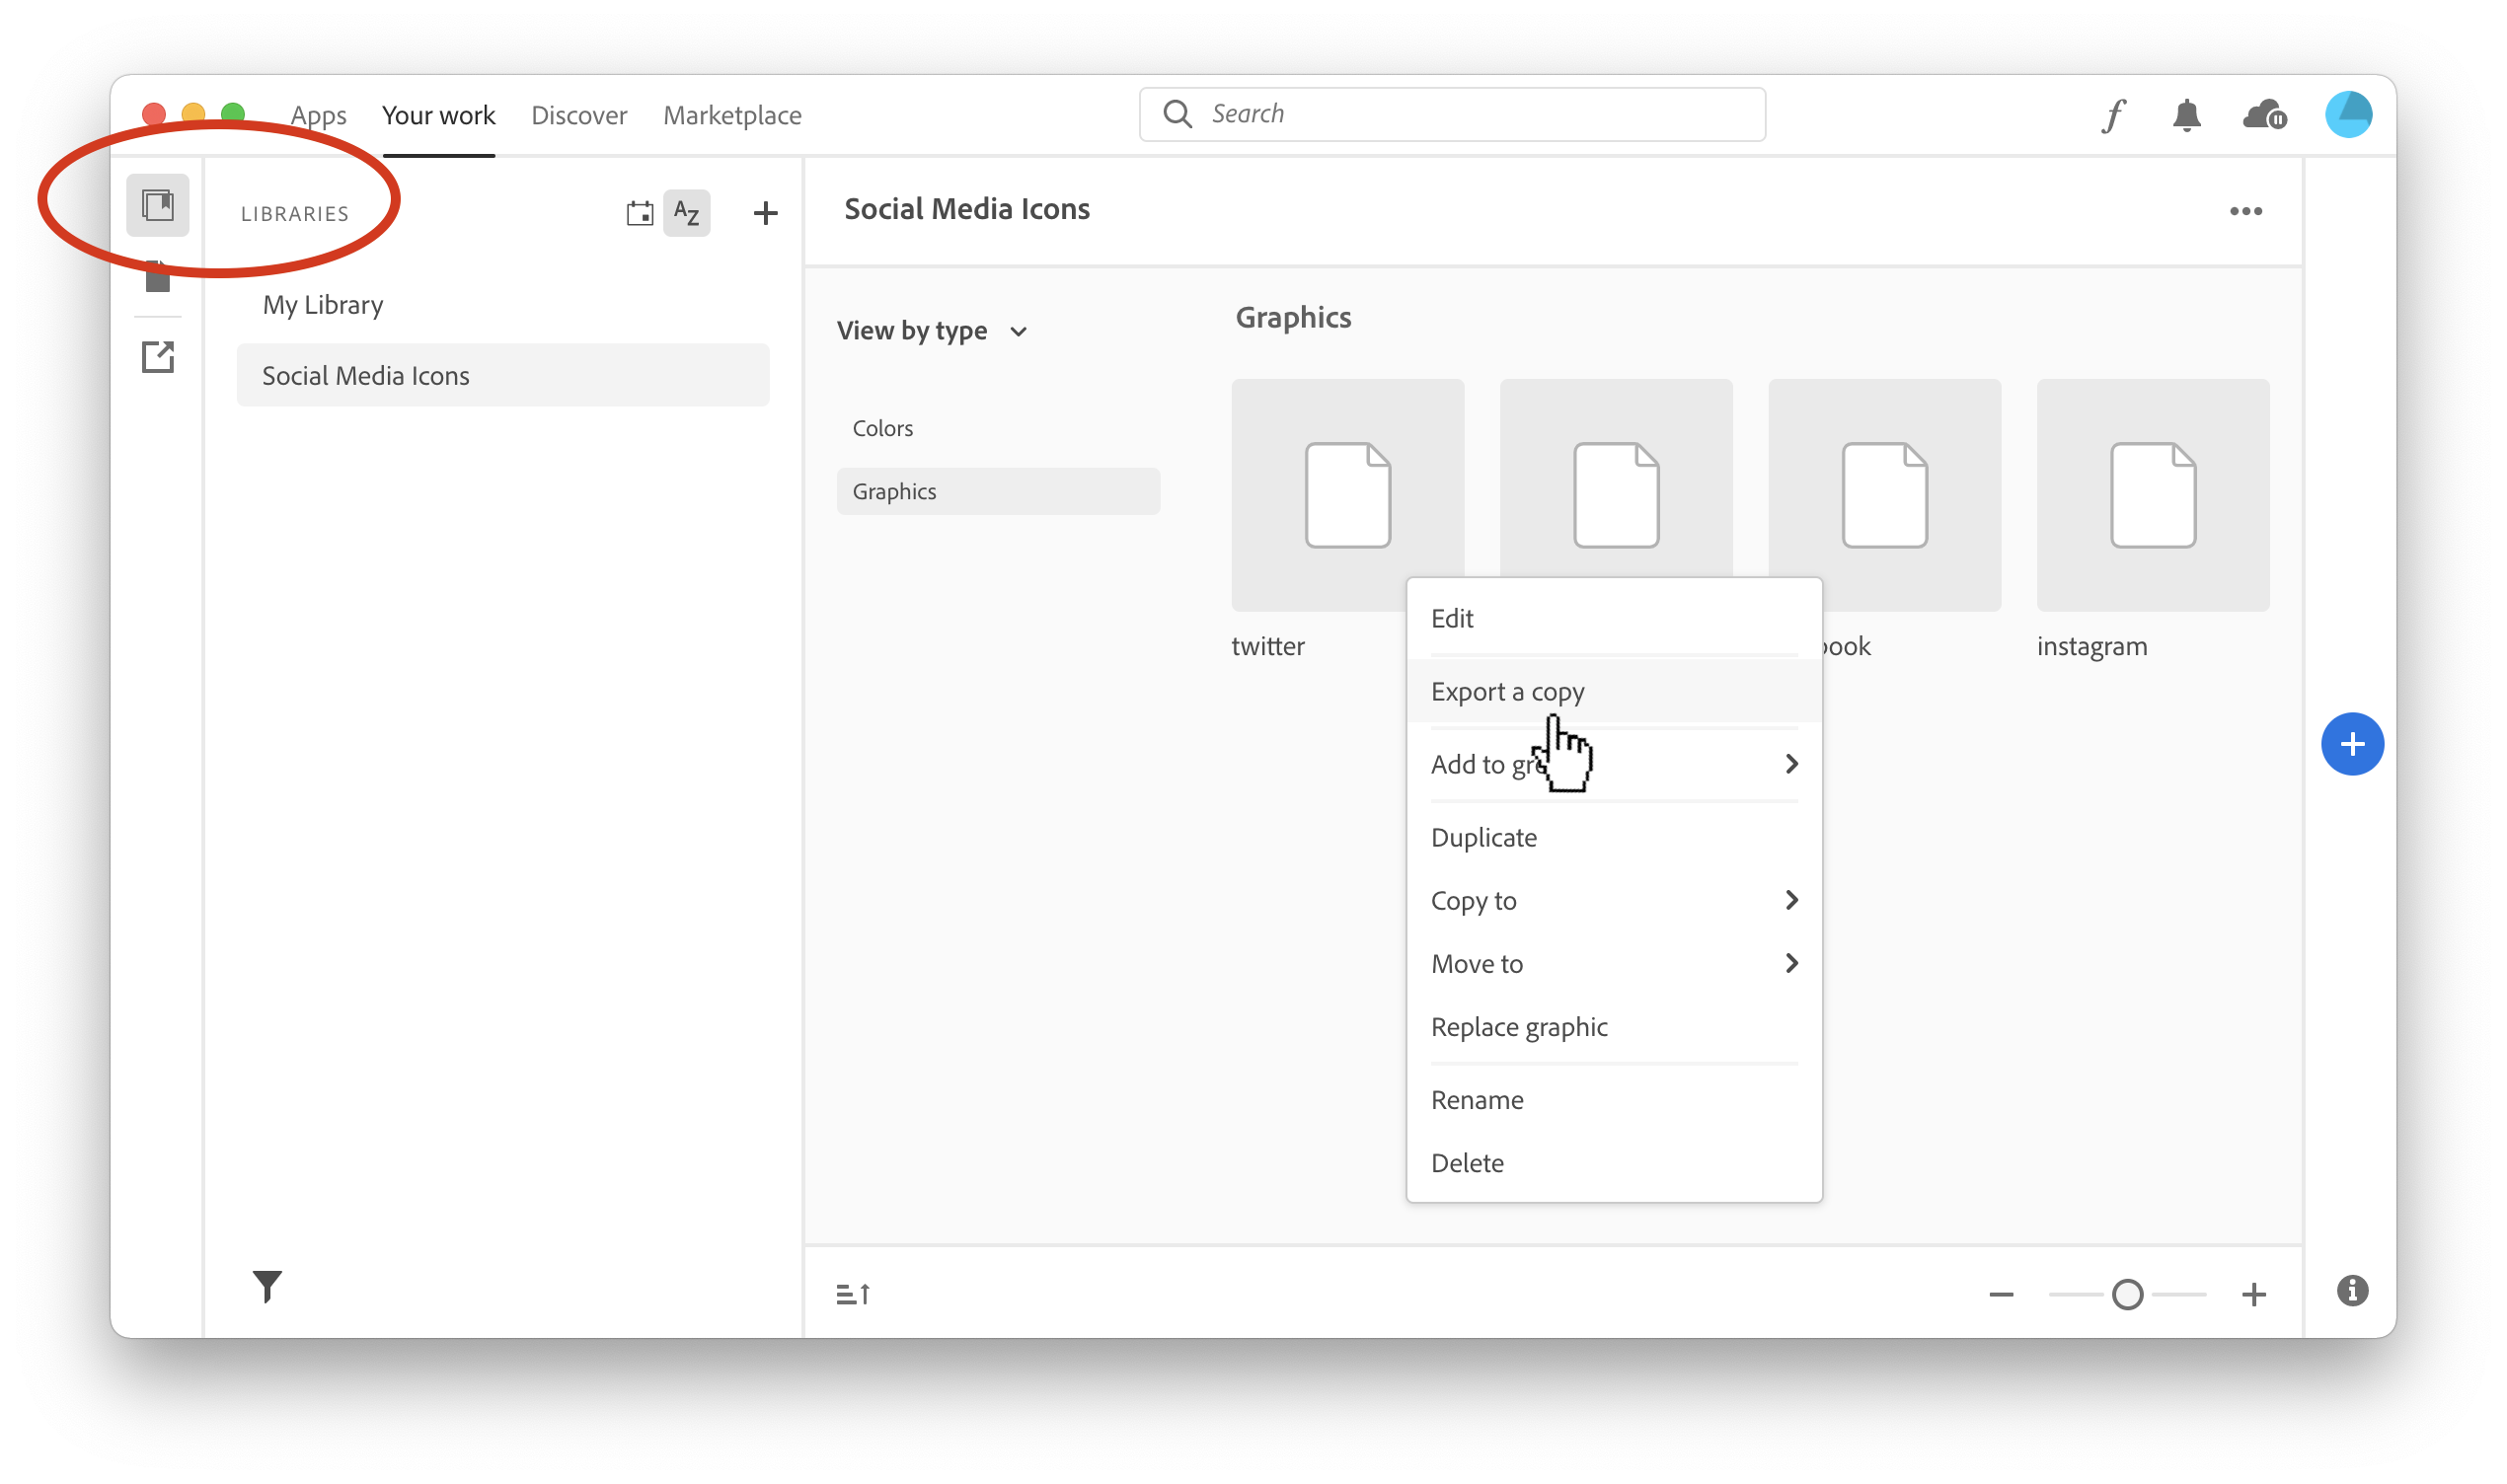
Backing up items from your library:
Click on the icon in the far left upper corner above from “Your Work” to view your library. Right-click on files you want to save onto your device and select “Export a copy”.
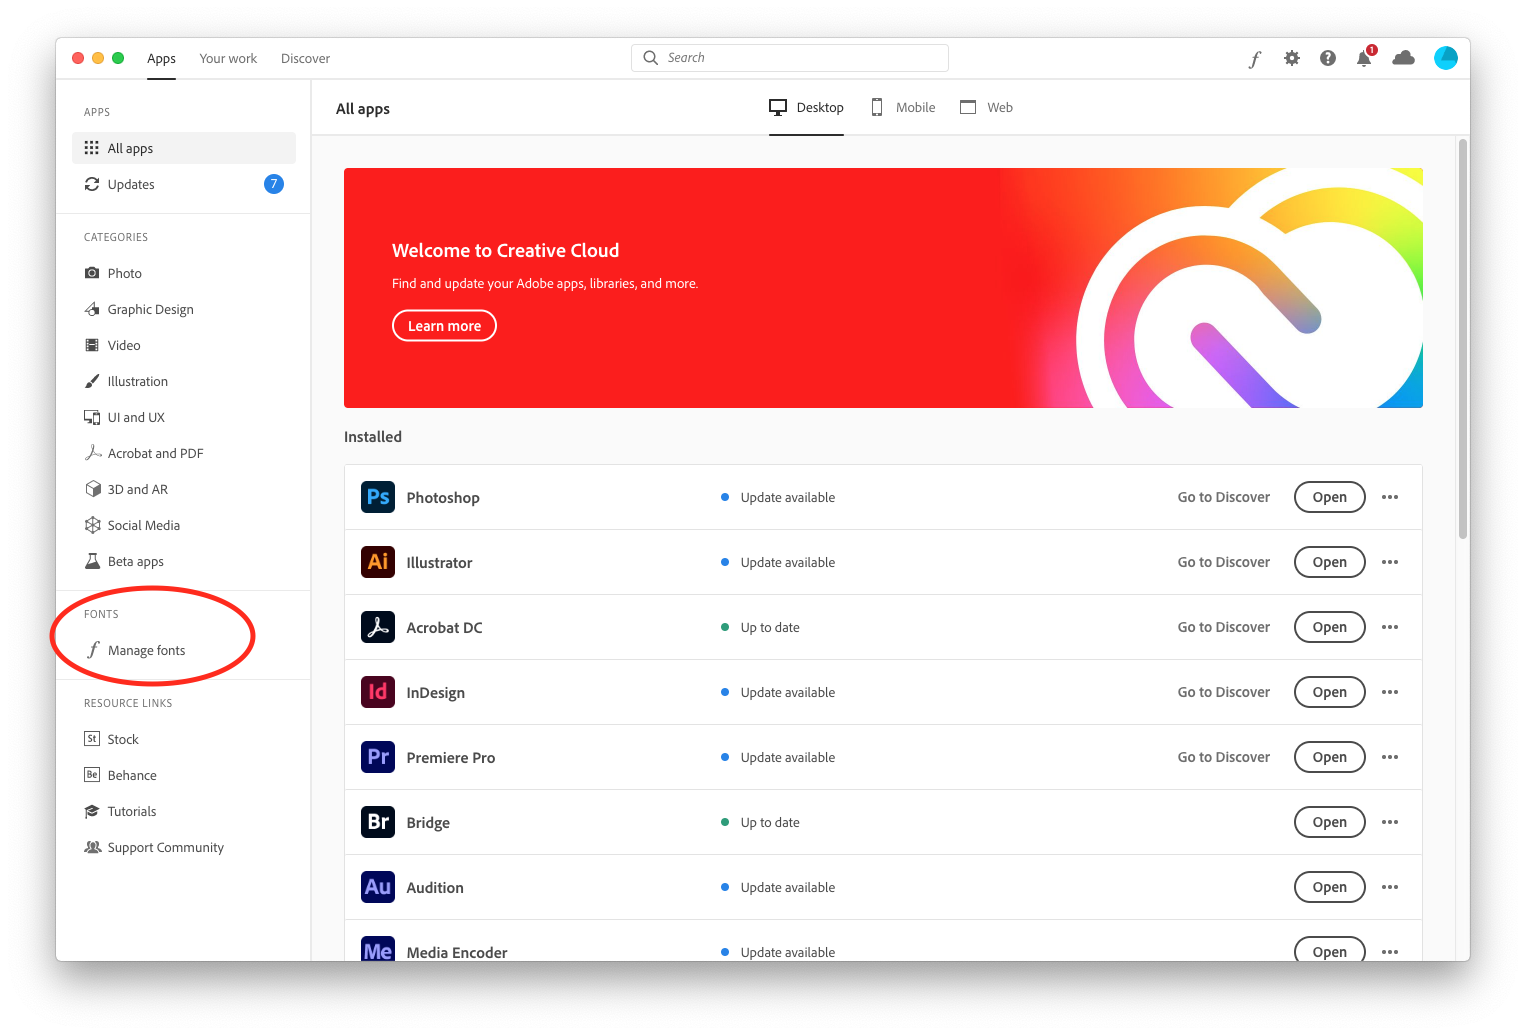
Wether you are in a class that grants you access to the Adobe Creative Cloud or you have it on your own, you should understand how to use the vast library of Adobe fonts that are included with your subscription. Check it out below:
Fist open the Creative Cloud App on your computer and click Manage Fonts on the left side.
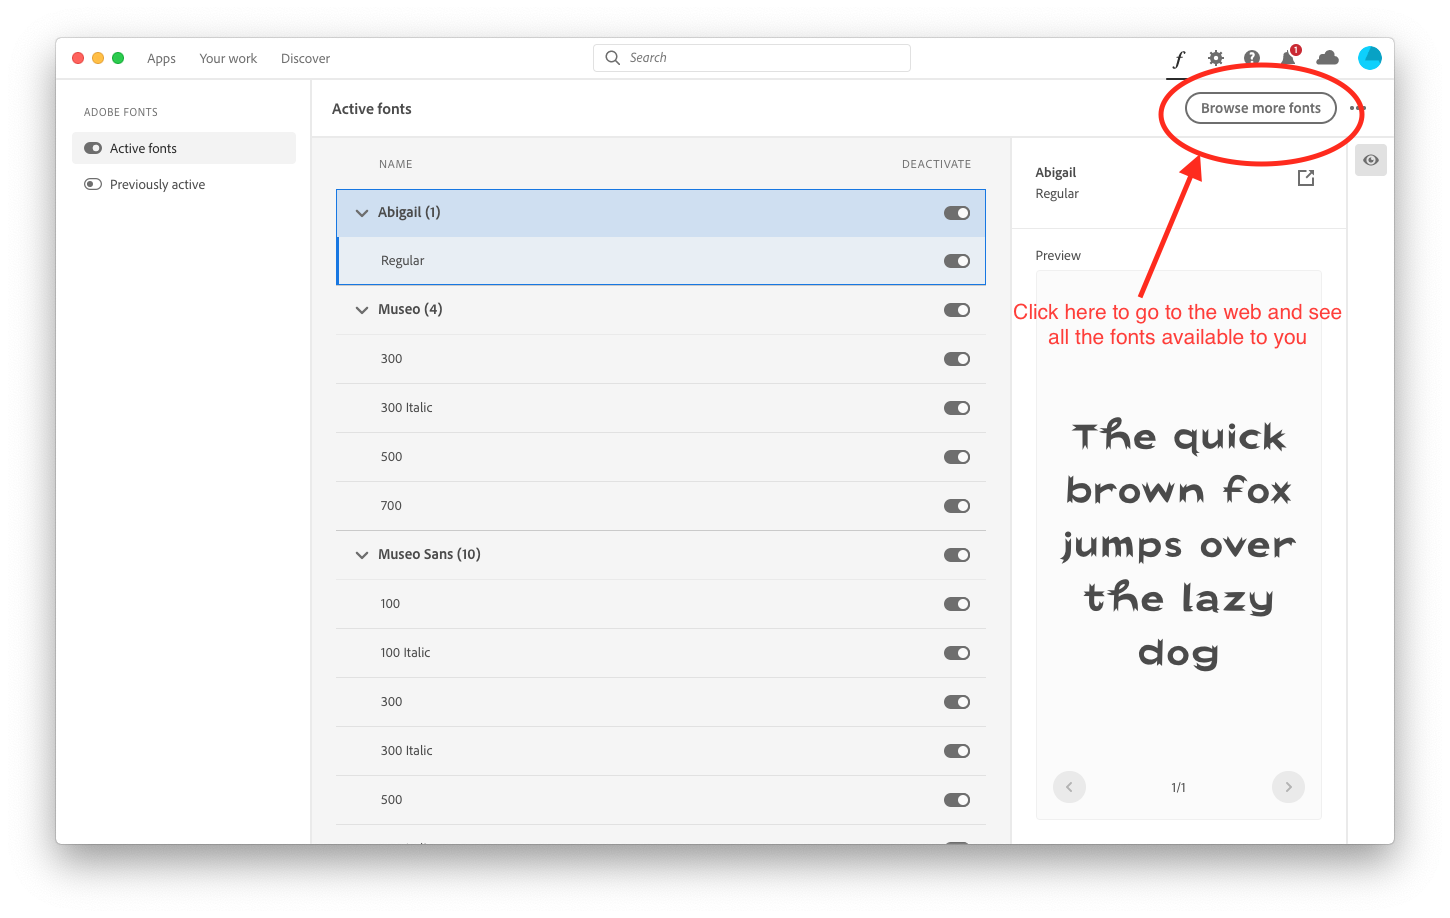
The you will see all the Fonts from the creative cloud that are active on your computer in the next window. You can turn them on and off here or you can Brows more fonts by clicking the button on the top right,
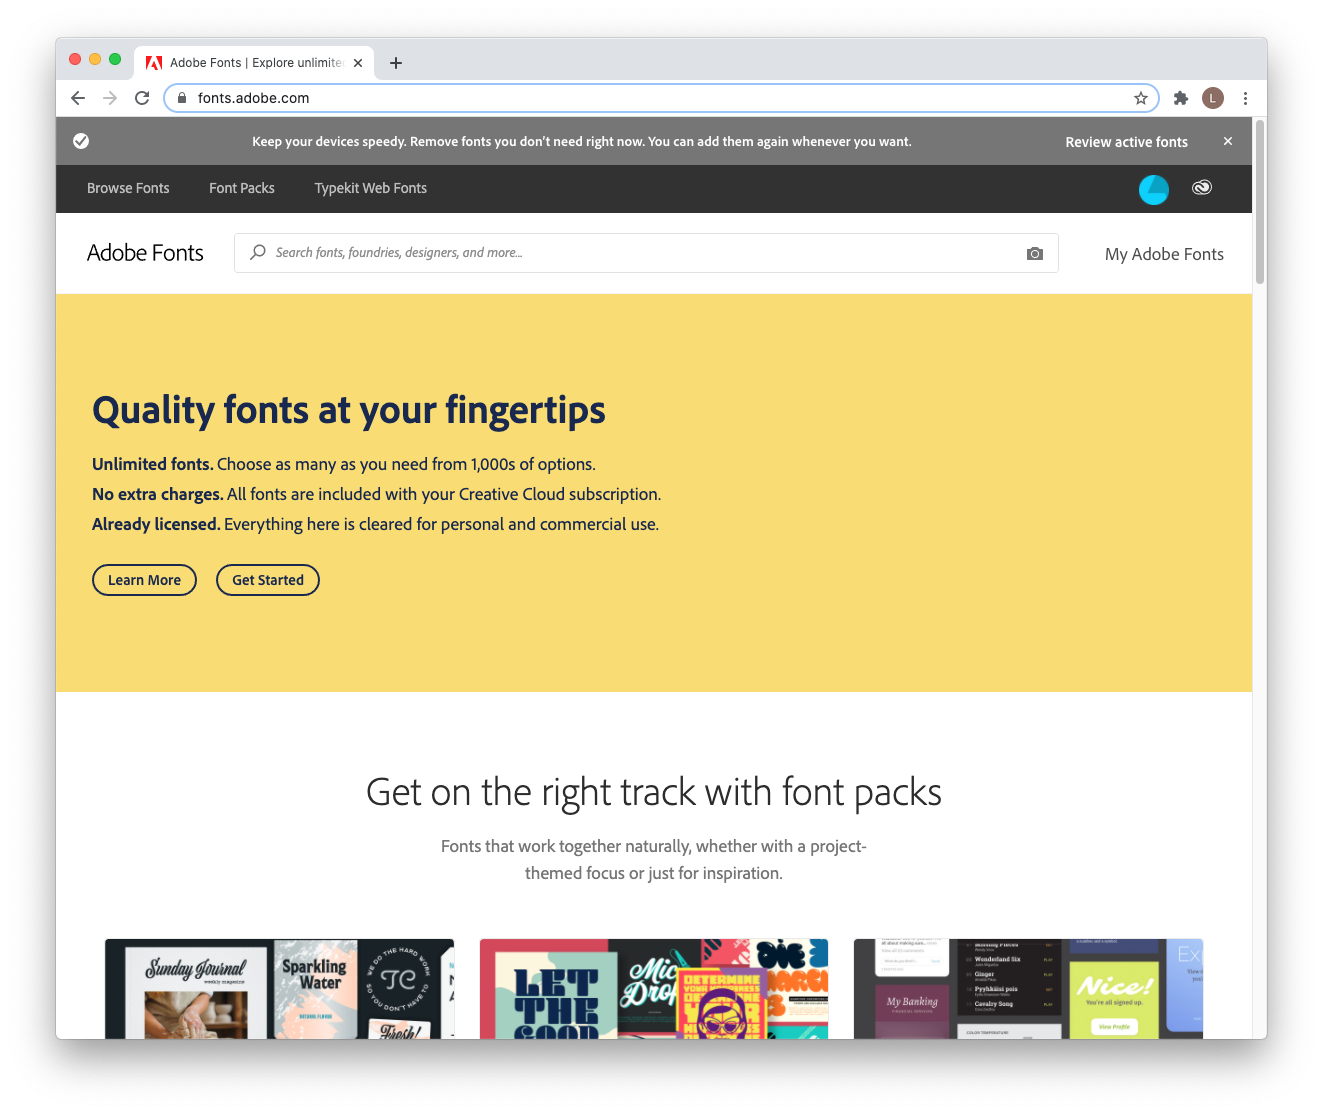
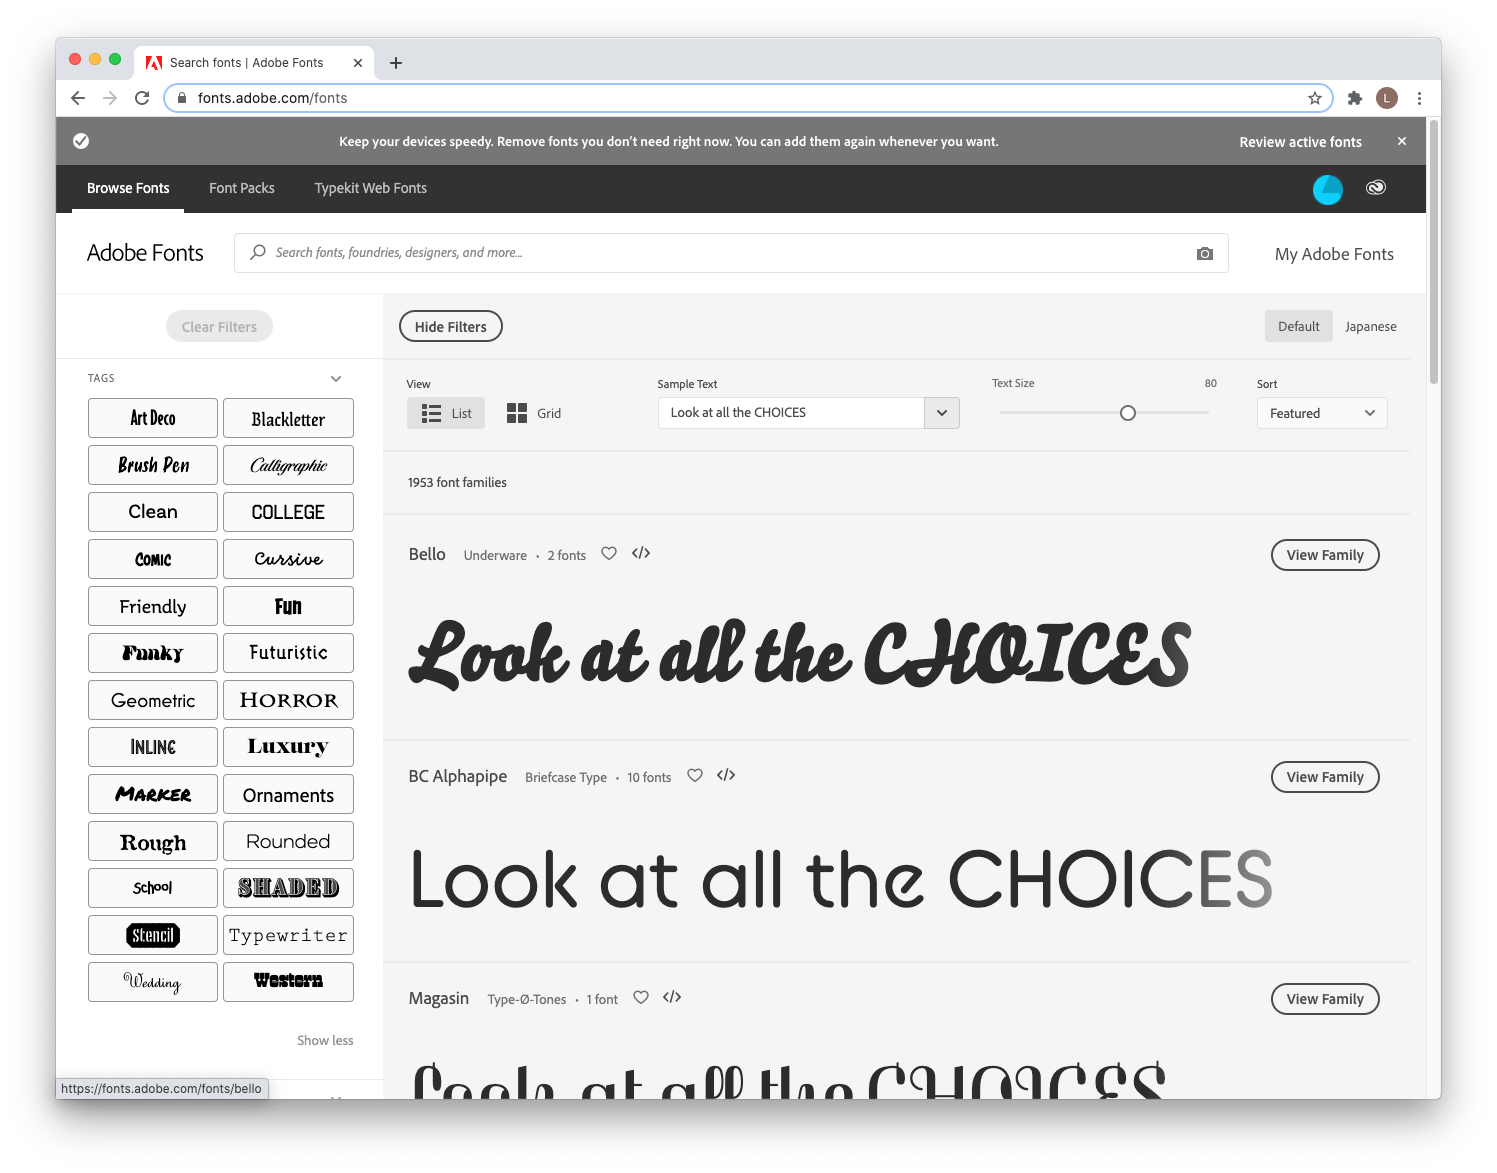
This will take you to fonts.adobe.com where you can sign in using simmons.edu and your Simmons credentials to see all the fonts you have access to.
Just click on get started and you will be taken to the Fonts Library
If you have more questions or need more help reach out to the lab team so they can better assist you. (Click that button at the bottom that says “ASK THE LAB TEAM”)