A Quick and Easy Way to find a File’s path (on Mac)

Open terminal. My preferred way is to use the Spotlight Search. Command + Spacebar brings up spotlight search. Then type in “terminal”.

(A screenshot of the Spotlight Search bar pulling up Terminal)

Open terminal. Then drag the file you wish to know the path of into the terminal.

(A screenshot of the terminal after I have dragged and dropped a file into it)

Your terminal should look something like the screenshot above. the path beings after the user is specified (~User’sNameIsHere$). For example, the path is /Users/User’sNameIsHere/Documents/01\ Drawings/0\ show\ off/cat01.jpg in this case.

The end

Backing Up Your Work

Backing up your work is essential in our current day and age. There are so many ways that files can be lost or damaged that it is nearly guaranteed that it will happen at some point or another.

Another great reason to back up your files is because devices have limited storage. If the internal storage is full, this can cause many issues. Being able to clear out the less used files while still knowing that you have them stored in a back up is the perfect solution for that situation.

How To Geek has an excellent article that outlines not only why you should have multiple backups but also provides you with several different ways to back up your files.

Backblaze has a quick video that gives an overview of the different forms of back up that you can use and mentions pros and cons for each.

This video does imply that dropbox, google drive, or other similar online drives aren’t good backup solutions. And while you shouldn’t rely on them as your only form of backup (for the reasons stated in the video) they are still valid options for backing up your work as they are secure and easy to access.

Checking Your Storage on your Device

A lack of space on your computer can cause a number of problems. Because of this, one of the first things I check when attempting to find the source of an issue is the storage space available.

How to check storage for Mac:

Open the apple symbol in the top left corner of your screen. Select “About This Mac”.

(Picture shows the Apple symbol drop down menu with “About This Mac” highlighted).

Once “About this Mac” is opened, navigate to the “Storage” tab. The amount of storage you still have available is shown above the bar that color codes the percentages of storage being used by specific categories.

(Picture shows annotated screenshot of the Storage tab in the About This Mac window).

If you are out of storage, the best solution would be to back up your device and then to remove unnecessary files from your device. A short term solution would be to select “Manage…” which will open up a new window.

From there, select “Review Files” and you will be presented with the option to sort through your documents and permanently erase those files which are unnecessary.

For Windows 10, there are two ways to check the storage space availability:

First, open file explorer. This can be done by opening any folders or by tapping the file folder icon.

From there, click “This PC” in the navigation column on the left side of the window.

In “This PC”, you should see a section dedicated to Folders and one to Devices and Drives. Select one of the disks or drives in the Devices and Drives section will show you how much storage you have.

Alternatively, you can find the amount of storage on your device through the system settings. To begin, click the Start button and then the Settings icon.

In the settings window, navigate to “System” and then “Storage”. This will show you information about your primary hard drive and more details about how your storage is being used. Similar to the “Review Files” option in macs, this is where you will be given options for sorting through and managing the files and other uses of your storage.

Locking and Unlocking Layers in Adobe Applications

All the adobe applications have a lovely feature called the layer lock. Layer locks are used to prevent working on the wrong layer. It’s frustratingly easy to work on layer thinking it’s a different one entirely. Fully locking layers or partially locking layers prevents you from making changes to the layers that are already completed.

From left to right in the Lock Options: Lock Transparent Pixels, Lock Image Pixels, Lock Position, Lock All, and Full Lock.

Fully locking your layer locks all four of the lock options available as well as preventing you from making selections. These are “Lock Transparent Pixels”, “Lock Image Pixels”, “Lock Position”, and “Lock All”.

The Lock Transparent Pixels does what the title suggests and prevents the user from changing any of the transparent pixels on your layer. A shortcut for this is the forward slash key (/).

The Lock Image Pixels prevents the user from painting or editing any of the layer. You can still move, transform, or select items on your layer.

The Lock Position prevents the user from moving or transforming anything on the layer, however it allows anything else.

The Lock All option prevents everything except making selections on the layer.

To apply a lock option to a layer of your choice, you must first make sure you’re on the layer. Select the layer you want to lock and click one or more of the lock options. If you select the Full Lock option (far right), the other four options will turn grey because they are unnecessary with the Full Lock option selected.

Showing Hidden Files on Mac

Everyone with a mac is at the very least mildly familiar with the general setup of Mac computers and their filing system. However it’s lesser known that Mac computers have hidden files.

This is to prevent the user from accidentally destroying their operating system. But what if you need to access these hidden folders? This tutorial will give you a couple of ways to unhide your hidden files, but be very careful. It can be very easy to mess up your operating system while altering these files.


There are a number of ways that one can go about finding hidden files, but the easiest is to use the keyboard shortcut. To do this, you have to open up Finder and navigate to Macintosh HD (Locations => name of your computer => Macintosh HD) and press command+shift+period. You should now be able to see your hidden files.

The hidden files will appear transparent or washed out in comparison to your normal files.

To hide them once more, simply press command+shift+period again.

If you know that the file you’re looking for is in the hidden ~/Library folder (which is not the same as the Library folder you see in the screenshot above) you can go directly to it using the Go tab at the top of your screen. While there, hold down the alt/option key.

While holding alt/option, the Library folder should show up under Home and above Computer in the Go list. (Not shown in screenshot)

This will take you directly to the hidden Library folder.


Another way to find hidden files is through Terminal commands. You can find the Terminal in several ways, but the simplest is to use Spotlight Search. To find the terminal, first open Spotlight Search with command+space bar and then type in Terminal.

Once you have Terminal open, write the following:

defaults write com.apple.Finder AppleShowAllFiles TRUE (then Press Enter for a new line) killall Finder

To hide files again, write the same thing as above, but instead of “TRUE” use “FALSE”.


And there you have it. Those are the two and a half easiest ways to find hidden files on your mac computer. (I count the Go shortcut as the half).

The Importance of Clearing the Trash

Need to clear up some space? Let’s just throw some files in the bin then! But the problem is, that still hasn’t cleared up the space. So long as the trash has yet to be emptied, those files are still sitting on your computer, taking up space.

So how do you fix that? It’s fairly simple. If you have a mac, start with opening your trash bin.

On macs, when you open your trash, it’ll look something like this.

Click on the empty button in the top right corner.

It should ask for conformation before deleting your files. This can be changed in finder preferences.

Click the Empty Bin button and voila! You have emptied your trash and have gained all that space.


But what about for a Windows computer? (specifically windows 10 but I’m sure it can be applied to other iterations too) When you open the trash it doesn’t have a fancy empty button.

Well to start, you won’t open the trash, you will instead right click on it and find “Empty Recycle Bin”.

Click on that and a confirmation message should pop up.

Confirm that Yes you do in fact want to permanently delete these files.

And once again, voila, your problem is solved. You have permanently deleted the pesky files that were taking up space. Rather like the physical trash bin, the digital one should be emptied periodically in order to keep the clutter from taking up too much of your valuable space.

Reformatting A USB Drive

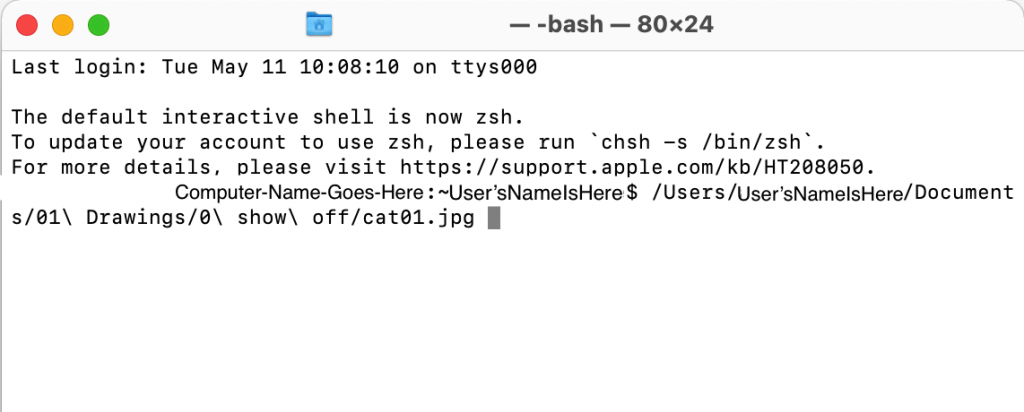
No matter what project you’re working on, most everyone has had to use some sort of external drive to store and transfer data before. Due to the versatility of the computers available to people today and their various operating systems, it should come as no surprise that there is no one “perfect” filing system to be found. Thus, external drives all have different default filing systems and you may need to reformat them to be more compatible with the device you’re using.


Reformatting:

For Apple devices, follow these steps:

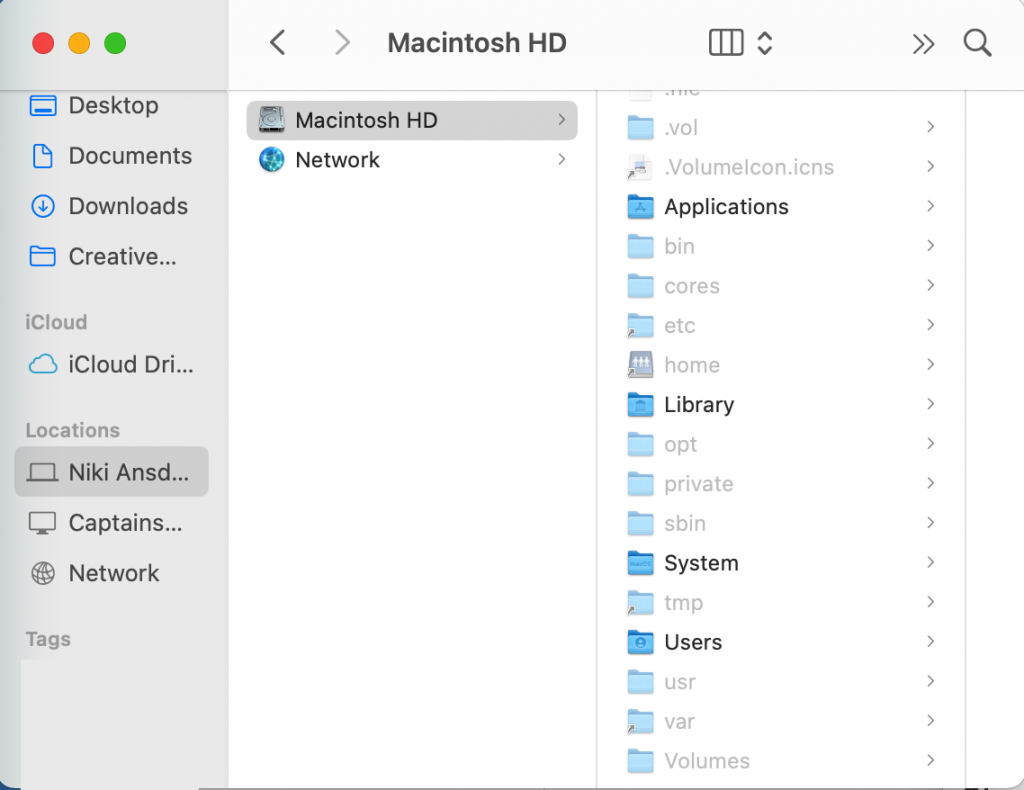
Connect your UBS drive to your computer. Then open the Disk Utility app. This can be done either by finding it on the Launchpad or through Spotlight Search (command+space then type in “Disk Utility”).

Select your USB drive from the panel on the left. (It should be under “External”).

At the bar on the top of the window, select the “Erase” tab. In the “Volume Format” selection box, select the file system you want your drive to be.

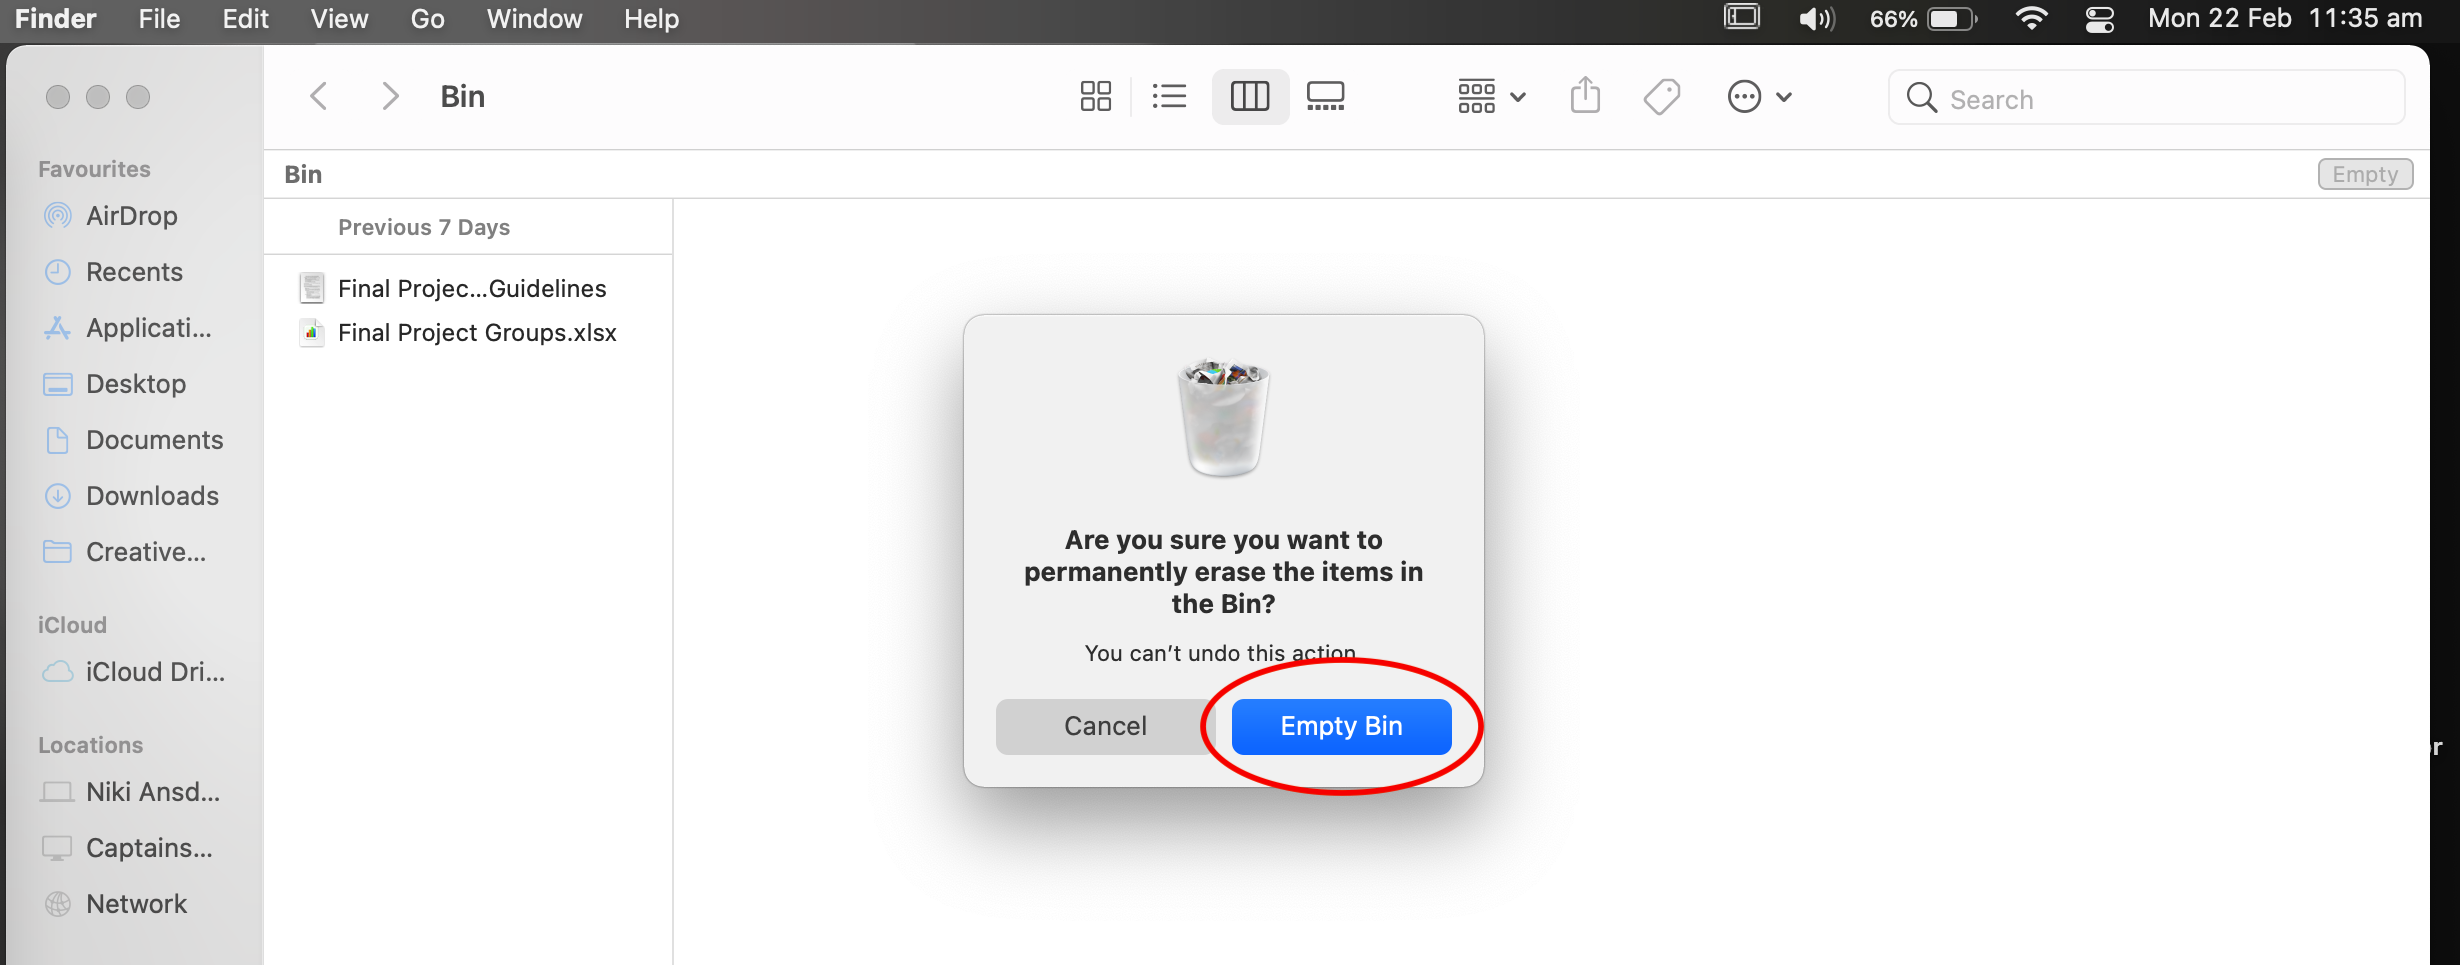
Confirm you want to Erase (Note: This will permanently erase all the data on the device).

Close the Disk Utility window and feel free to use that newly reformatted USB drive.

For Windows 10 devices: 

Open File explorer and navigate to “This PC”.

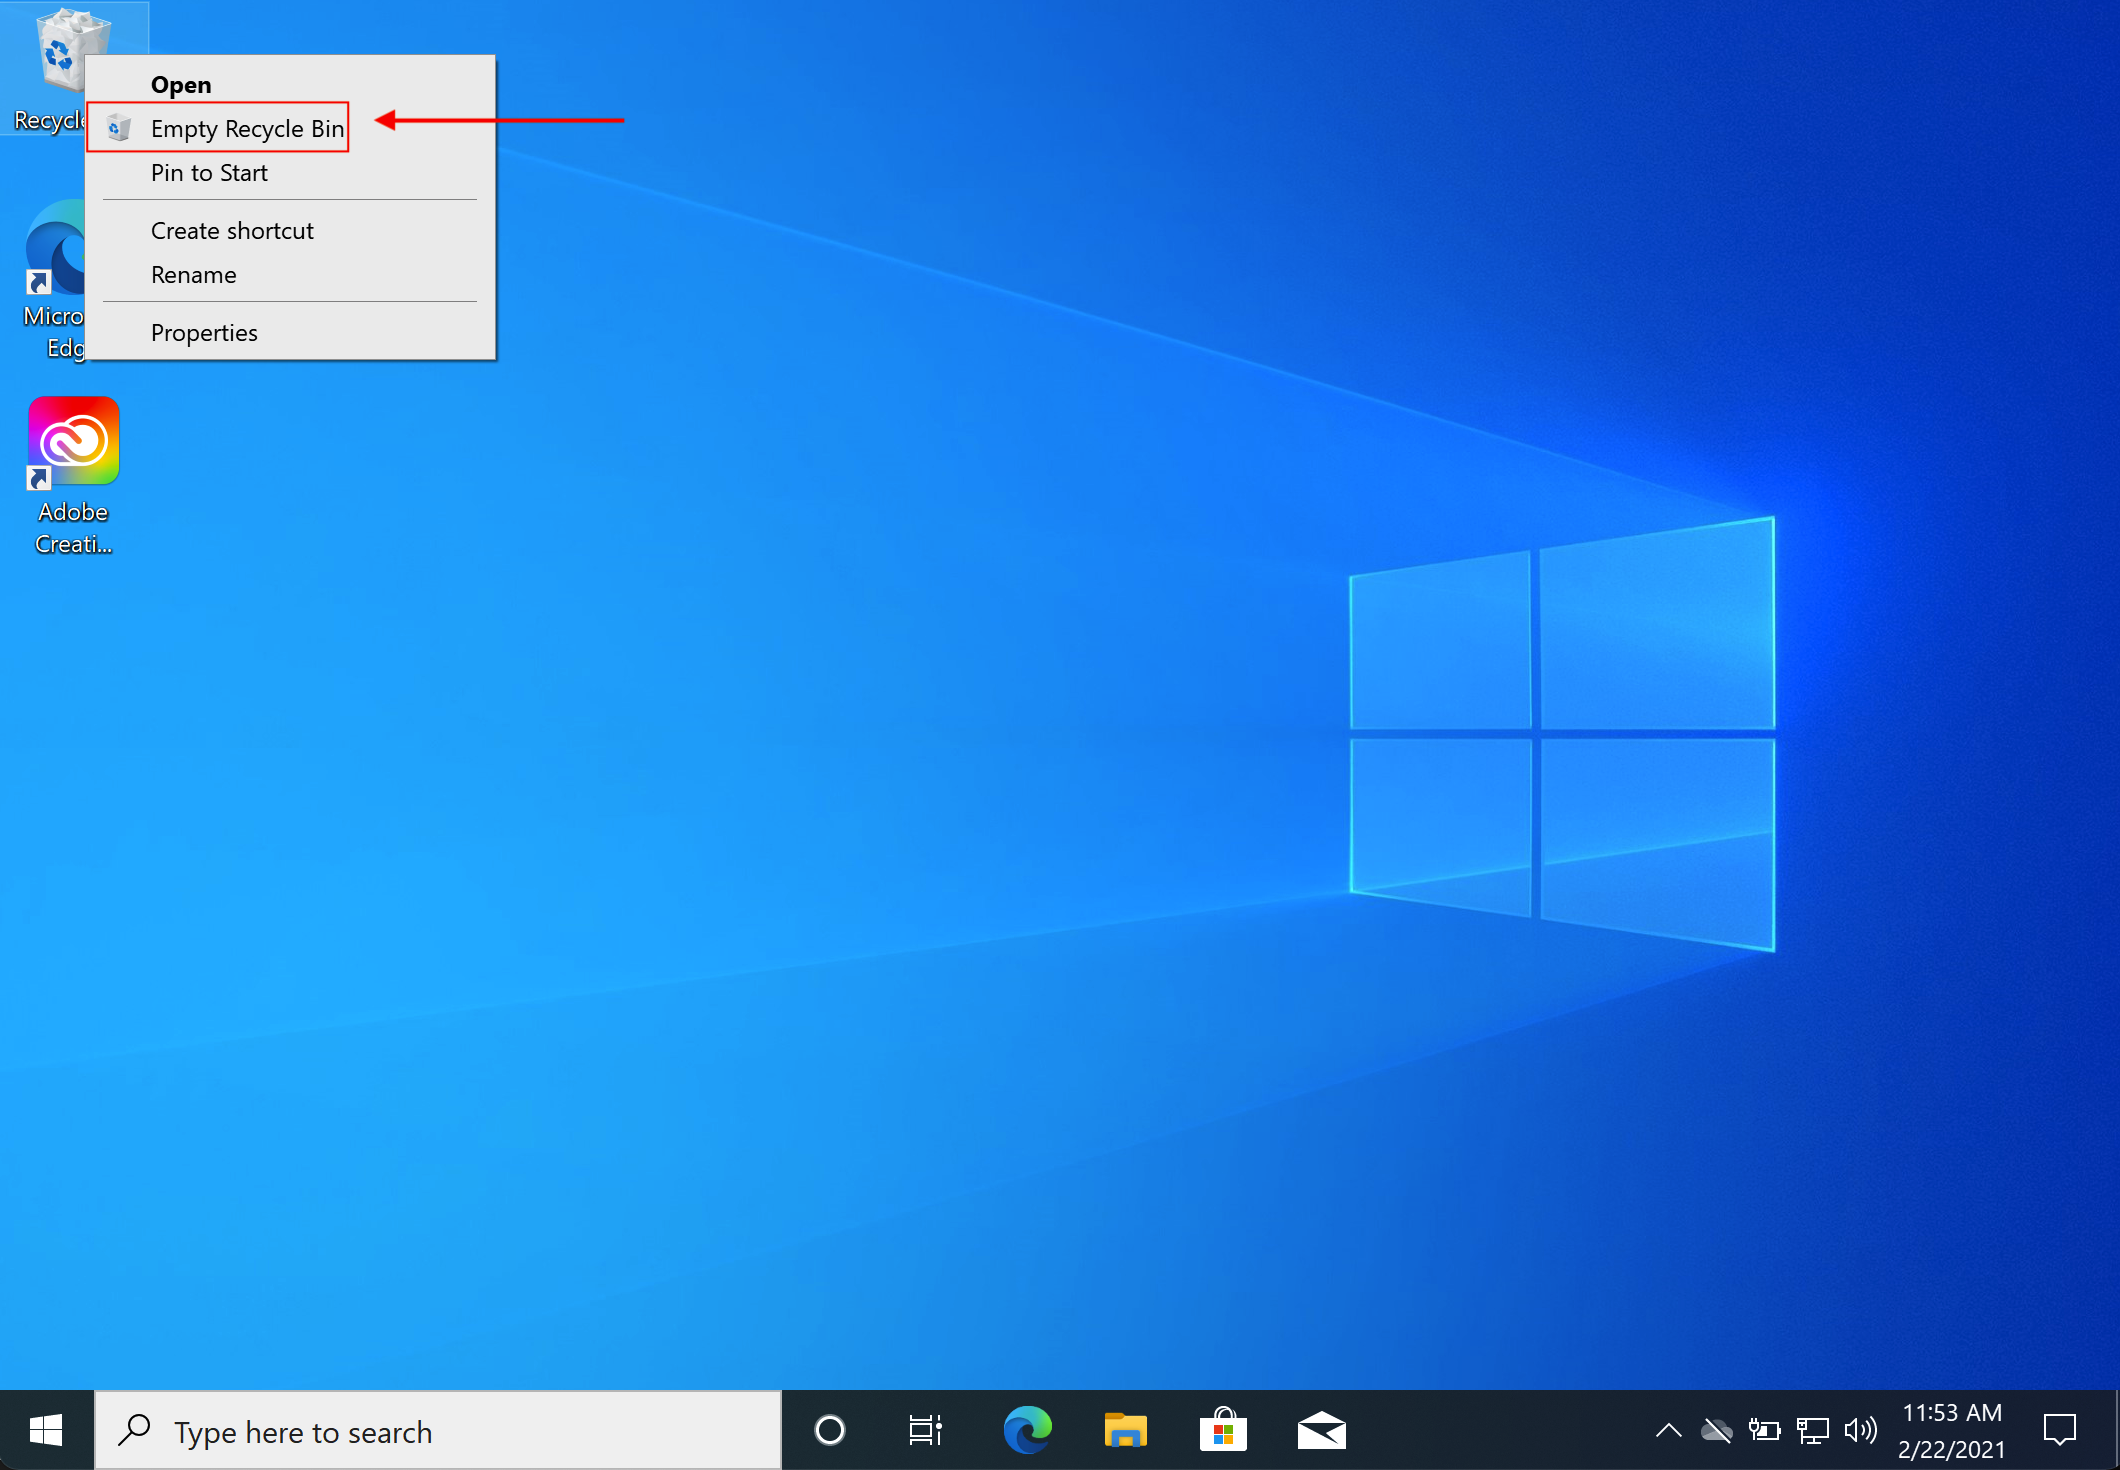
Under This PC you will find a “Devices and drives” section. Once there, find the icon for the USB drive you wish to reformat. Right-click on it and from the drop down menu select the “Format” option.

As it does with the Apple devices, reformatting your USB drive will erase any content still on it.

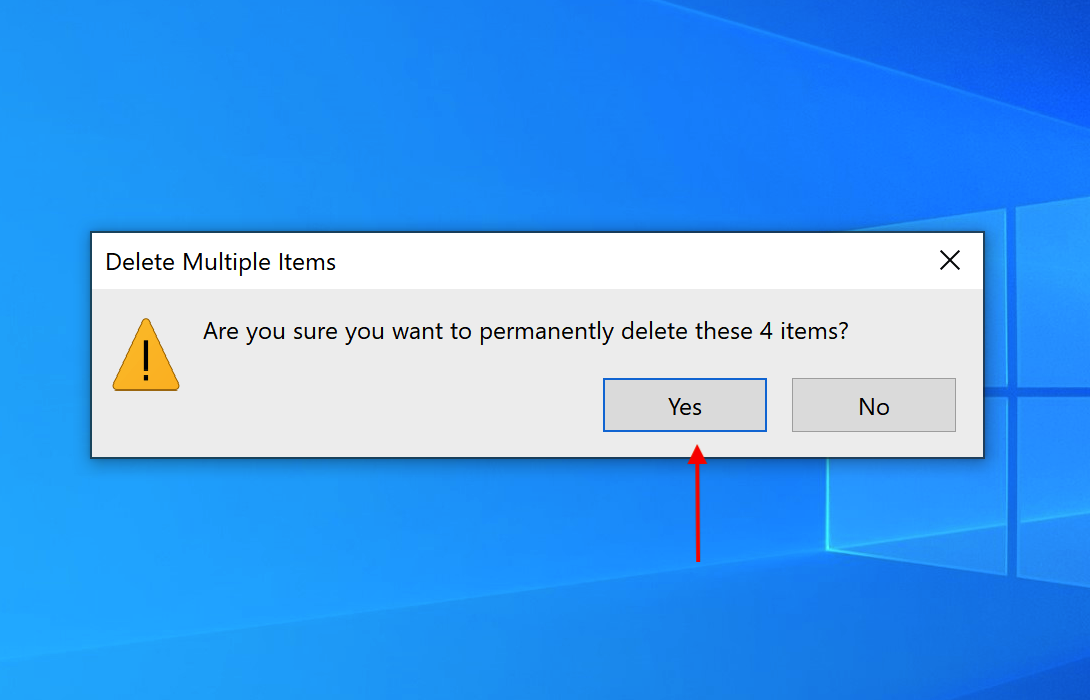
Use the “File system” drop-down menu and select the storage type that you need. Then, click “Start”. A warning message will pop up. Click “Ok”. Another popup will inform you that the format is complete.

Close out of the formatting window and the USB has been reformatted.

(suggested reading: https://www.windowscentral.com/how-format-usb-flash-drive-windows-10 for more Windows options.)


File Systems:

File systems are used to control how data is stored and retrieved. The most likely to be used options that are available are FAT32, exFAT, and NTFS. FAT32 is compatible with Windows XP, 7, 8, and 10 as well as Linux and MacOS. exFAT is compatible with all except the MacOS 10.6.4 and earlier. NTFS is fully compatible with Windows XP, 7, 8, and 10 as well as Linux. It’s read only with Macs.

FAT32: high compatibility, small file size only (4GB max).

exFAT: high compatibility, large file size available (Recommended choice).

NTFS: not recommended for flash drives despite the ability to hold large files. Best for Windows system drives.

Accessing Creative Cloud Libraries

The first step to accessing the CC libraries to find something saved there is to open the Creative Cloud. You can either do this through launching the app or by going to the Creative Cloud website. Once that is done, navigate to “Your work” tab. In both the app and the website it will appear in the top left corner of your screen.

Now in the “Your Work” tab, select “Libraries”. From there, select the library of your choice (mine is “My library”). In the app version, this step is unnecessary as it will automatically pull up your libraries to choose from without first having to select the “Libraries” tab.

That is where your palette is stored. (See the Color Wheel post for more information on the color palettes).

All these screenshots were taken from the online version of the Creative Cloud, however the app is very similar in layout. The only major difference is that you do not have to select Libraries after going to the “Your Work” tab as it will automatically show them.

Using the Adobe Color Wheel

Using the Adobe Color Wheel is a simple way to quickly create a color palette to work with. As stated on their site, the color wheel can be used to generate a color palette which can be saved into Creative Cloud and used for your projects.

On the color wheel page, you can change colors by clicking on points within the wheel itself or by adjusting the sliders at the bottom of the page. With the color wheel, you can choose between Analogous, monochromatic, triad, complementary, split complementary, double split complementary, square, compound, shades, and a custom choice.

The sliders also have a number of options to choose from including RGB, CMYK, HSB, and LAB.

At the top of the page, it lists “Image” and “Extract Gradient” next to “Color Wheel”. In those tabs, you can generate a color palette from an uploaded image. You can change the mood of the auto generated color palette which will change the points selected as color references. By clicking and dragging the color points, you can also manually change individual colors in the palette.

You can also generate a color gradient from that image. Just select an image and it will auto generate a palette or a gradient. You can move the selection points and change the selected colors to create a palette that suits your needs. You can also increase the number of “Gradient Stops” with the slider in the top left corner.

When you’re ready to save the palette, make sure you’re signed in first. Then, go back to the “Color Wheel” tab and you will have the option to name your palette and add tags.

After you’ve named it and hit “Save”, you will get a little green popup stating that the Theme has been successfully added to ‘My Library’.