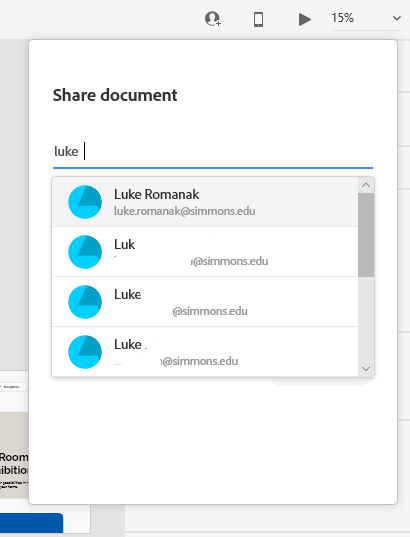
Invite faculty and staff to access your design file by entering their name or email address. Be sure to use your student login in order to successfully find people by name.
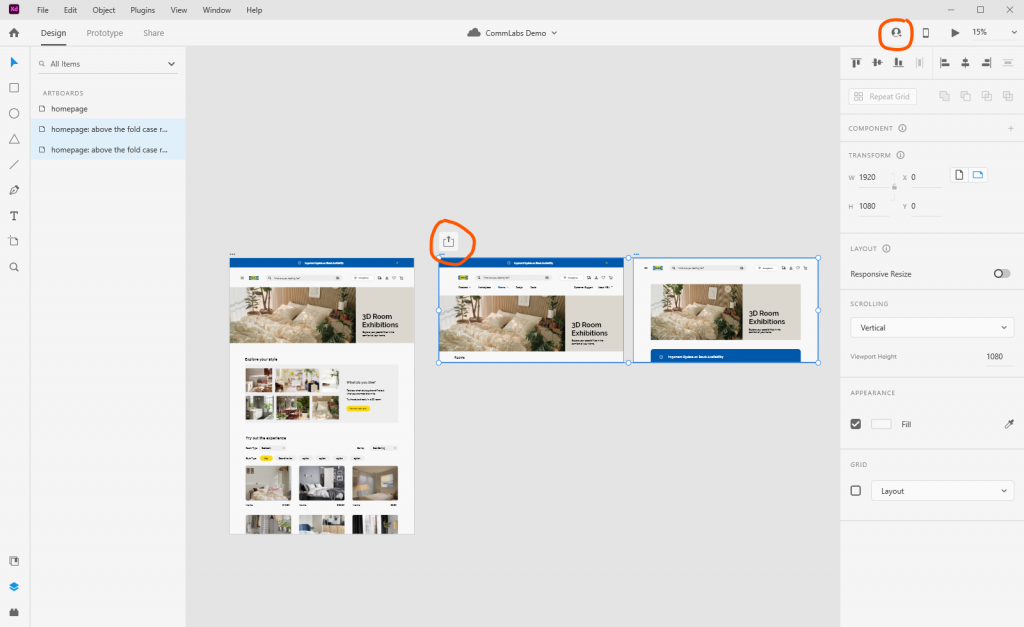
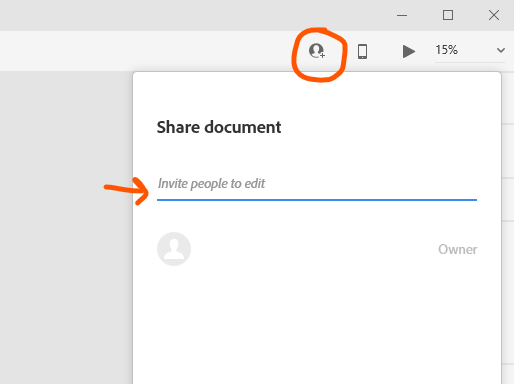
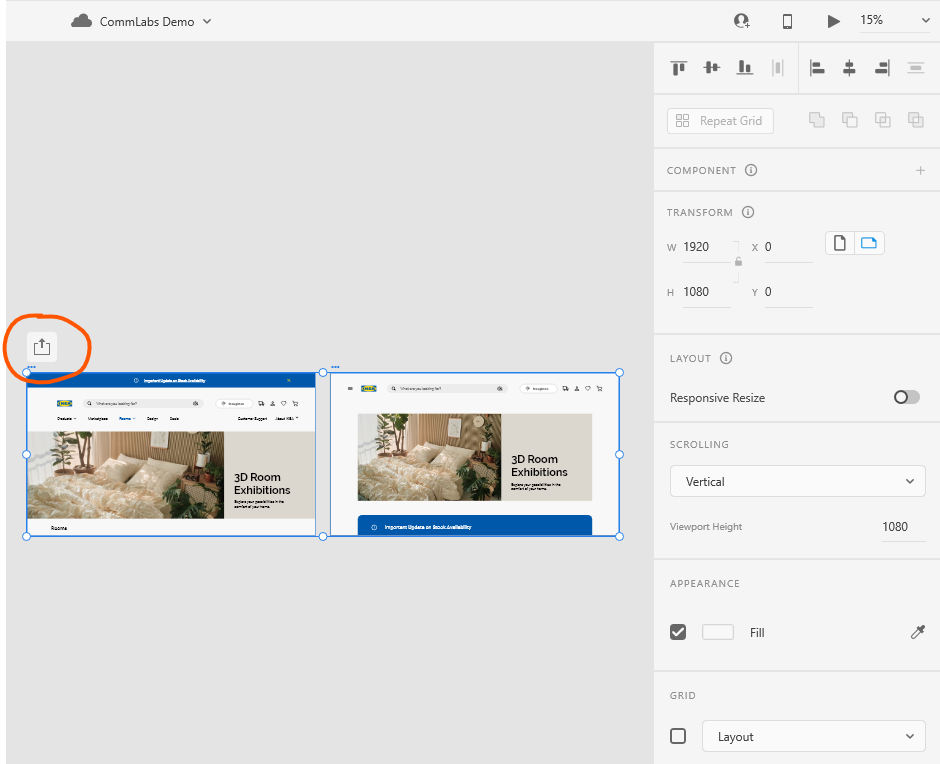
Click on the icon to show the “Share document” popup
Option 1. Find the Simmons faculty, staff, or student you want to give edit access to
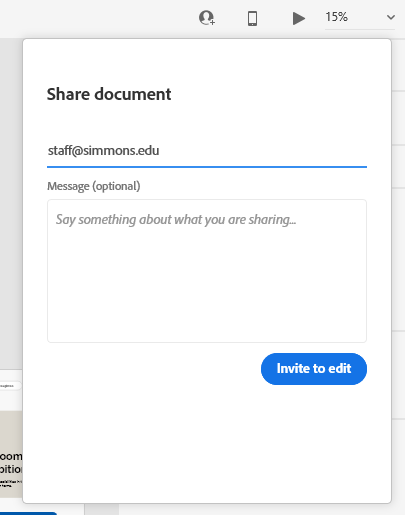
Option 2. Type their email
Sharing a selection of artboards
Share select artboards so they can access only these designs for comment and review.
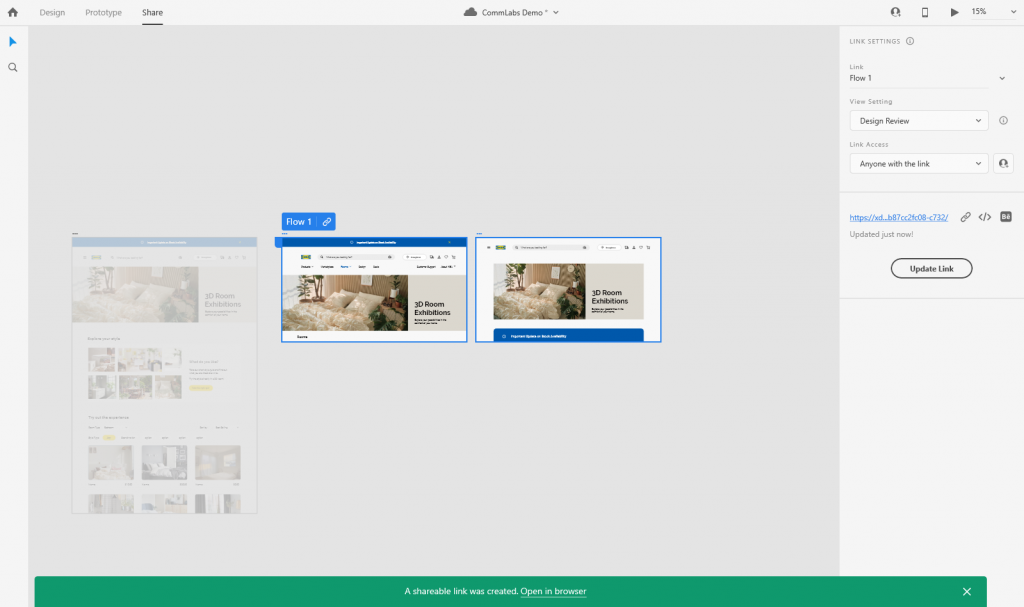
You’re now directed to the Share mode where you can name your link, set its intention (design review, user testing, send to the development team, or presentation). Note: If you update your designs after creating the link, you must update the link.
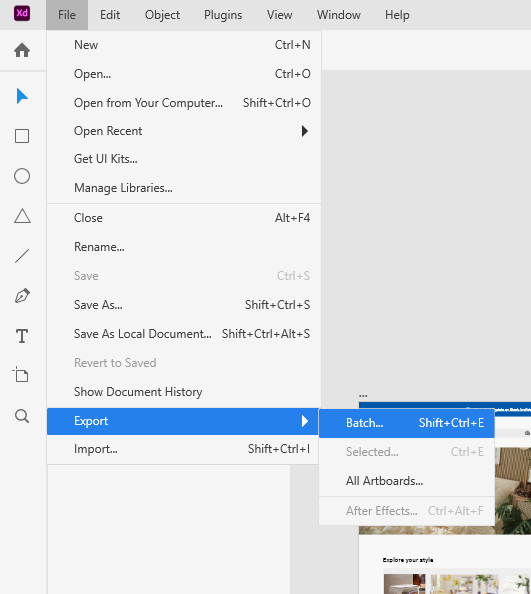
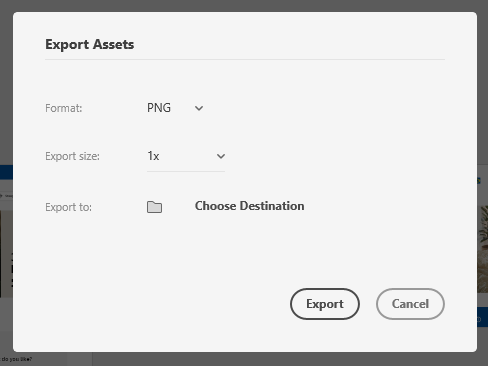
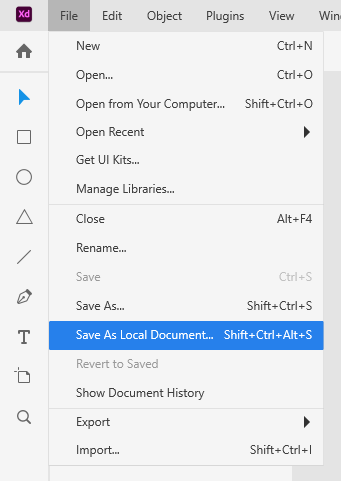
Select an object or an artboard, navigate to File > Export or press Cmd + E.
Windows
Select an object or an artboard and navigate to File > Export.
Batch: You can batch export assets that are marked using Mark for Export option in the Property Inspector. To export multiple objects as a single asset, group the objects before export.
Selected: You can select and export specific assets.
All artboards: You can select all the artboards for export in a design project.
After Effects: You can select the asset to export to After Effects.
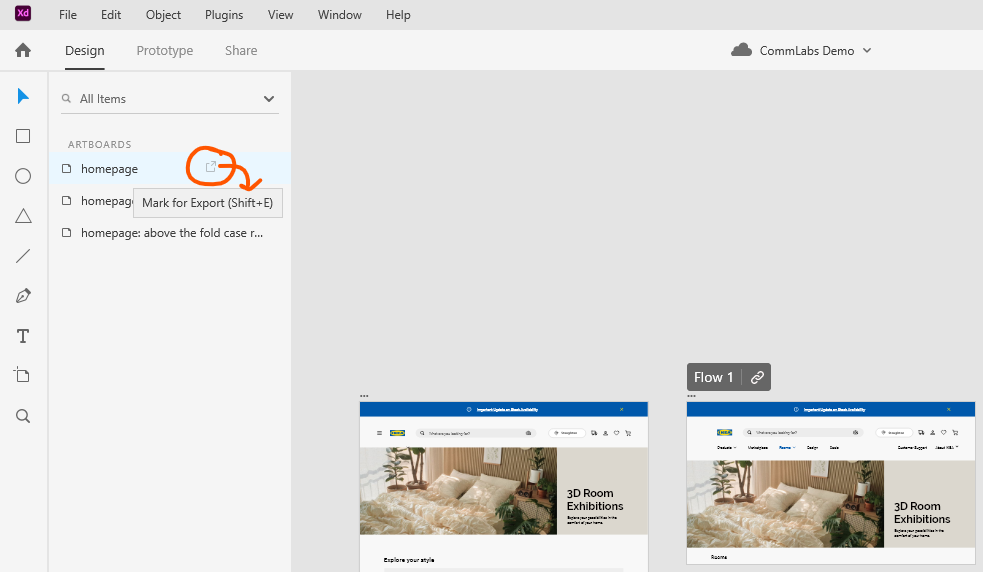
Mark artboards for batch export
Go to your Layers panel (hotkeys: CTRL + Y) to view your list of artboards
Hover over an artboard to show the Mark for Export symbol or use the keys Shift + E. Click on the button.
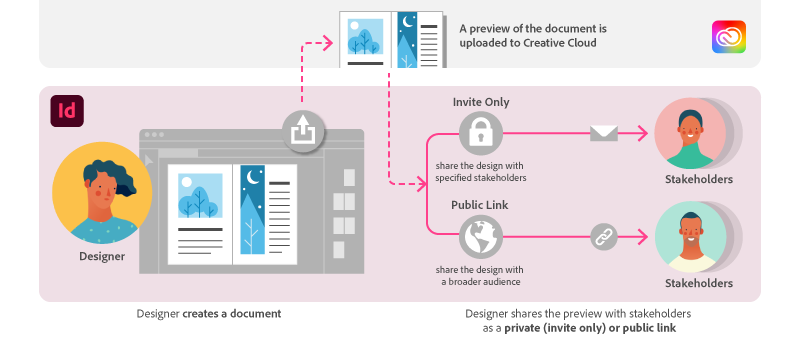
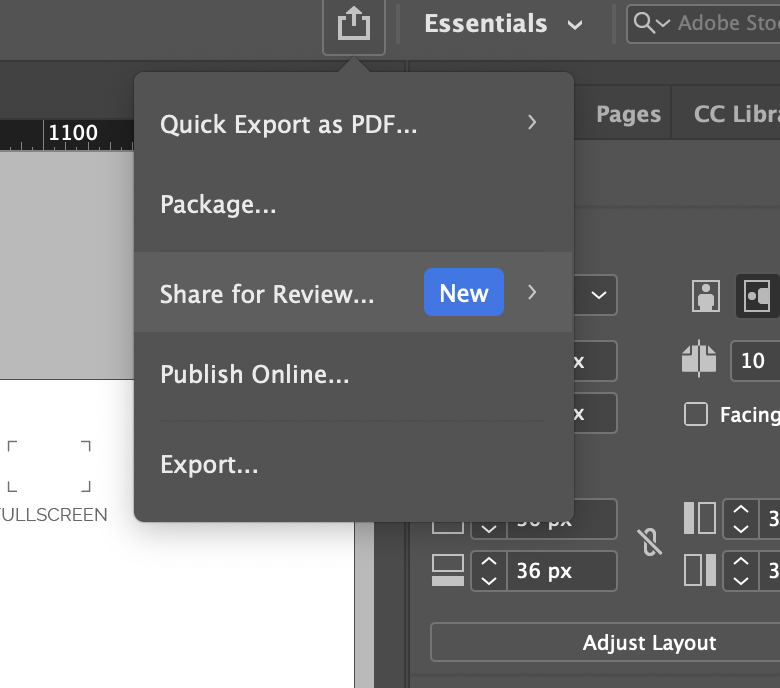
Step 1. Click on the share icon on the top right section of the navigation. It’s located on the left side of the workspace dropdown menu.
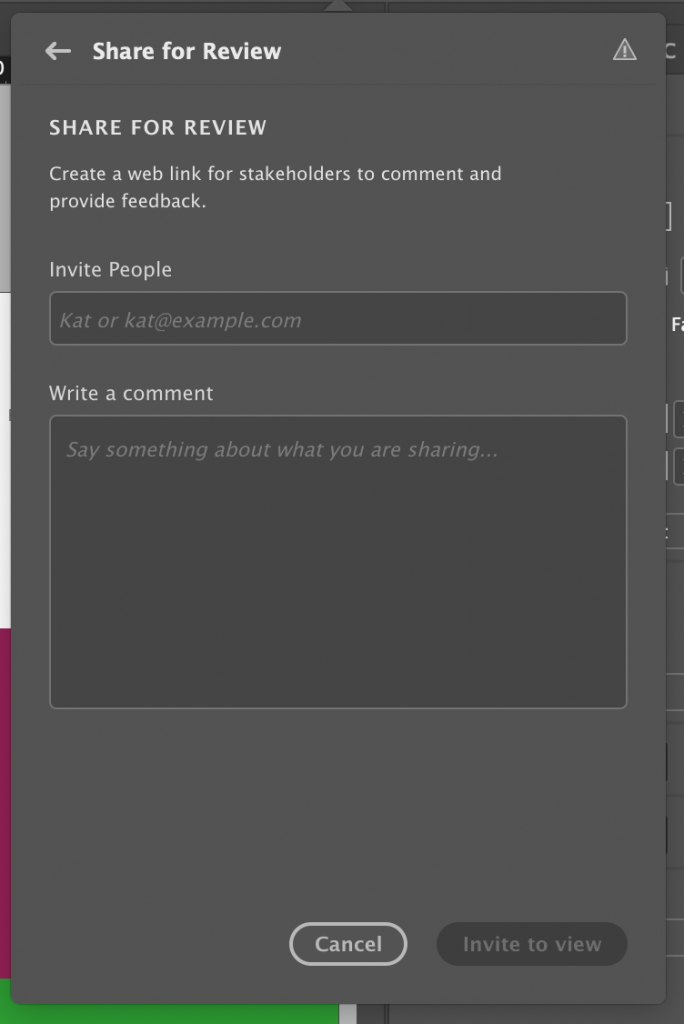
Step 2. Click on share for review
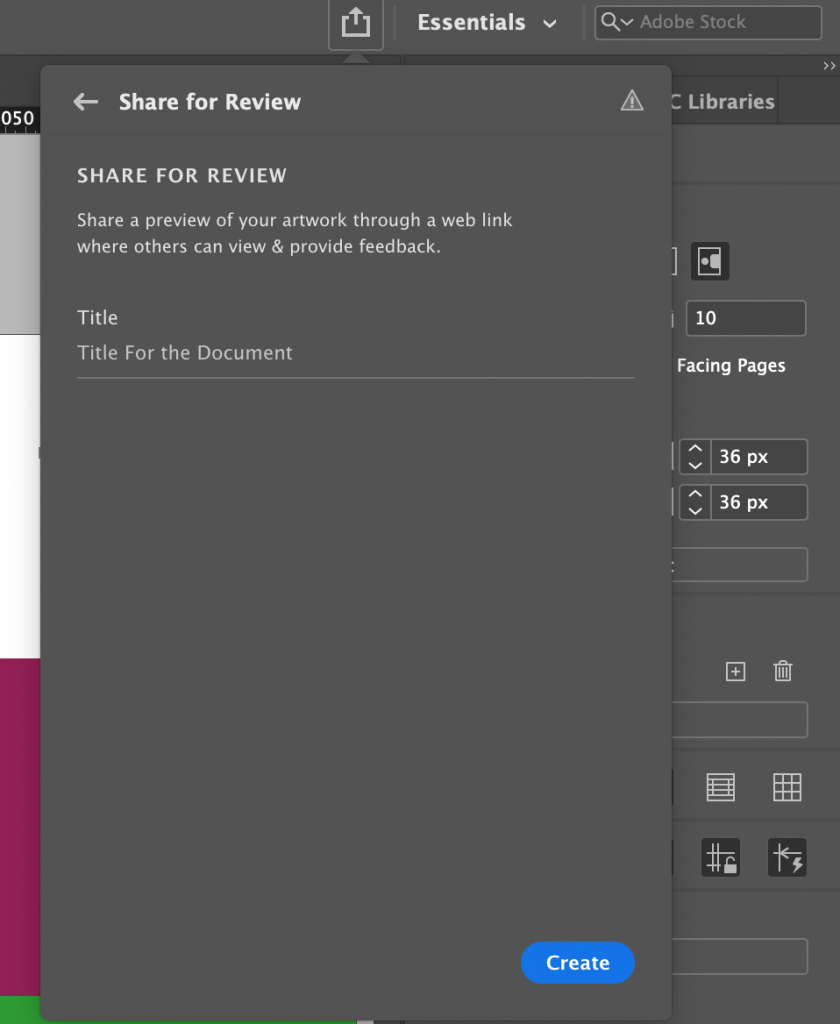
Step 3. Give your design a title, then click “Create” on the bottom right
From this point forward, you have 2 options to share your document: 1) Invite members or 2) Send a weblink
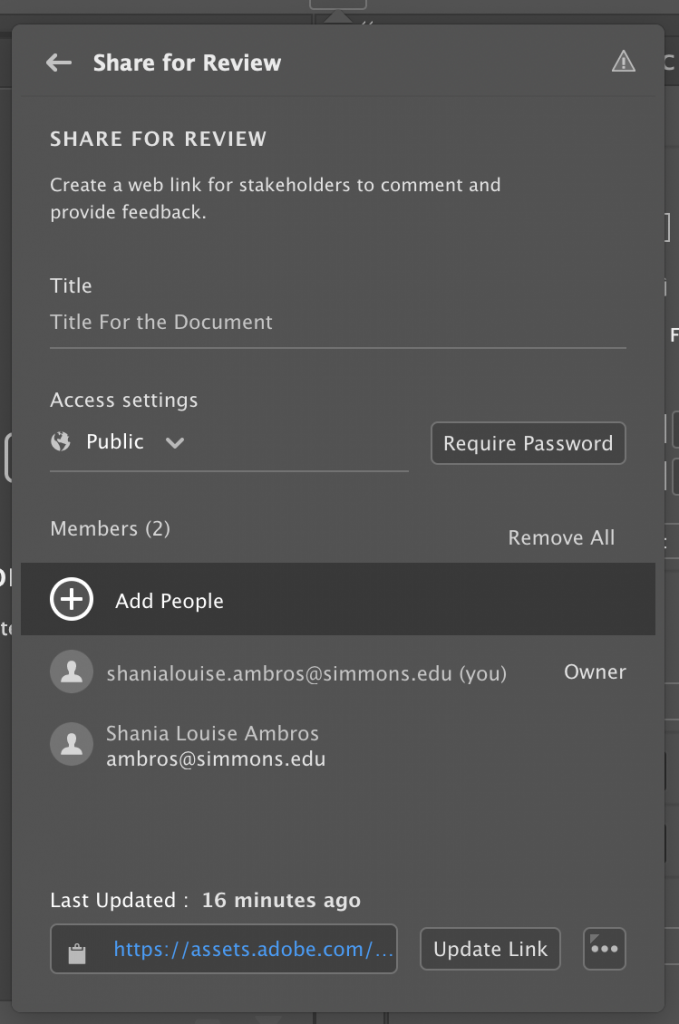
Option 1: Invite members to review your design
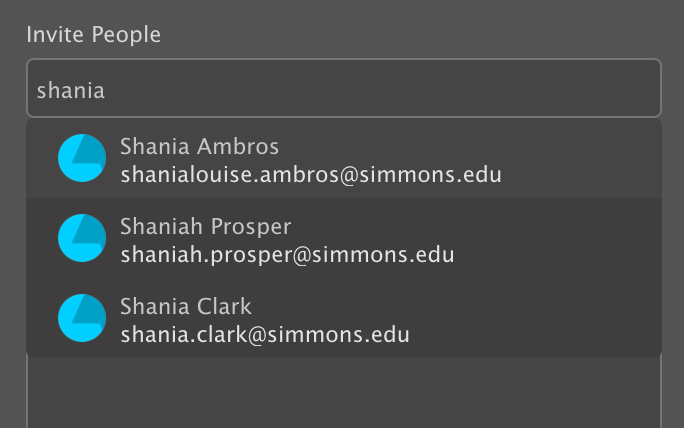
Step 1. Click on “Add People”
Step 2. Type out the reviewer’s name or email
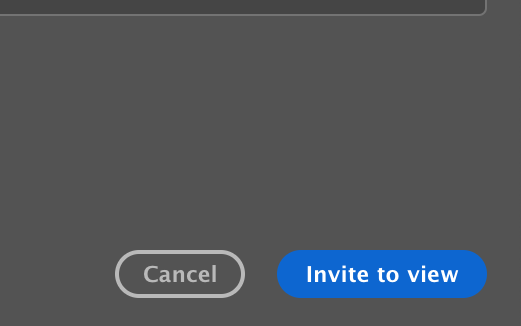
Optional Step 3. Send a comment
If you’re signed into InDesign through your Simmons account (and completed the 2 Factor Authentication), you can type the name of the student or faculty.
Step 4. Submit the invitation by clicking on the button, “Invite to view”, on the bottom right
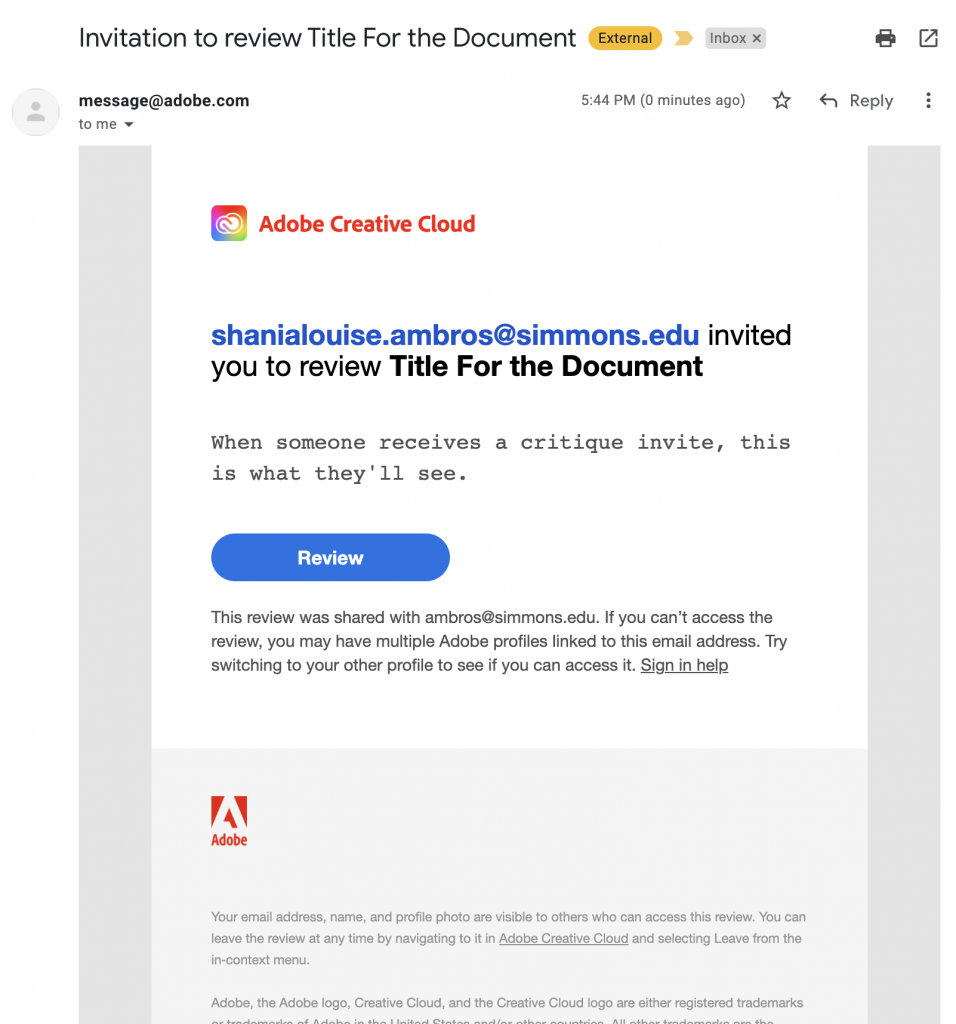
What does the InDesign invite look like for people who were added manually?
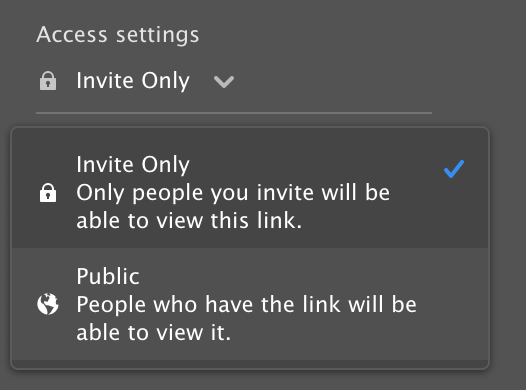
Option 2: Share a public web link
Step 1. Copy the URL to your clipboard by clicking on the icon on the left of the address.
In other words, if you click on the clipboard icon that’s on the left of the blue text, this will act as a “CTRL+C”/”CMD+C” copy shortcut.
Note: If you click on the blue text, it will open the design review in a new browser.
Step 2. Paste (CTRL+V or CMD+V) the link anywhere you want
Caution! Every time you update your design, you need to update the link and reshare this to people.
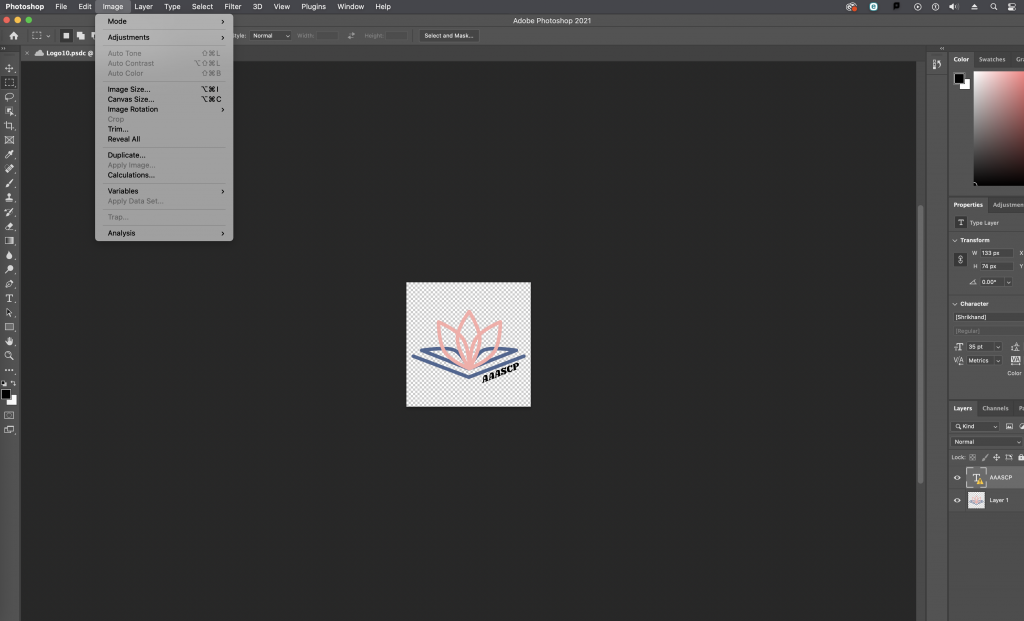
Step 1. Click on the Image dropdown link in the top navigation bar.
Screenshot of the dropdown items for the Image menu
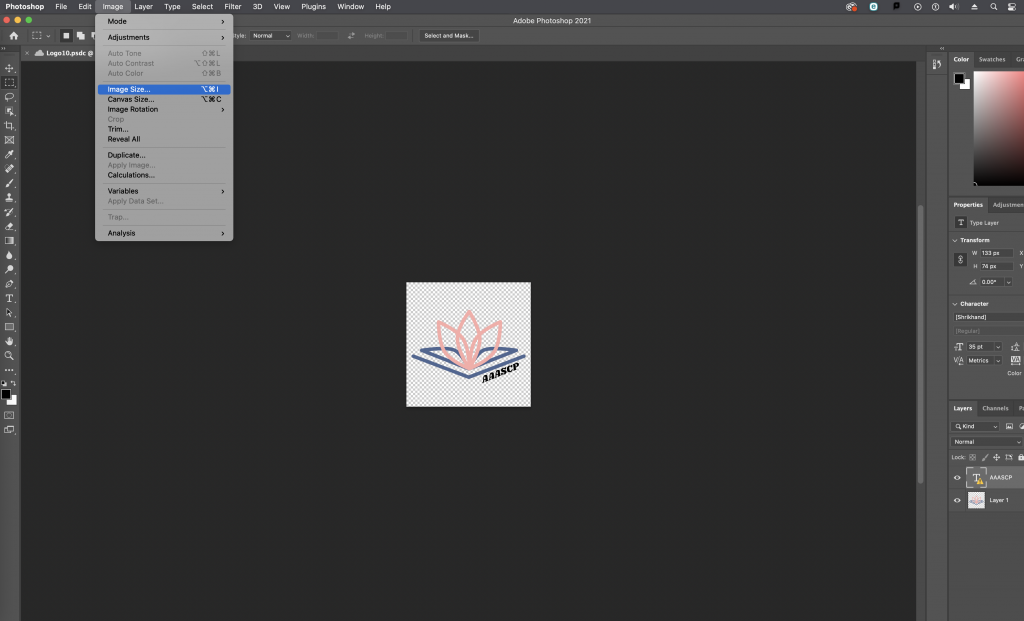
Step 2. Click on Image Size
The Image Size link is shown in blue
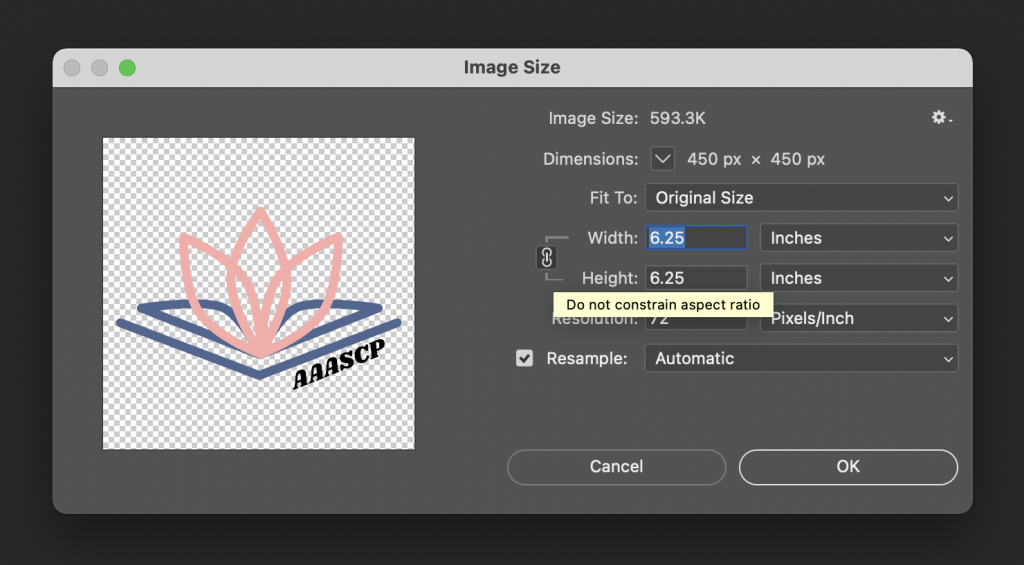
Step 3. Change the dimensions
Note: Click on the link icon on the left of “Width” and “Height” in order to keep the aspect ratio of the content in the file. This is activated when the link icon has the same background and lines (pointing to Width and Height) shown as above. In this case, the content in this file is the logo and “AAASCP” text. No matter how I modify the image dimensions, the content will not warp into a different shape.