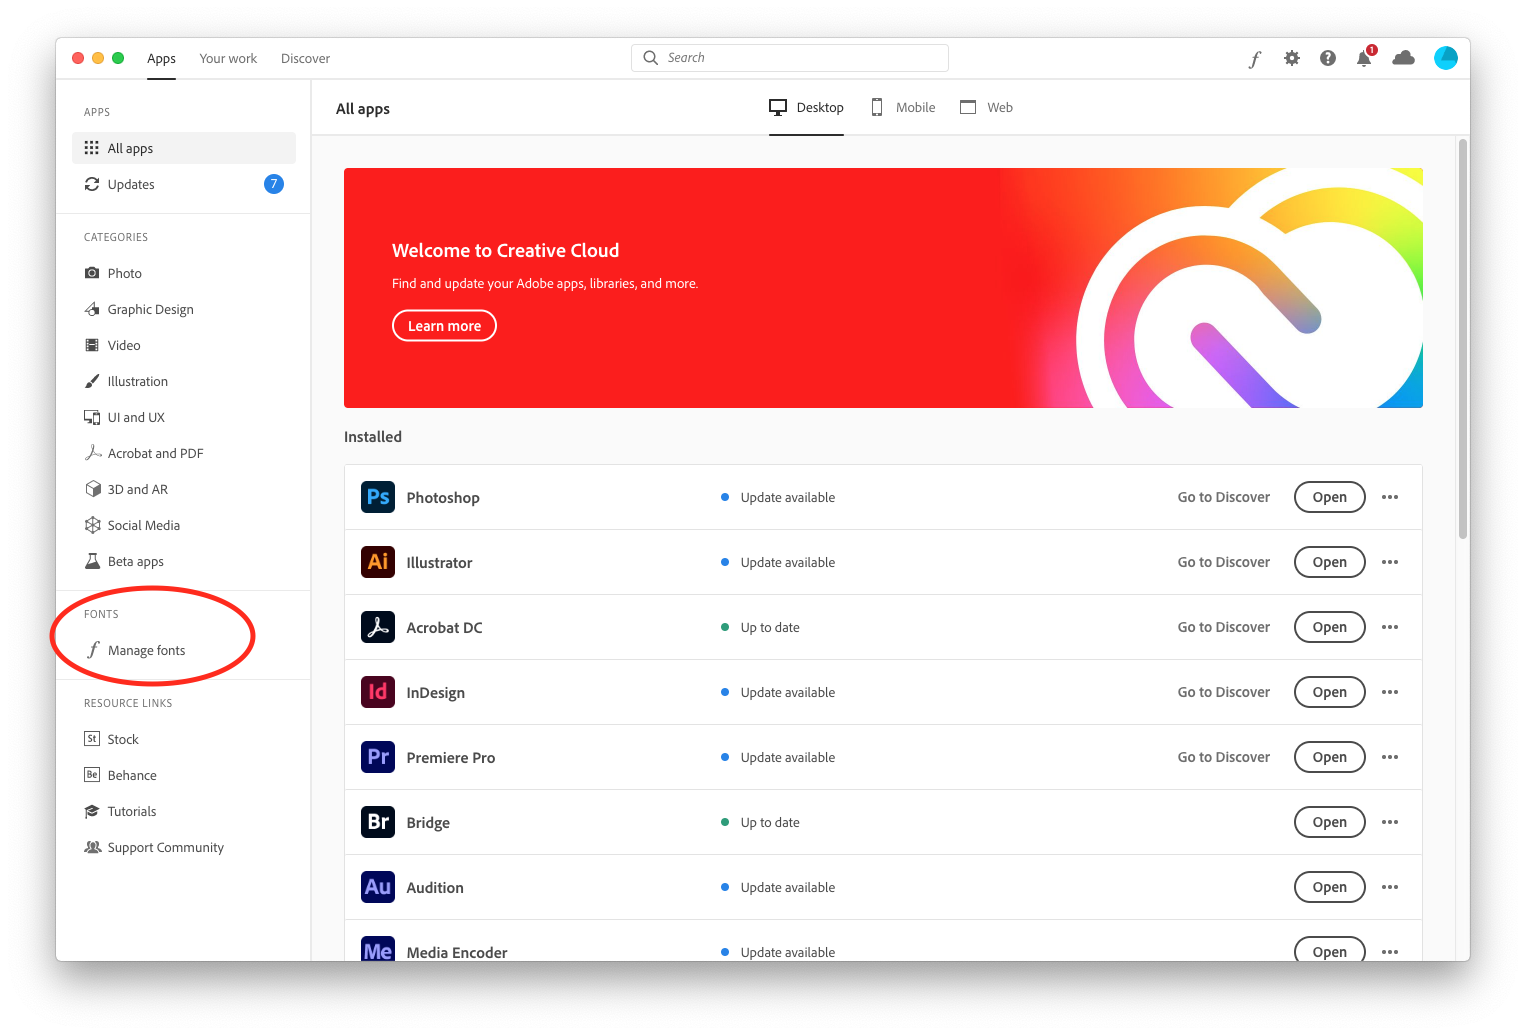
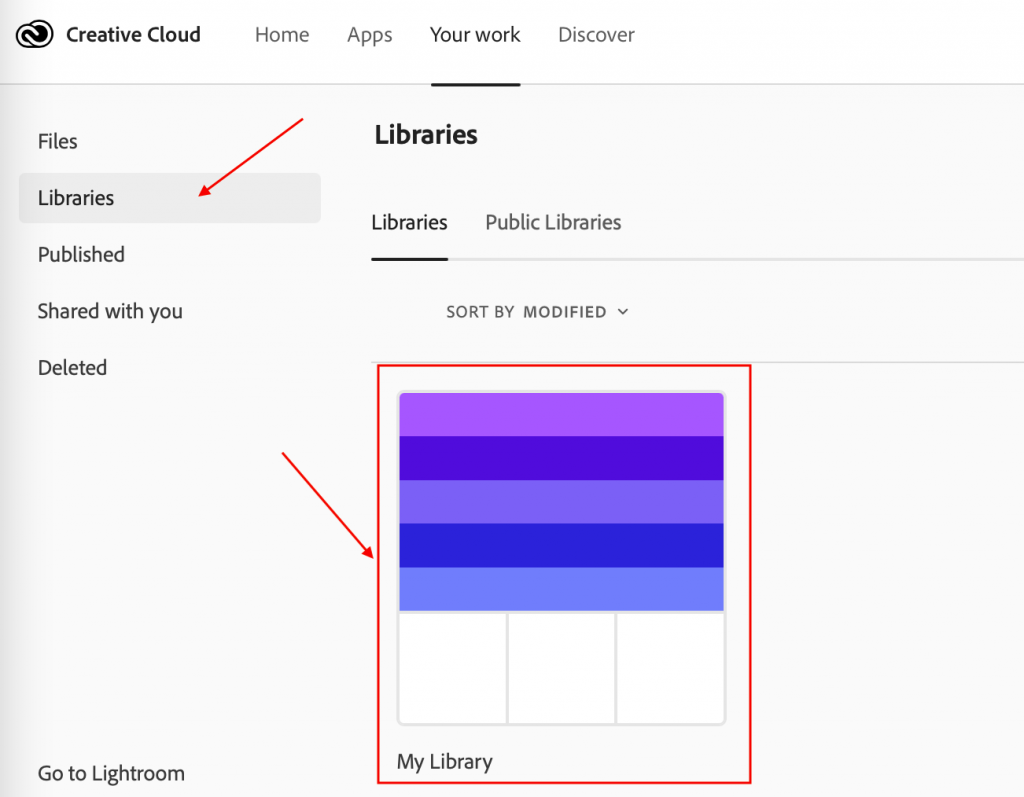
The first step to accessing the CC libraries to find something saved there is to open the Creative Cloud. You can either do this through launching the app or by going to the Creative Cloud website. Once that is done, navigate to “Your work” tab. In both the app and the website it will appear in the top left corner of your screen.

Now in the “Your Work” tab, select “Libraries”. From there, select the library of your choice (mine is “My library”). In the app version, this step is unnecessary as it will automatically pull up your libraries to choose from without first having to select the “Libraries” tab.
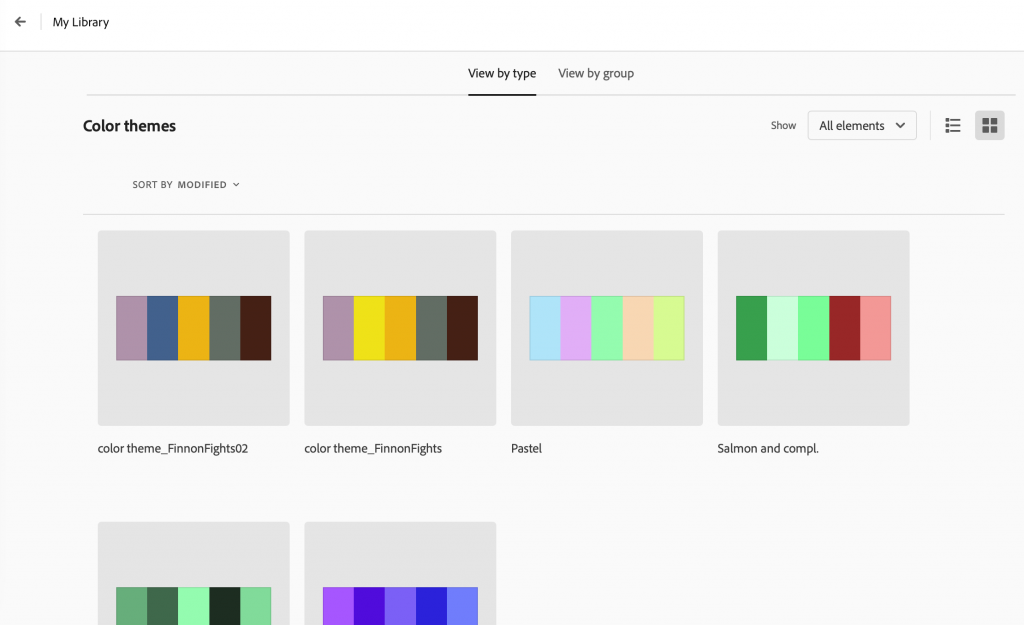
That is where your palette is stored. (See the Color Wheel post for more information on the color palettes).
All these screenshots were taken from the online version of the Creative Cloud, however the app is very similar in layout. The only major difference is that you do not have to select Libraries after going to the “Your Work” tab as it will automatically show them.