Here is a quick and easy tutorial on how to dodge and burn in Photoshop!
Understanding Creative Commons Licenses
Whether you’re creating a zine, podcast, or collage, it’s more than likely you’ll build off of an already existing idea or creation. Maybe you need a photo of someone or you need to use a particular song–whatever it is, it’s important to give credit where credit is due. In other words, it’s not super cool to steal others’ work. Ethics are important.
Thankfully, there are guidelines in place to make sure work is properly attributed while still allowing creators to create. These guidelines are widely known as Creative Commons licenses, and each one has a different meaning. Check out the info below to see what license you need to best attribute borrowed work the next time you start creating.
Types of Licenses:
- CC BY
- You can distribute, remix, adapt, and build upon others’ work, including commercially, as long as credit is given.
- CC BY-SA
- All permissions of a CC BY but you must also license your new creations under the identical terms as the original creator.
- CC BY-ND
- You may reuse others’ work for any purpose, including commercially but it cannot be shared with others in adapted form, and credit must be provided to the original creator.
- CC BY-NC
- You may remix, adapt, and build upon others’ work non-commercially and must also acknowledge the original creator but you don’t have to license your derivative works on the same terms.
- CC BY-NC-SA
- You may remix, adapt, and build upon others’ work non-commercially, as long as you credit the creator and license their new creations under identical terms.
- BY CC-NC-ND
- You can only download others’ work and share it if you credit them. You may not change the work in any way or use it commercially.
Check out the Creative Commons website for more information on licenses and attributions for creative work!
Halftone Effect in InDesign: Two Ways
The halftone effect can spice up any of your designs and the process is pretty simple. The layer can be used on all sorts of designs including both text and images. One of my favorite ways to use it is to place it over photos when I’m making zines.
Learn how to perfect the halftone effect in under ten minutes with this video!
One Minute Tutorial! Pathfinder Demo
The pathfinder tool can be useful in uniting and editing simple objects into more complex designs. This demo shows how to make famous logos using only pathfinder.
30 Second Tutorial! Wrapping Text Around Irregular Shapes
Learn how to wrap text around an irregular silhouette in Adobe Illustrator in this 30 second TikTok.
What is LinkedIn Learning/Lynda?
LinkedIn Learning/Lynda is a site that offers video courses taught by experts about business skills, software skills, and for what you are probably here for… creative skills!
As Simmons students, we have access to the site which is a great resource for learning and freshening up on skills. There are courses on Adobe programs, specific skills and techniques, networking, productivity, industry standards, the list goes on.
In order to access the site, head over to lynda.com (LinkedIn Learning) and follow the “sign-in” link. From there, choose the option “sign in with your organization portal” using your Simmons login and password.
Voila!
The full courses can be rather long, but they are broken up into digestible sections that are a few minutes long.
Take this Illustrator 2021 Essential Training course for example.
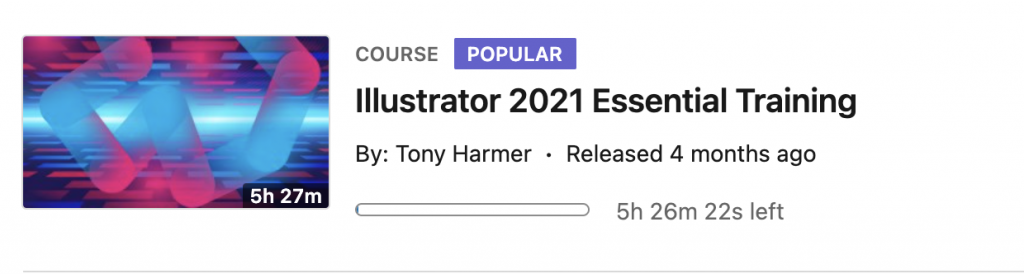
The full course is 5.5 hours…
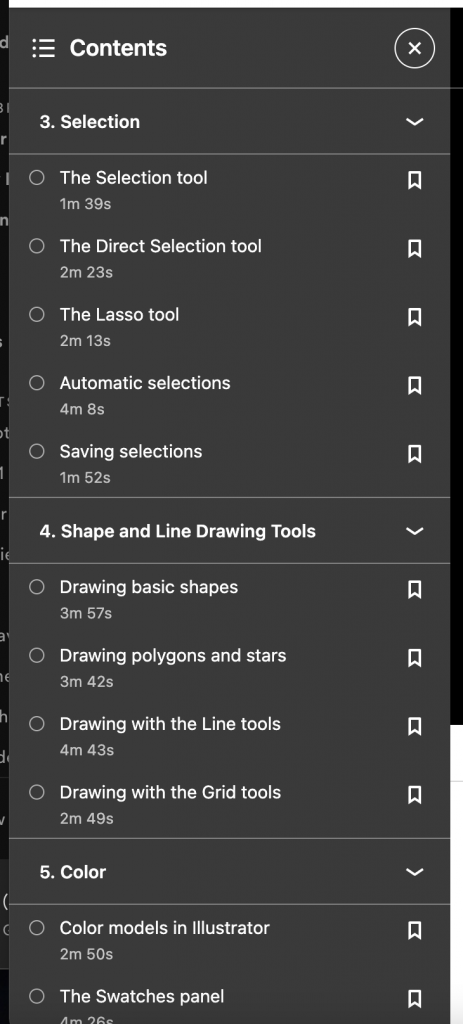
But the sections are only a few minutes each.
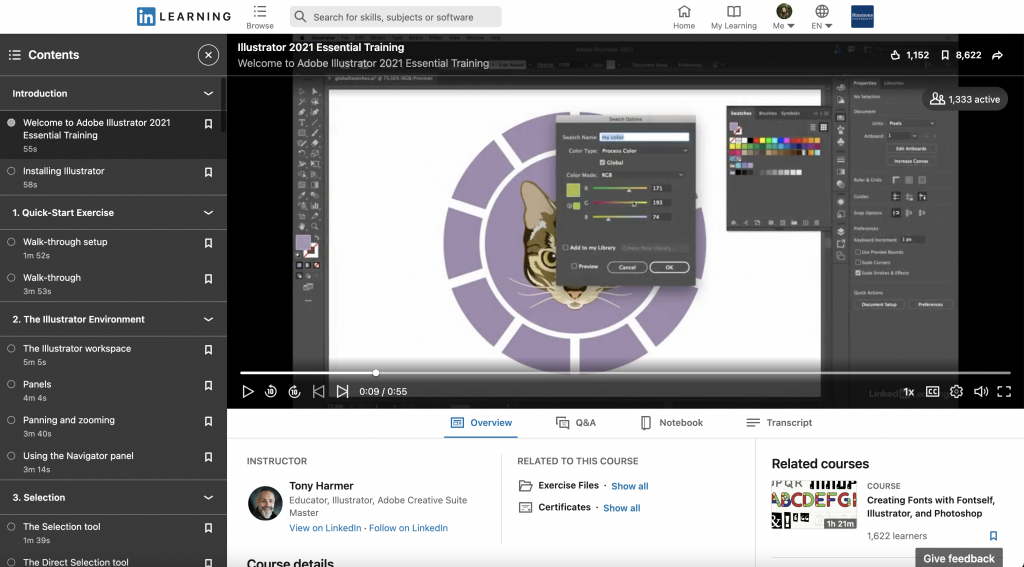
If you are looking to learn something specific, you can browse through the contents of the course and jump to where you need to be.

Per usual, the Lab Agents are always here to help you out and walk you through any issues you may be having. Happy learning!
How to easily make lines thicker/thinner in Photoshop
So you’ve used the pen tool to make some cool line art, or you’ve made it in ProCreate and brought it over to Photoshop and you realize the lines aren’t as thick/thin as you need them to be…
Don’t panic – theres a quick fix for that.
(It works for images you have scanned in too!)
The process doesn’t take longer than 30 seconds, and this 2 minute video teaches you exactly how to do it.
Vector Brush Tutorial in Adobe Fresco
Get an introduction to creating vector art in Adobe Fresco with this video tutorial.
Procreate & Brushes
In Comm 246: Digital Imaging for Design you will be using the iPad and the app Procreate. There are also some Brushes you may hear Prof Grabiner refer too. Check below for how you can get them for yourself.
Procreate
Procreate is an iPad specific drawing app. You can get it from the app store for $9.99. It’s totally worth it if you like drawing, making some small graphic design projects or GIFs and other easy animations. You can exported you work as a .psd file so you can edit in Adobe Photoshop on your computer.
You can buy it in the app store the link is here:
![]()
Procreate Brushes
There are two types of brushes that we have for the CommLab iPads below are links to where you can get them for yourself if you want.
Bardot Brushes
Genevieve’s Design Studio Watercolor Toolbox