Oftentimes, our clips run a little bit too slow or too fast. One way to solve this is by inputting numbers into the Speed/Duration editor until the clip is the right length. Another way is to use the Rate Stretch Tool. Watch this short video to get a quick overview of this method.
7 Basic Tips for iPhone Videography
Here are some basic tips for filming on your iPhone (or any other phone)!
- Hold the camera horizontally
This will ensure that your video fills the screen and you’ll avoid a blurred out stretched effect in post production.
2. Shoot twice as much content as you need
Filming on your phone can be a quick and efficient way to capture video but you want to make sure that you’re actually getting the footage you need. By taking extra video, you’re making sure that you have back up if you didn’t get enough footage when out in the field.
3. Use headphones when recording
Using headphones while recording will allow you to hear what your video will sound like in playback. This way you’ll be sure your audio sounds great and won’t have to go out to reshoot.
4. Use a tripod
This is a game changer. Your hands can be shaky when filming even if you don’t notice it. Using a tripod will allow you to have better control of you phone.
5. Watch your video after you record it
This may be a simple step but it relates back to tip number three. Just like playing back your audio makes sure your sound is ok, playing back and actually watching your video makes sure your shots look how you want them to. You can never be too sure!
6. Experiment with different angles
What great about iPhone filming is that its handy and easy to use, just point and shoot. You probably have your phone by you most of the time which makes taking a quick video while out of the house (or in the house) really easy to do. Phones are also small and simple to navigate. Take advantage of the different ways you can use your phone to shoot video.
7. Use tape
Sticky tape, not video footage. By placing a small piece of tape (think Scotch brand or something similar) over your phones microphone you can prevent harsh wind sounds from ruining you videos. The tape acts as a buffer between the wind and the mic and should help when recording outdoors.
What is LinkedIn Learning/Lynda?
LinkedIn Learning/Lynda is a site that offers video courses taught by experts about business skills, software skills, and for what you are probably here for… creative skills!
As Simmons students, we have access to the site which is a great resource for learning and freshening up on skills. There are courses on Adobe programs, specific skills and techniques, networking, productivity, industry standards, the list goes on.
In order to access the site, head over to lynda.com (LinkedIn Learning) and follow the “sign-in” link. From there, choose the option “sign in with your organization portal” using your Simmons login and password.
Voila!
The full courses can be rather long, but they are broken up into digestible sections that are a few minutes long.
Take this Illustrator 2021 Essential Training course for example.
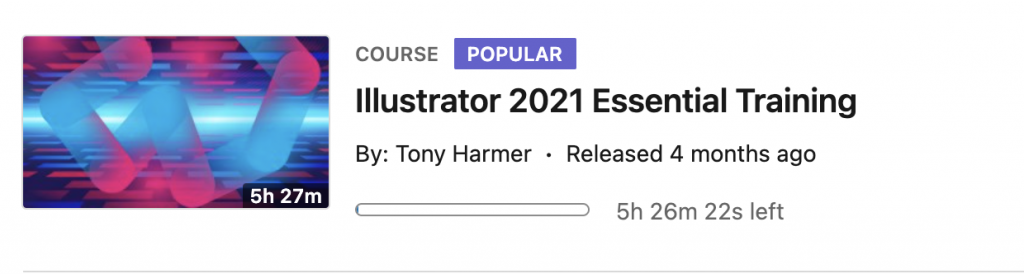
The full course is 5.5 hours…
But the sections are only a few minutes each.
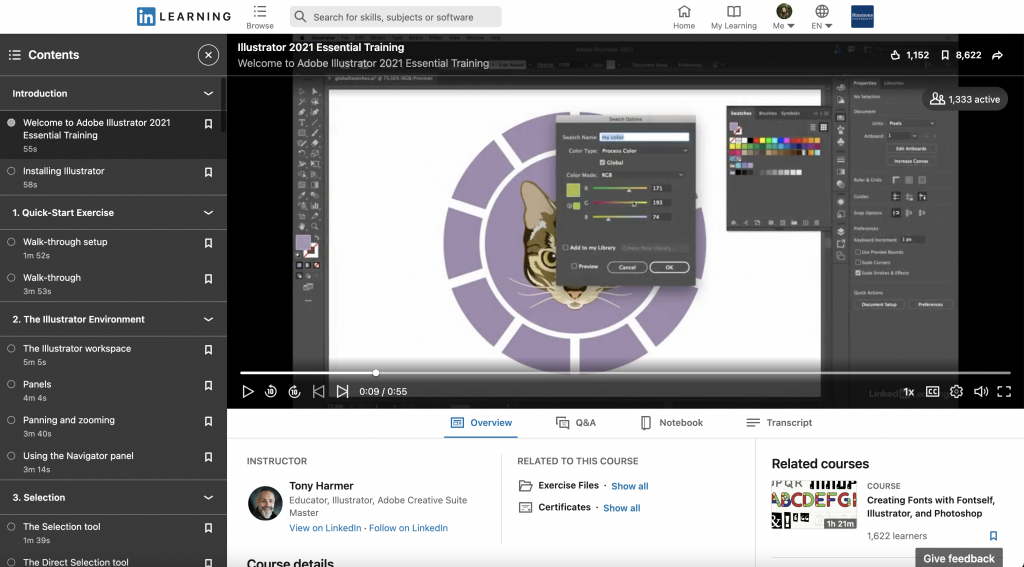
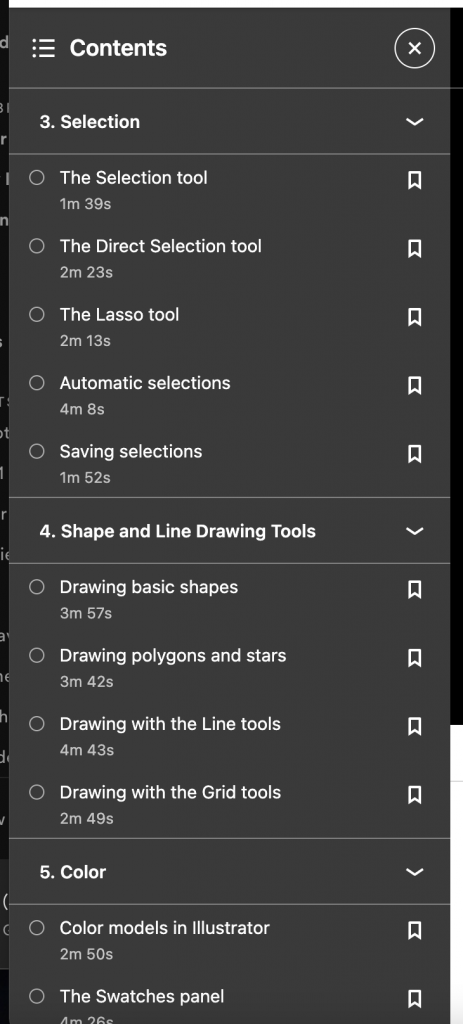
If you are looking to learn something specific, you can browse through the contents of the course and jump to where you need to be.

Per usual, the Lab Agents are always here to help you out and walk you through any issues you may be having. Happy learning!
Keyboard Shortcuts for Adobe Programs
Check out a compiled list of the Default Keyboard Shortcuts for Audition, Illustrator, InDesign, Photoshop, Premiere Pro, Premiere Rush, and Spark.
What are keyboard shortcuts?
A keyboard shortcut is a key or combination of keys providing quick access to a particular function within a computer program.
Why do people use keyboard shortcuts?
Keyboard shortcuts help you get things done faster and easier! Essentially, it’s doing actions you may normally do with your mouse with your keyboard instead… (think pressing the space bar when pausing/playing a Netflix show.)
Each Adobe program allows for you to customize your keyboard shortcuts, but for now, here are guides for default shortcuts for various Adobe Programs you may find yourself using!
Split Screens in Premiere Pro
In usual Premiere fashion, there are multiple ways to get the desired effect.
Below are two quick videos showing you how to create a split-screen effect for your Premiere Pro video projects.
This first one is a classic side-by-side, getting into the ‘how-to’ of it all at the 01:10 mark.
And if you really want to spice things up, here is a video about creating a dynamic split-screen.
Again, there are multiple ways to go about getting to your desired results. If you’re having trouble or these methods don’t seem to be doing it for you, feel free to reach out to the agent on duty. We’re always here to help 🙂
Happy creating!
Changing Frame Size in Premiere Pro
Changing the frame size of your sequence in Premiere is a super important trick to know – but isn’t as easy to figure out how to do as it should be.
Watch this 1-minute video to learn how to change the frame size for all of your project needs!
Importing Files into Premiere Pro
A quick explanation about importing media into Premiere! There are multiple ways to do this, so find what works best for you and your workflow!
Watch the video, or click here to open video in a new tab
Happy creating!
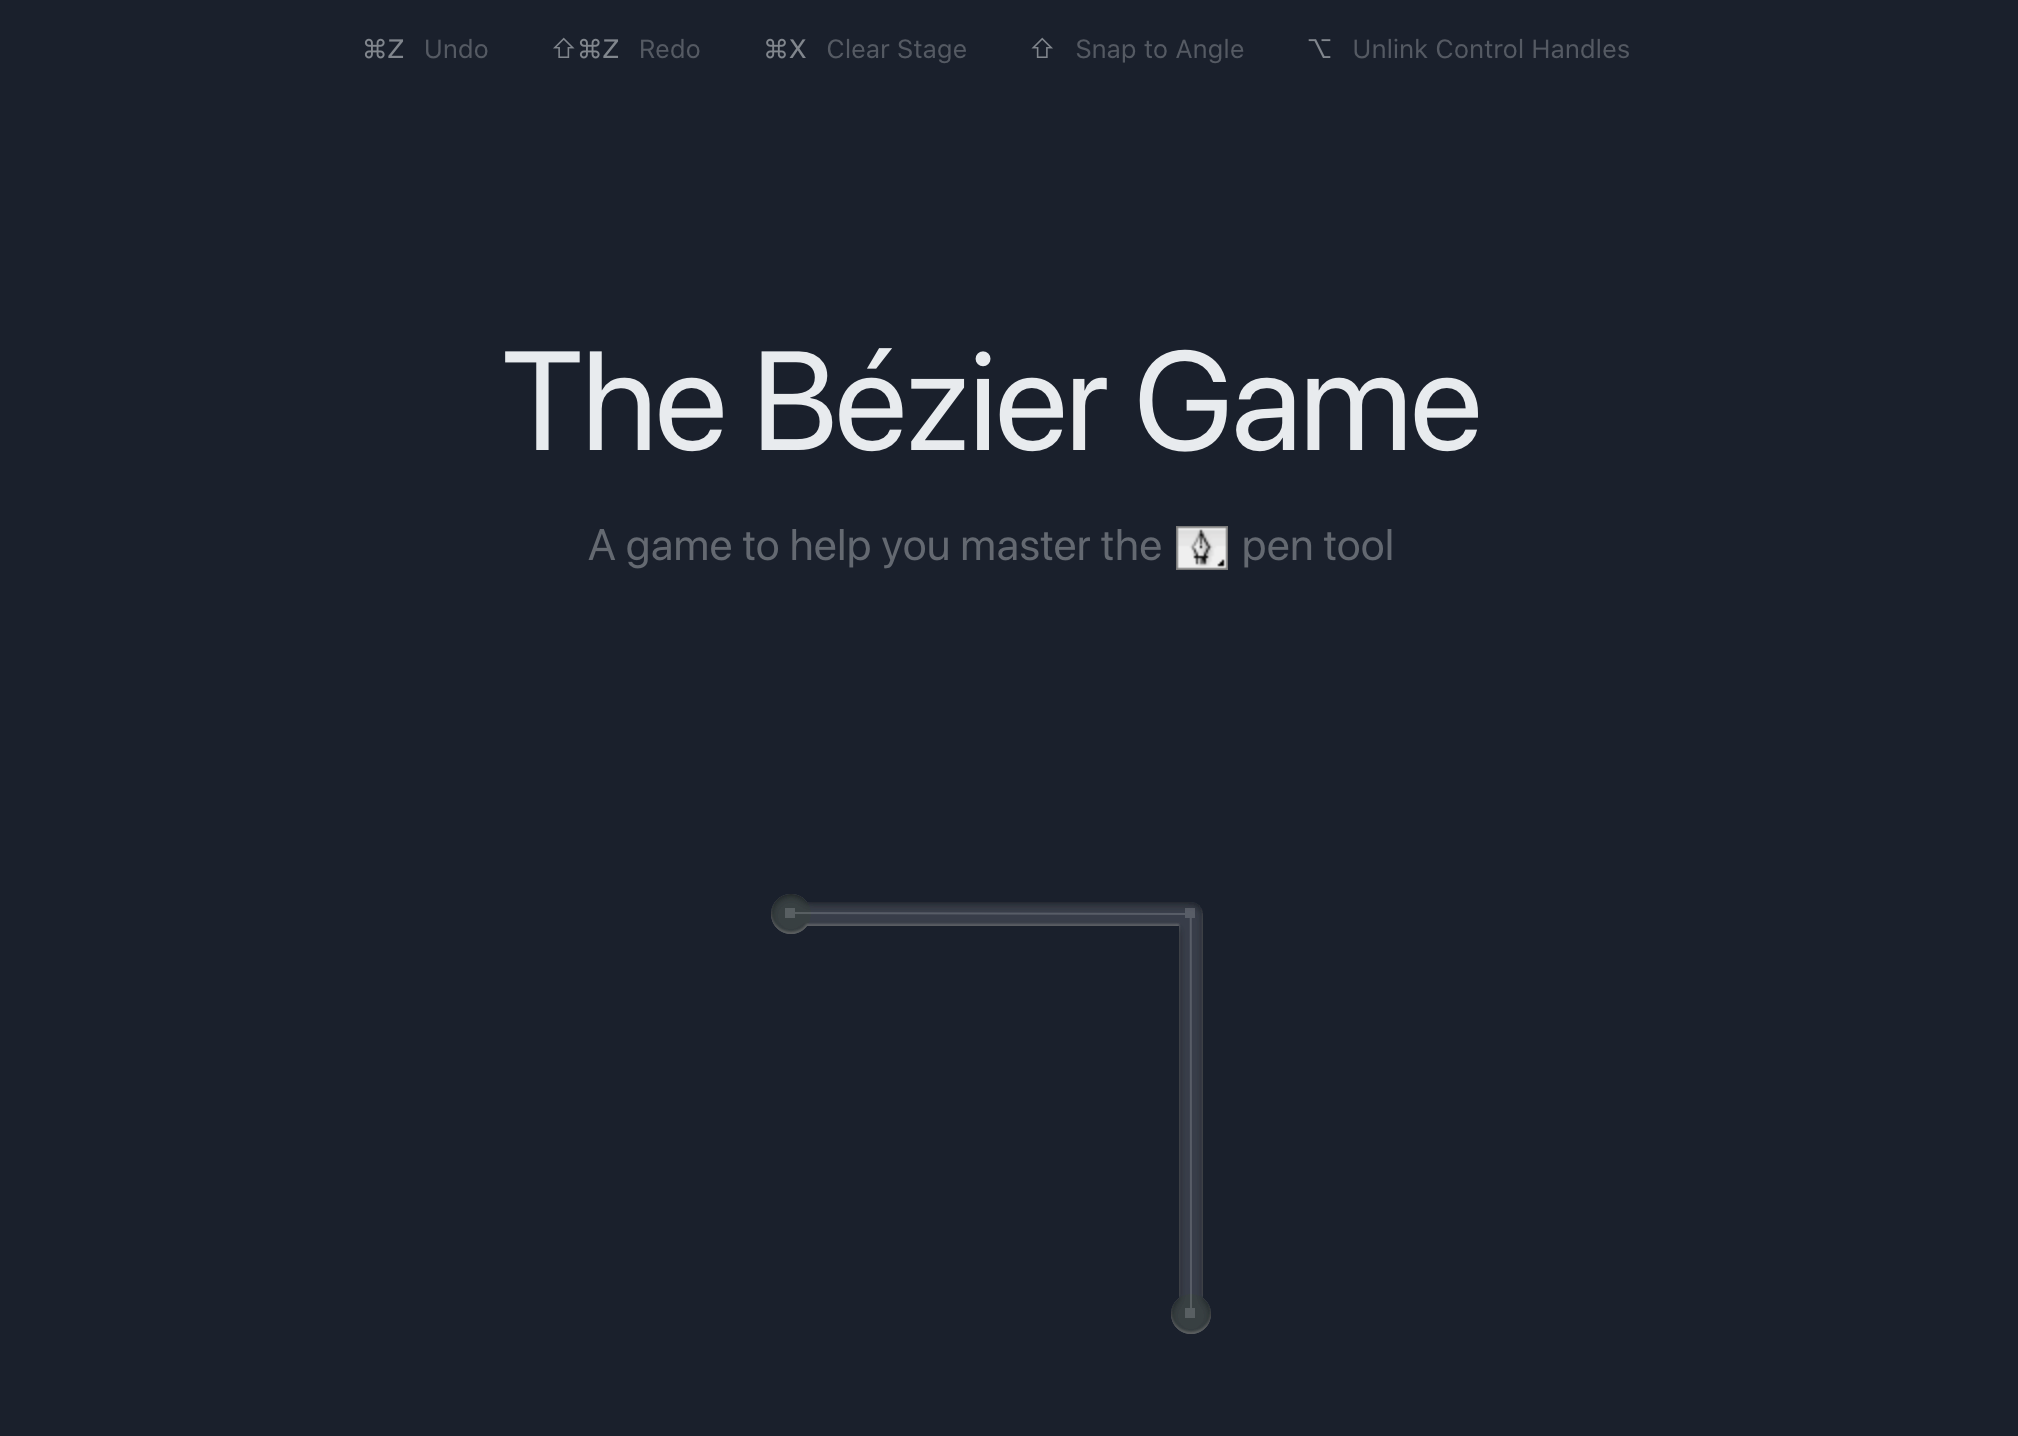
Learn the Pen Tool
Have you always wondered how the Pen tool works? It is based of Bezier curves and it can be extremely useful in most Adobe applications.
There is this great game you can play that will make you feel more comfy both understanding how it works and using it. Click the image below to play.