You’ve made it through the semester. Your assignments are done, your projects are finalized, and you’re proud of the work you’ve done. YAY! But wait, before you log off, archive your work. This is a great way to maintain your portfolio and keep your work organized for future use.
Follow along for best practices to archive your semester’s work.
- Start by creating a folder for your work from this semester
This will be the home for your semester portfolio. Once you have the main folder, you can create other specific folders for each class/group of work you’d like to categorize. Label the folder with the semester and year: SP21 = Spring, 2021


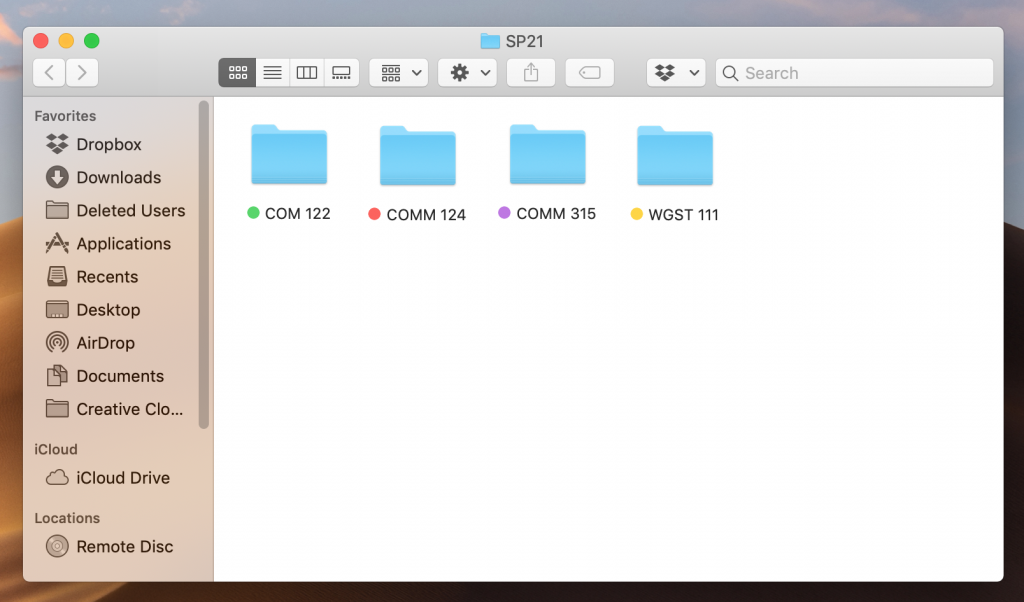
2. Create class folders
Next, create a folder for each class you took this semester that you want to be archived. Designate each folder with a different color. Use the same steps as above to create a new folder. Once the folder is created, left-click it and selected a color for the folder. Place all class folders in the semester folder.
3. Create “info” sheets
Once you have a folder for each class, make a document for each folder that says what is in the folder. You can follow the format below or create your own.
Name
Class Title
Semester, Year
| Assignment | Date | Short Description (length, what it’s about, category) |
| Personal Column Final | 05/01/21 | 750 words, LGBTQ voting, op-ed |
4. Collect your materials and rename them
Export and download your work, one class at a time, onto your computer (PDF, JPEG, MP3 file, etc). Rename the files. I like to follow this layout for file names: LAST NAME_FIRST INITIAL_assignment name, ex: SHERBURNE_L_personal column final


5. Make it your own
While this tutorial specifically outlines semester portfolio organization, you can also use these steps to organize your work for jobs and research. Simply swap out class names for “Job Application Materials” or “Thesis Research” and create the inner folders according to how you want your work organized
Job Application Folder Ideas
- Cover letters
- Resumes
- Cover Letters
Research Folder Ideas
- Lab Data
- Report Outlines
- Source Lists
- Argument Drafts
6. Upload to a flash drive, iCloud or Google Drive
You’ve done all the work to create your portfolio, now you want to make sure it stays safe. Exporting your portfolio to a flash drive, or uploading it to iCloud or Google Drive are easy ways to keep digital archives of your newly organized work.