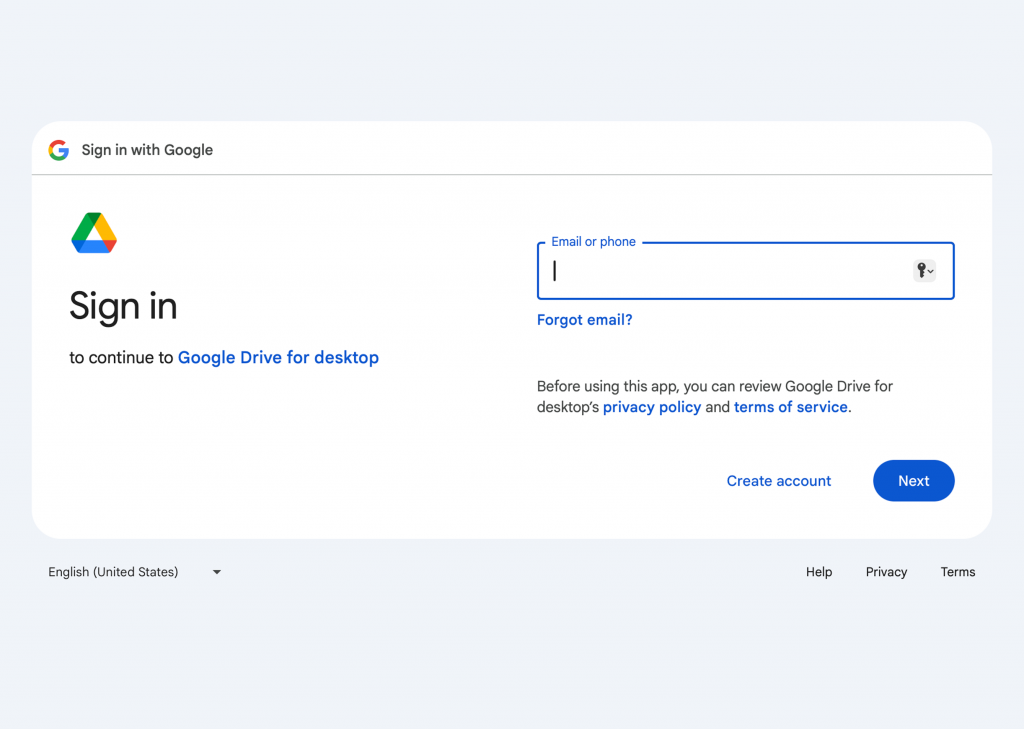
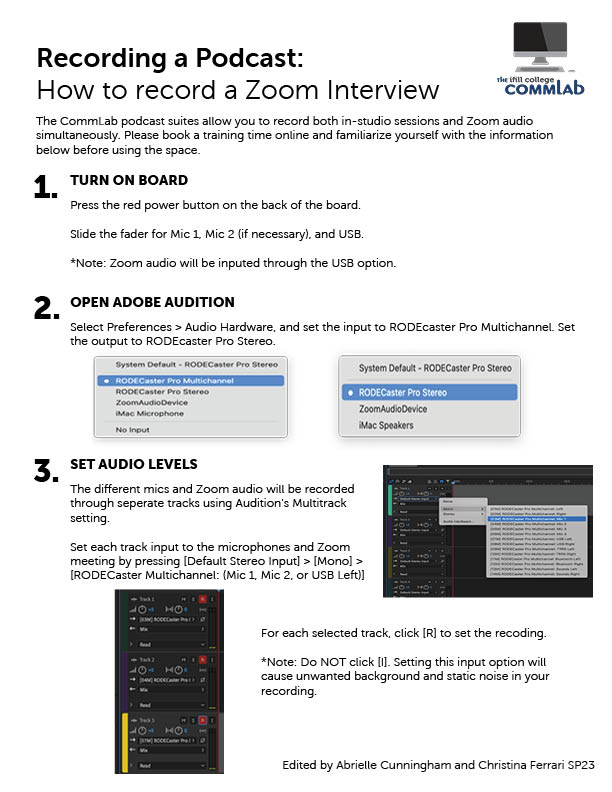
Go to https://www.linkedin.com/learning. Make sure you are logged out of your LinkedIn Profile. Enter simmons.edu into the sign in bar. It might ask you to do this twice. Make sure you only put in simmons.edu
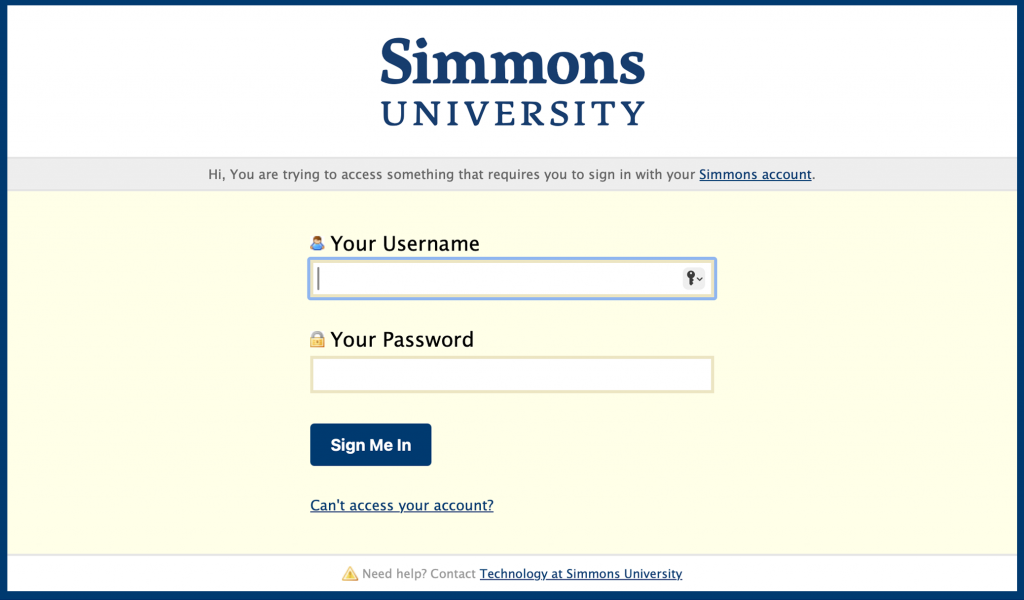
Then, this page will populate. And it will bring you to the Simmons Log in portal.
It will ask you to log into your existing LinkedIn account next. Your account does not need to be made with your Simmons email. This step is just linking your account to the school learning account.
If you have done this all correctly a Simmons University logo should populate next to your profile picture.
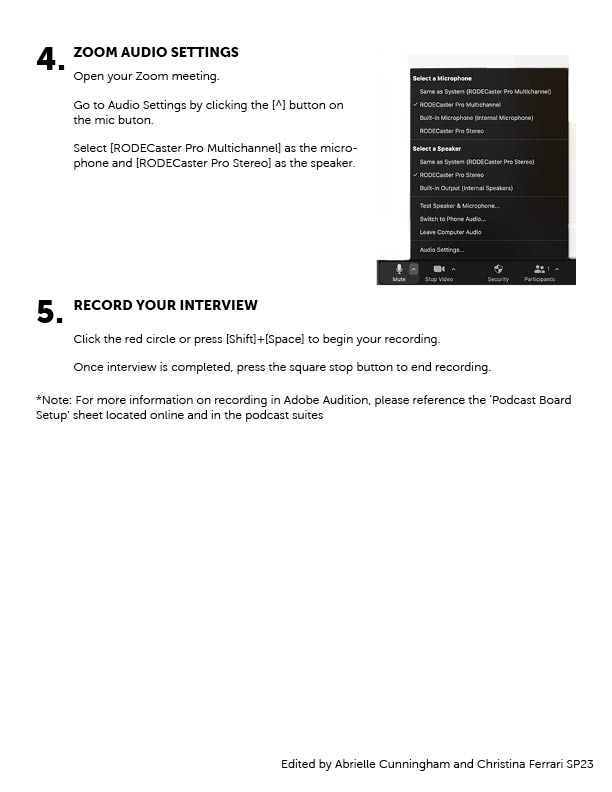
Whether you want to make a silent film, to upload your own audio, or to get rid of background noise, you can remove the audio in video clips. You can separate the audio track, allowing you to individually edit audio, layer tracks, swap them around or mute
Printing a color image in black and white can make it look washed out or flat on paper. Instead, use these methods to make your image black and white in Photoshop and have more control over how the final image looks!
Method #1: Use a Black and White Adjustment Layer
This method is non-destructive, meaning the layer simply covers the colors instead of removing them from the image permanently.
Make a black and white adjustment layer. From the Layers Panel, click on the New Adjustment Layer icon (half black/white circle) and select Black & White.
2. Adjust the color sliders. In the Properties Panel, there are six sliders: Reds, Yellows, Greens, Cyans, Blues, and Magentas. These sliders control the brightness of the greyscale version of each color. For example, moving the Reds slider to the right will lighten the pixels that were originally red. This can be used to create contrast and depth in the image.
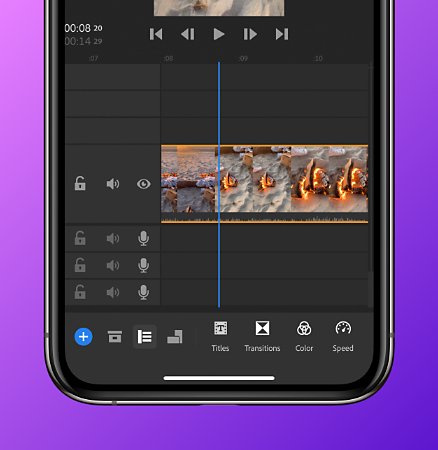
Method #2: Convert Image with the Camera Raw Filter
This method is destructive, meaning that the image will be permanently changed to black and white once applied.
Apply the Camera Raw Filter. Go into Filter and select Camera Raw Filter.
2. Convert image to black and white. Either click on the B&W button or select Monochrome from the Profile drop-down menu.
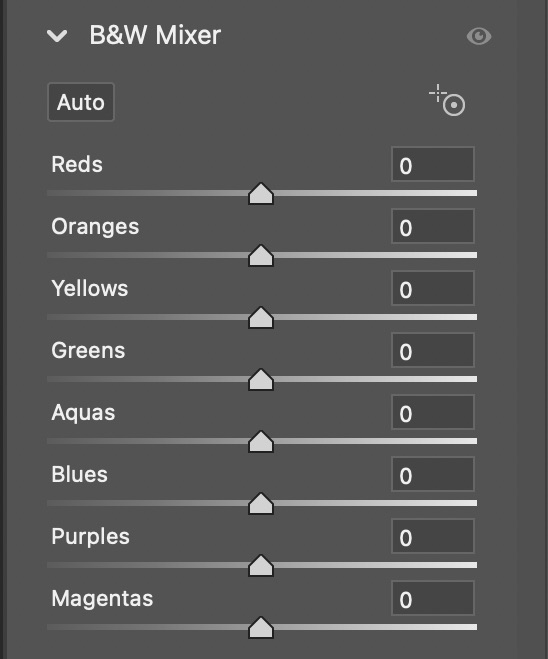
3. Adjustthe color sliders. Under B&W Mixer, there are eight sliders: Reds, Oranges, Yellows, Greens, Aquas, Blues, Purples, and Magentas. These sliders control the brightness of the greyscale version of each color. For example, moving the Reds slider to the right will lighten the pixels that were originally red. Because of the two additional sliders, you have more control over the image compared to using a black and white layer.
If you want to use Photoshop, InDesign, or any other Creative Cloud apps at Simmons, you’ll first need to log in to Creative Cloud through your Simmons account.
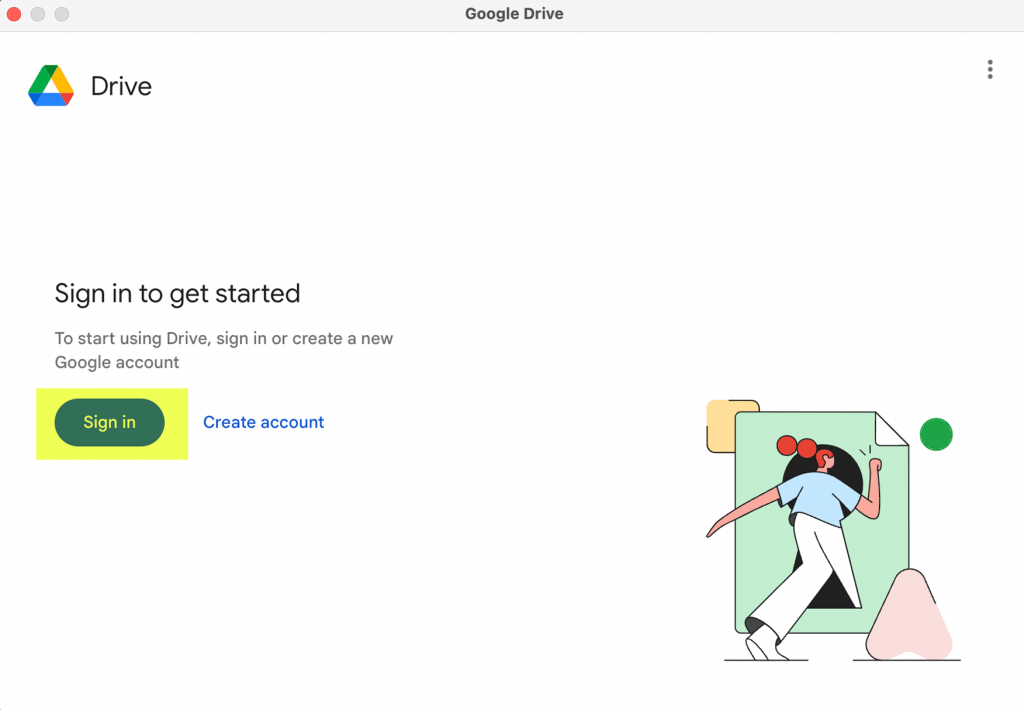
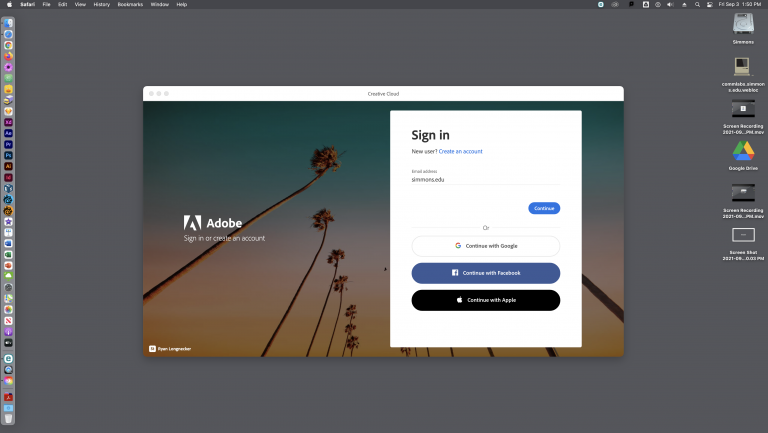
Open the Creative Cloud app and you will see the Sign In prompt. Do not enter your Simmons email address or username yet! All you have to type here is simmons.edu and hit Continue.
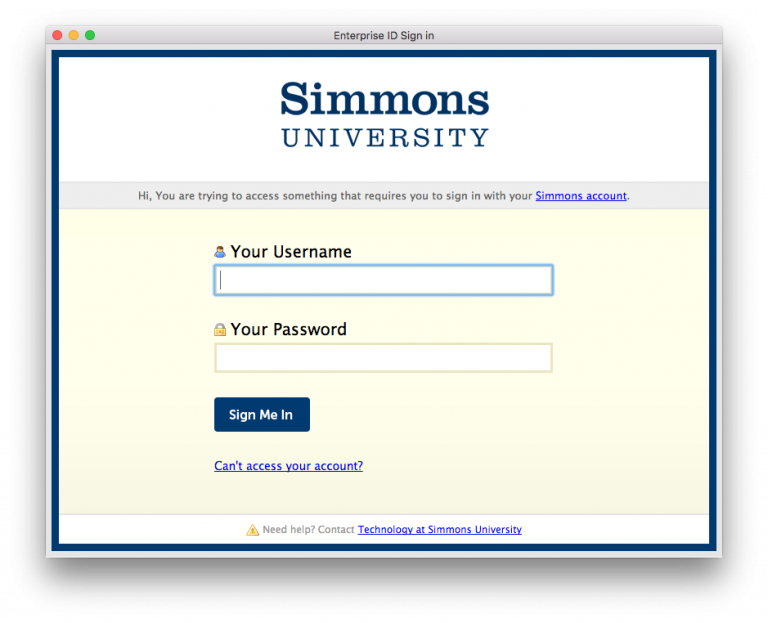
When you reach the Simmons sign on screen, you can enter your Simmons username and password. Complete Duo authentication if necessary.
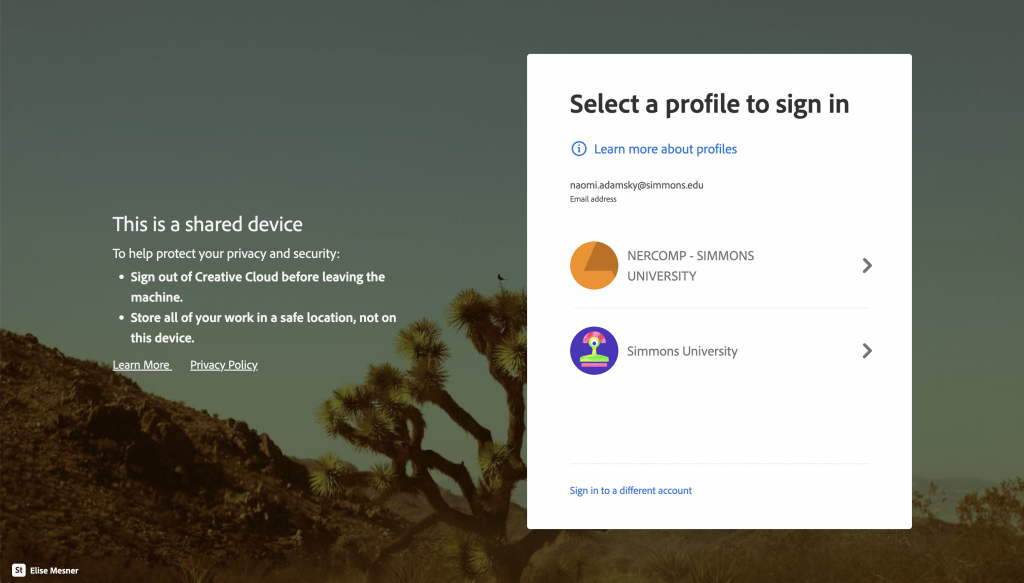
Once you sign in you will be prompted to select a profile. You will want to select NERCOMP.
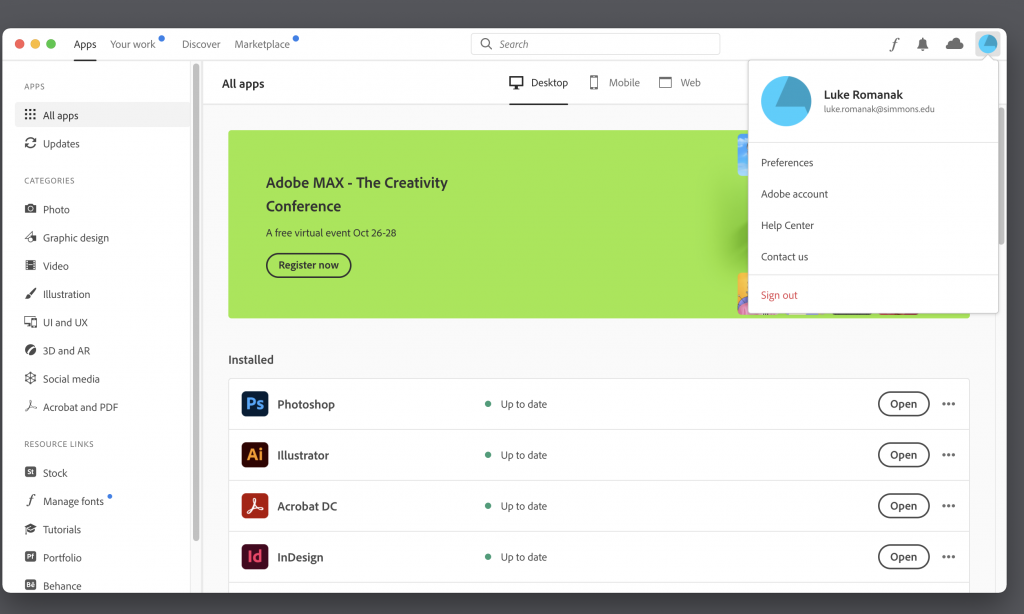
Once you finishing signing in, you can access all the Creative Cloud apps from the Creative Cloud window!