Share for Review on InDesign

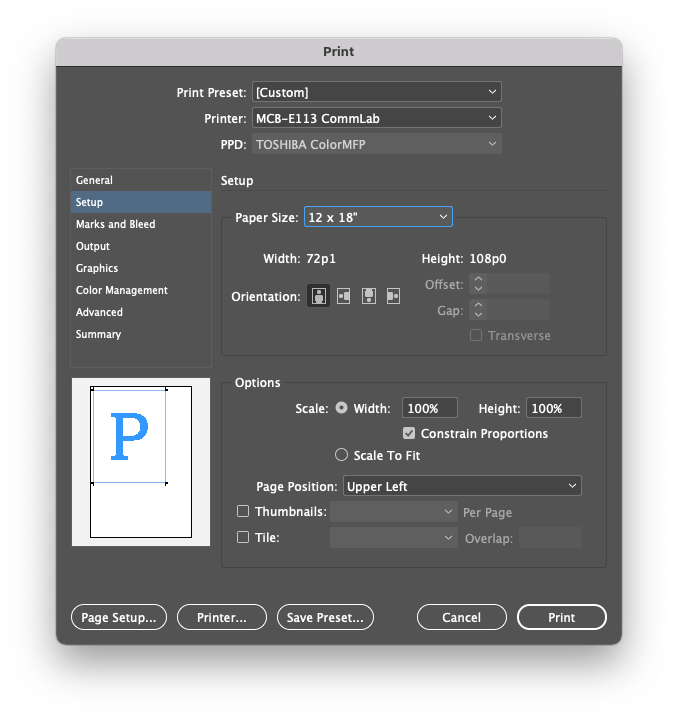
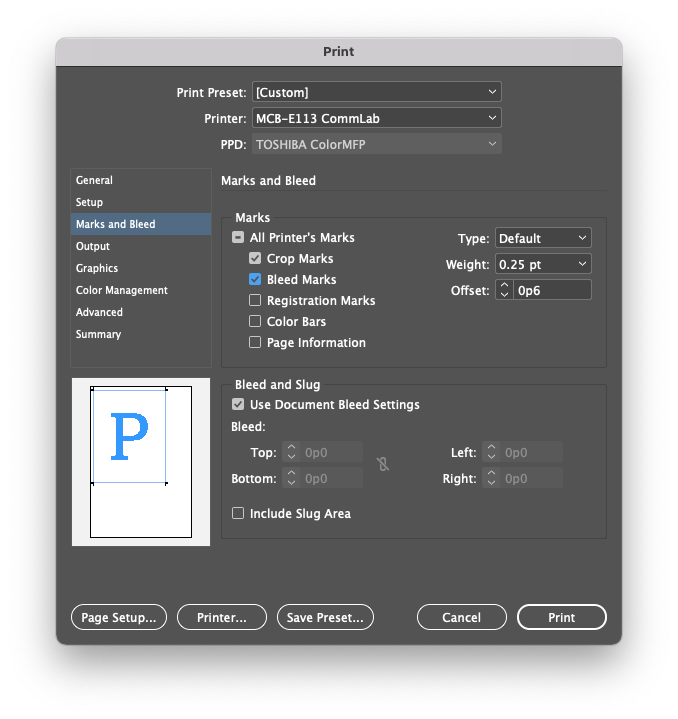
Setup your design document for review

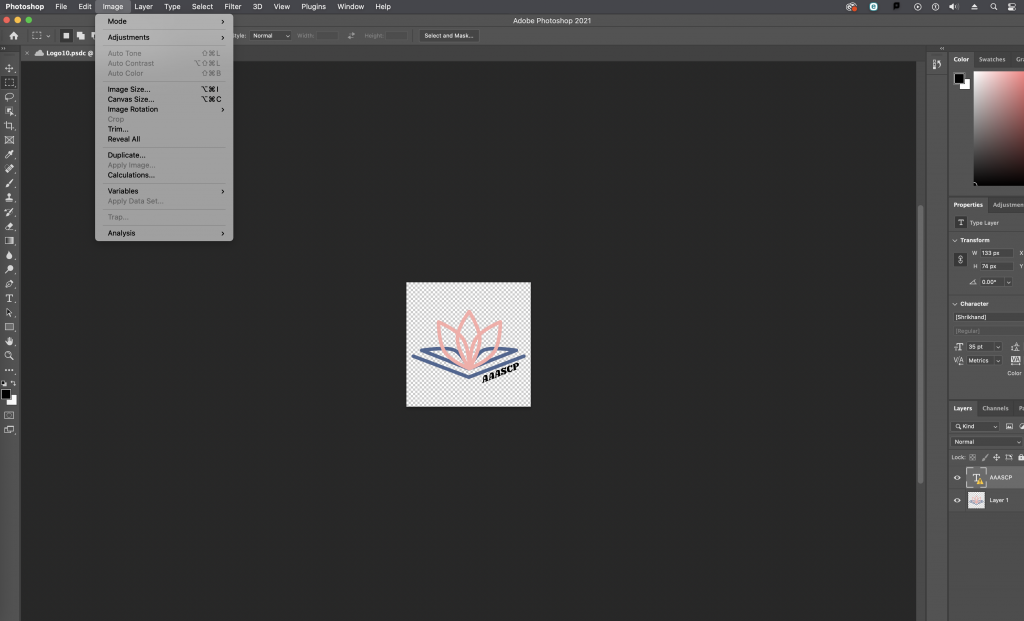
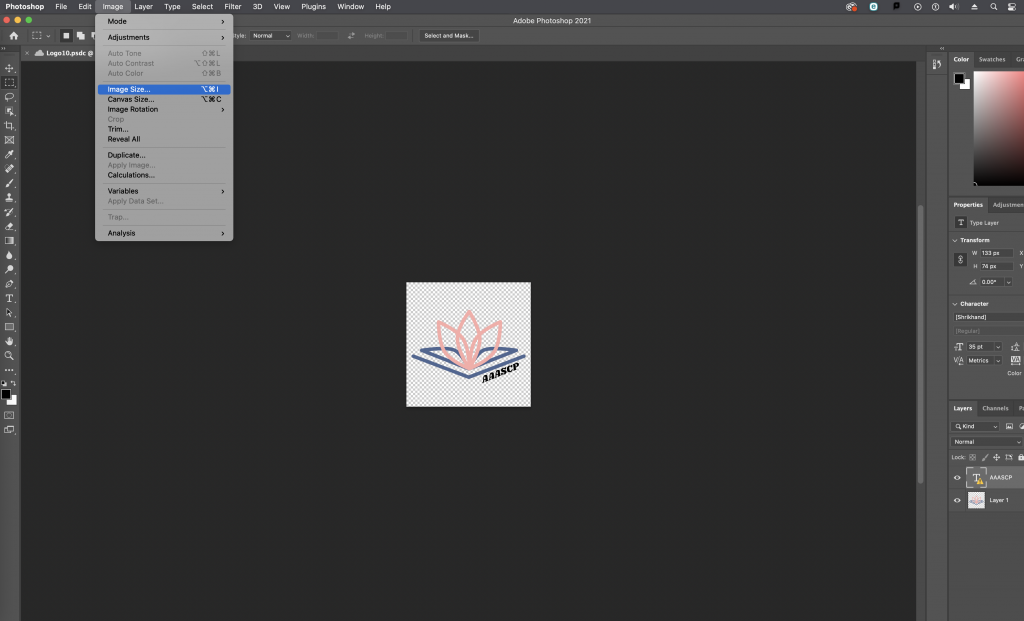
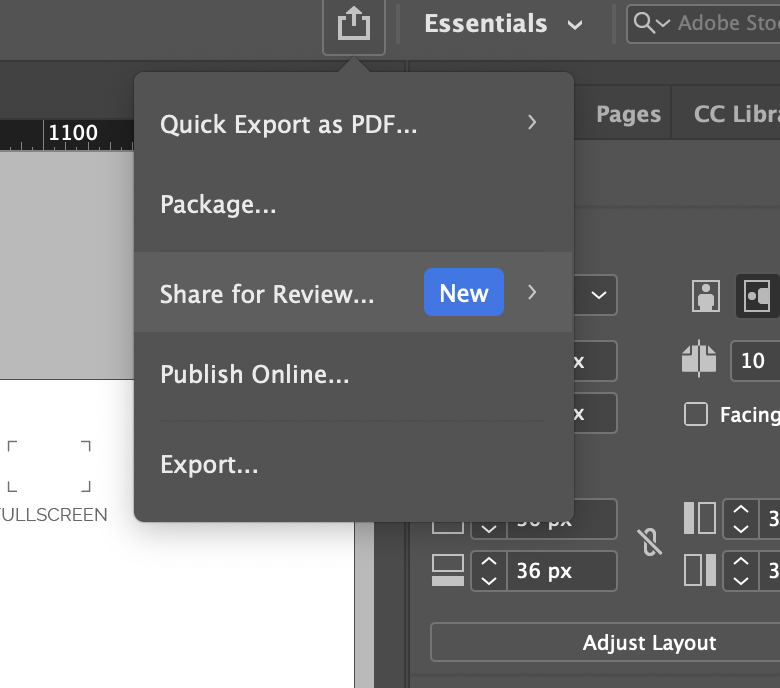
Step 1. Click on the share icon on the top right section of the navigation. It’s located on the left side of the workspace dropdown menu.

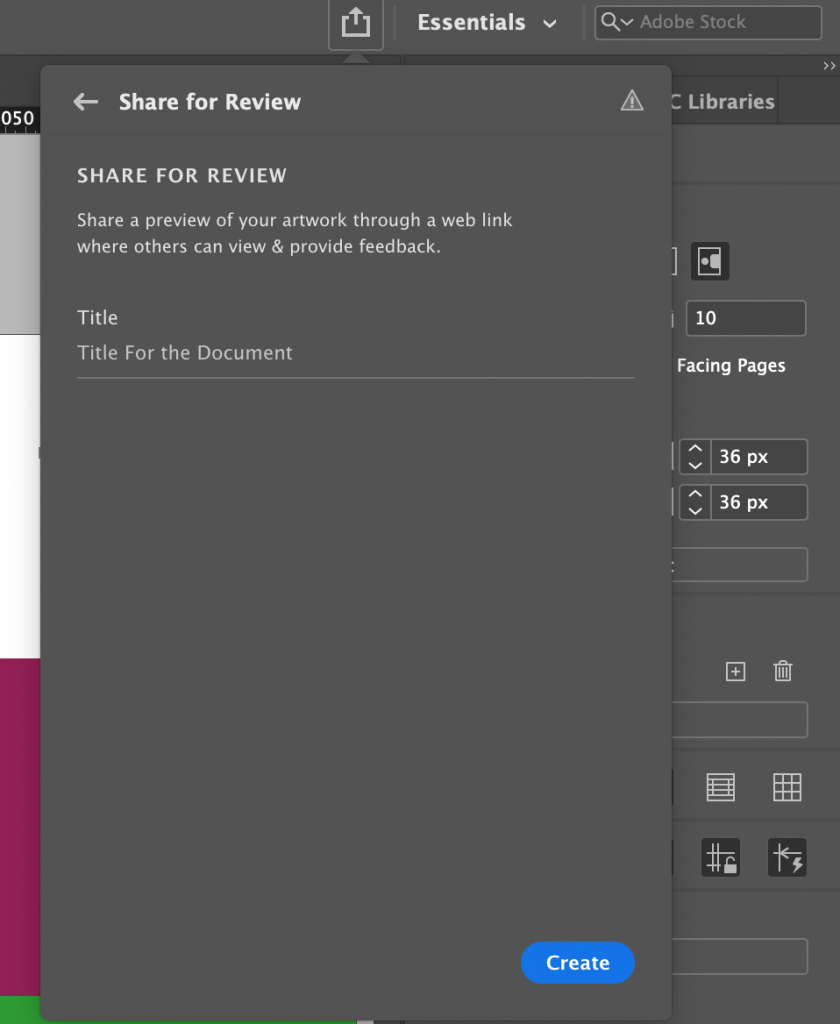
Step 2. Click on share for review

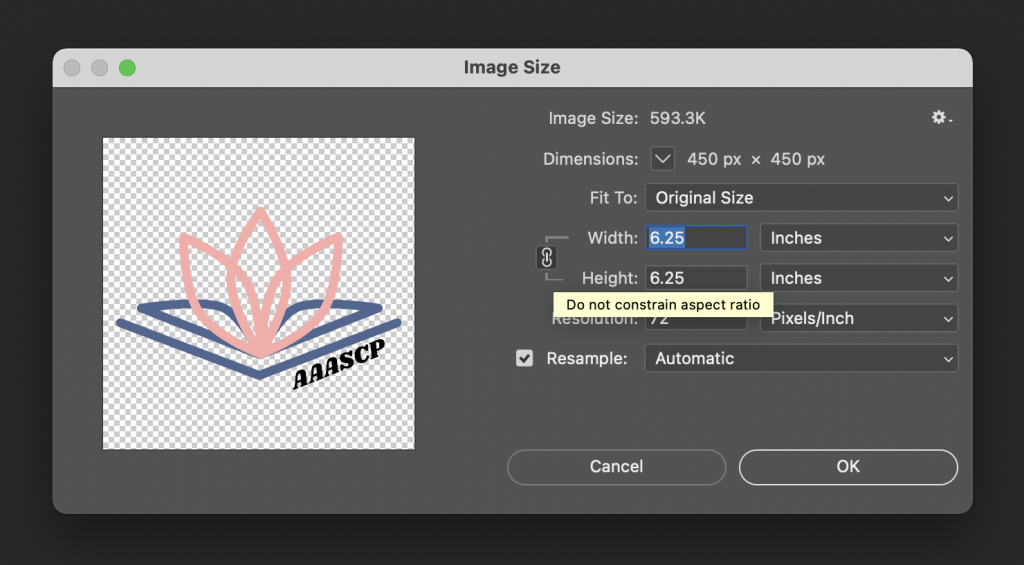
Step 3. Give your design a title, then click “Create” on the bottom right

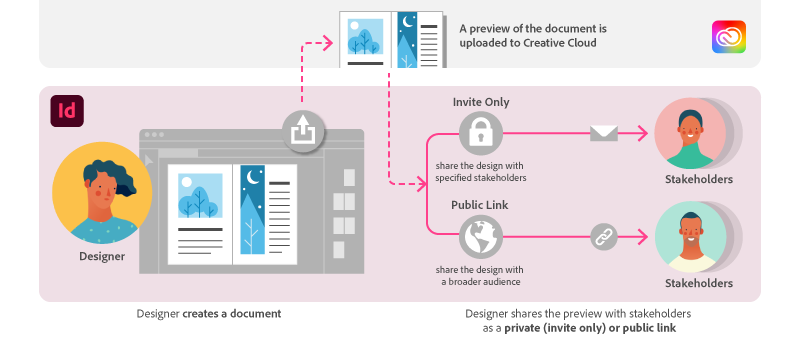
From this point forward, you have 2 options to share your document: 1) Invite members or 2) Send a weblink

Option 1: Invite members to review your design

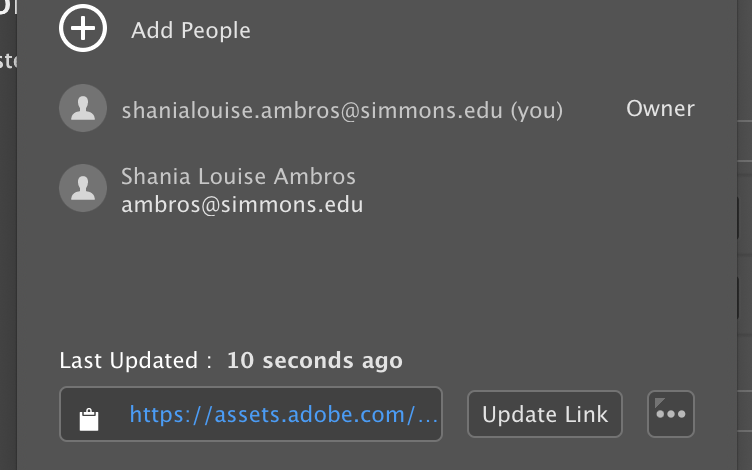
Step 1. Click on “Add People”

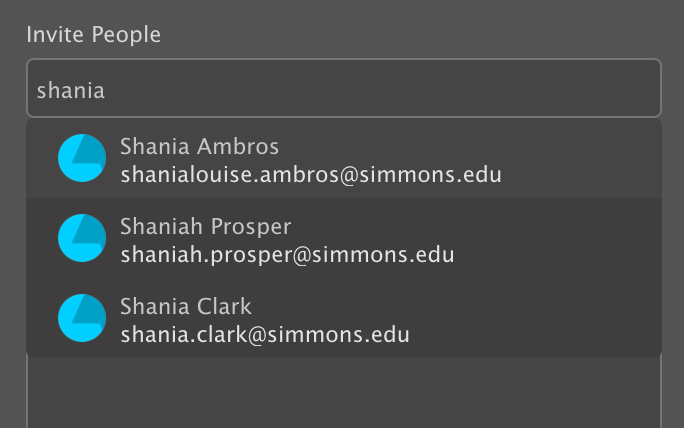
Step 2. Type out the reviewer’s name or email

Optional Step 3. Send a comment

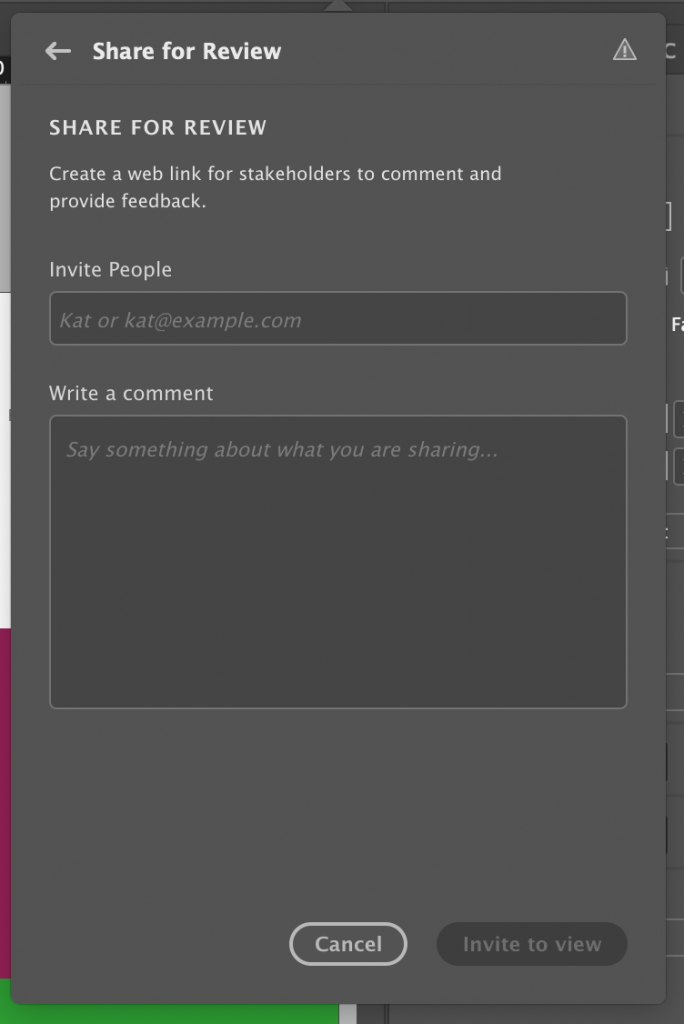
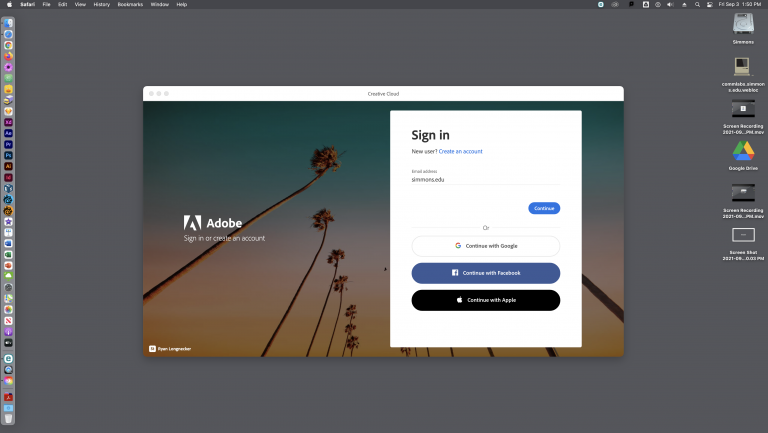
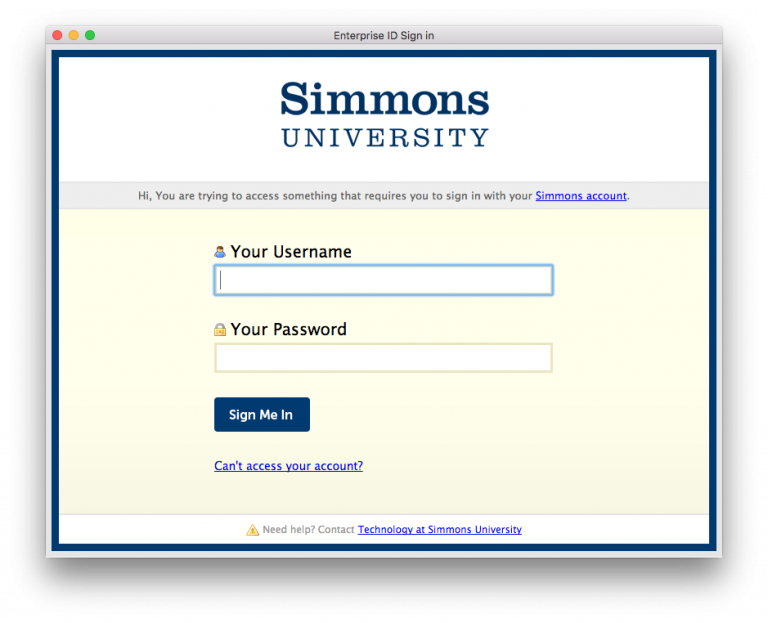
If you’re signed into InDesign through your Simmons account (and completed the 2 Factor Authentication), you can type the name of the student or faculty.

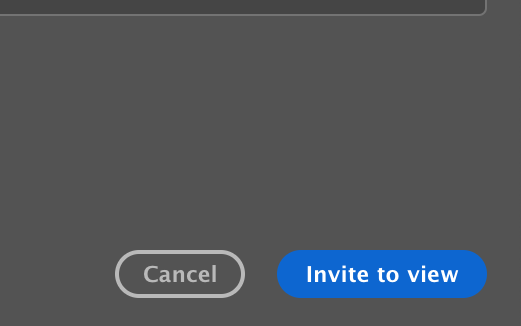
Step 4. Submit the invitation by clicking on the button, “Invite to view”, on the bottom right

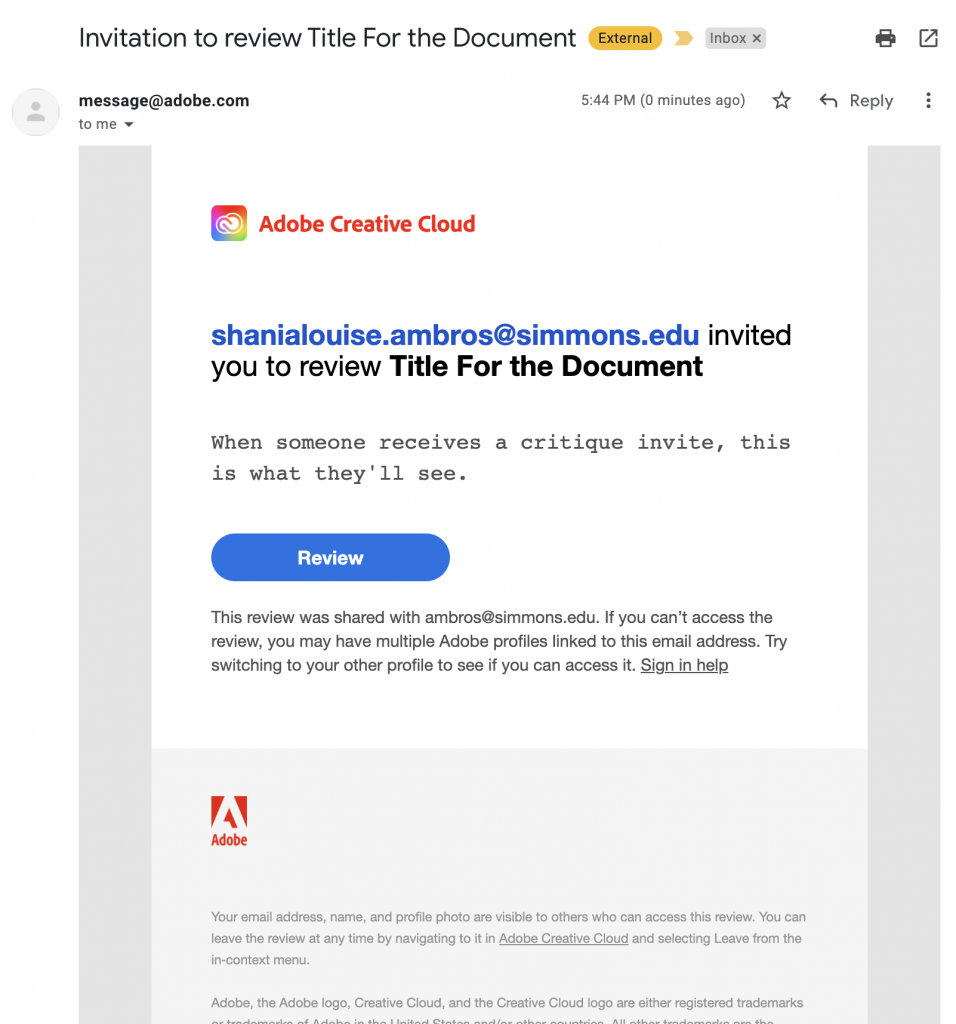
What does the InDesign invite look like for people who were added manually?

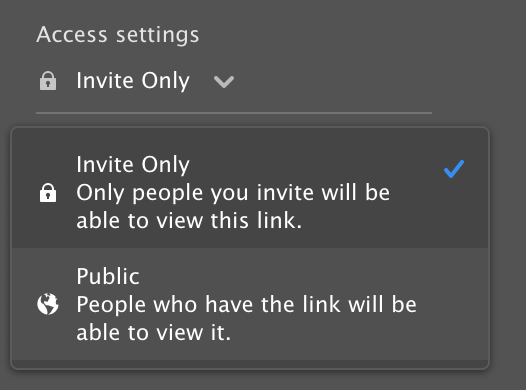
Option 2: Share a public web link

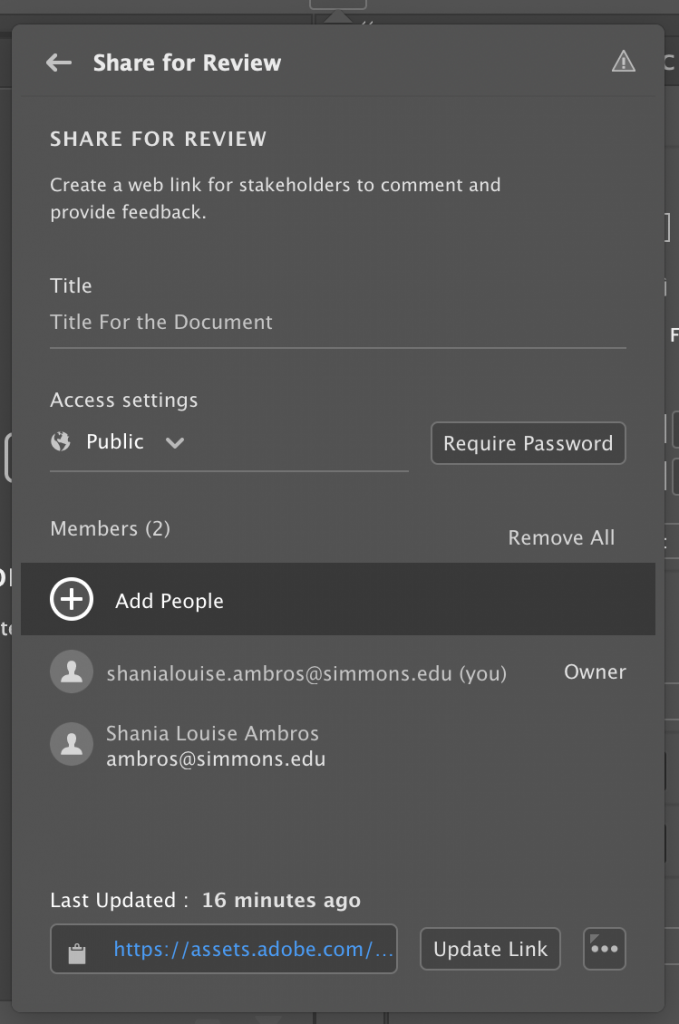
Step 1. Copy the URL to your clipboard by clicking on the icon on the left of the address.

In other words, if you click on the clipboard icon that’s on the left of the blue text, this will act as a “CTRL+C”/”CMD+C” copy shortcut.

Note: If you click on the blue text, it will open the design review in a new browser.

Step 2. Paste (CTRL+V or CMD+V) the link anywhere you want

Caution! Every time you update your design, you need to update the link and reshare this to people.

Resizing an image in Photoshop

Step 1. Click on the Image dropdown link in the top navigation bar.

Screenshot of the dropdown items for the Image menu

Step 2. Click on Image Size

The Image Size link is shown in blue

Step 3. Change the dimensions

Note: Click on the link icon on the left of “Width” and “Height” in order to keep the aspect ratio of the content in the file. This is activated when the link icon has the same background and lines (pointing to Width and Height) shown as above. In this case, the content in this file is the logo and “AAASCP” text. No matter how I modify the image dimensions, the content will not warp into a different shape.


Additional Resources:

How to Change Images to Black and White in Photoshop

Printing a color image in black and white can make it look washed out or flat on paper. Instead, use these methods to make your image black and white in Photoshop and have more control over how the final image looks!

Method #1: Use a Black and White Adjustment Layer

This method is non-destructive, meaning the layer simply covers the colors instead of removing them from the image permanently.

  1. Make a black and white adjustment layer. From the Layers Panel, click on the New Adjustment Layer icon (half black/white circle) and select Black & White.

2. Adjust the color sliders. In the Properties Panel, there are six sliders: Reds, Yellows, Greens, Cyans, Blues, and Magentas. These sliders control the brightness of the greyscale version of each color. For example, moving the Reds slider to the right will lighten the pixels that were originally red. This can be used to create contrast and depth in the image.

Method #2: Convert Image with the Camera Raw Filter

This method is destructive, meaning that the image will be permanently changed to black and white once applied.

  1. Apply the Camera Raw Filter. Go into Filter and select Camera Raw Filter.

2. Convert image to black and white. Either click on the B&W button or select Monochrome from the Profile drop-down menu.

3. Adjust the color sliders. Under B&W Mixer, there are eight sliders: Reds, Oranges, Yellows, Greens, Aquas, Blues, Purples, and Magentas. These sliders control the brightness of the greyscale version of each color. For example, moving the Reds slider to the right will lighten the pixels that were originally red. Because of the two additional sliders, you have more control over the image compared to using a black and white layer.

Multitrack Recording on Rødecaster

Before you can make a multitrack recording in the podcast rooms, you will need to set up tracks for each of the Rødecaster’s inputs. You can do this easily by downloading our template with preset tracks:

Unzip the file and open it in Audition. Then go to File > Save As to save your new project. Make sure to save it in the same place as any .wav recordings to make sure you do not lose them!

Note

If you are recording by yourself using only the PodMic, you do not need to use multitrack recording. Instead, simply set your input and output to Rodecaster Pro Stereo under Adobe Audition > Preferences > Audio Hardware and record your audio to a .wav file.

How to Print From InDesign

InDesign gives you many options to control how your document prints, so you will need to pay attention to settings such as printer selection, paper size and feed, color profile, and page selection to make sure you get the results you want.

The Print Dialog

Open the print dialog box by going to File > Print. This is the main dialog for printing in InDesign and contains the following options:

  • Printer: Determines what printer the document will go to.
  • Page Range: Selects which pages will be printed. You can enter a range (e.g. 1-3), a list (e.g. 1, 2, 3), or a combination of the two (e.g. 1-3, 5).
  • Sequence: Determines whether pages will be printed individually (Pages) or as part of a spread (Spreads)
  • Printer…: Opens the printer settings dialog, which lets you select paper feed.

Printer Settings

The printer settings dialog lets you choose which paper tray the document will print from. If you are using the Epson printer in the lab, select Bypass Tray to load your own paper.

Setup

The Setup tab in the main print dialog lets you choose the paper size, position of the document on the page, and any tiling options you want.

  • Paper Size: Selects a paper size from a list of presets.
  • Page Position: Positions the document on the sheet with left/right align and centering.
  • Tile: Allows a large document to be printed over multiple smaller sheets of paper.

Marks and Bleed

This tab in the main print dialog allows you to print extra information or guide marks on your document.

  • Crop Marks: Prints lines on the outside of your document to show where to trim it. You can change the distance using the Offset.
  • Bleed Marks: Shows where the edge of the document bleed is.

How to Log In to Adobe Creative Cloud Through Simmons

If you want to use Photoshop, InDesign, or any other Creative Cloud apps at Simmons, you’ll first need to log in to Creative Cloud through your Simmons account.

Open the Creative Cloud app and you will see the Sign In prompt. Do not enter your Simmons email address or username yet! All you have to type here is simmons.edu and hit Continue.

When you reach the Simmons sign on screen, you can enter your Simmons username and password. Complete Duo authentication if necessary.

Once you sign in you will be prompted to select a profile. You will want to select NERCOMP.

Once you finishing signing in, you can access all the Creative Cloud apps from the Creative Cloud window!

One Minute Tutorial! How to Turn an Image into a Vector

Do you have an raster image that you want to change into a vector object in Illustrator? This Tiktok explains how to use live trace to convert an image into a vector graphic faster than manually tracing it.