
Do you have an raster image that you want to change into a vector object in Illustrator? This Tiktok explains how to use live trace to convert an image into a vector graphic faster than manually tracing it.
Adding Effects to Objects in InDesign
Want to add more spice to your objects in InDesign? Try out the effects panel! This video goes over each of the various effects in InDesign and how to apply the same effect to multiple objects.
One Minute Tutorial! Perspective Text
The perspective grid tool can be a bit intimidating at first, but it can also be incredibly powerful. This tutorial shows how to use a perspective grid to create perspective text in Adobe Illustrator.
Locking and Unlocking Layers in Adobe Applications
All the adobe applications have a lovely feature called the layer lock. Layer locks are used to prevent working on the wrong layer. It’s frustratingly easy to work on layer thinking it’s a different one entirely. Fully locking layers or partially locking layers prevents you from making changes to the layers that are already completed.
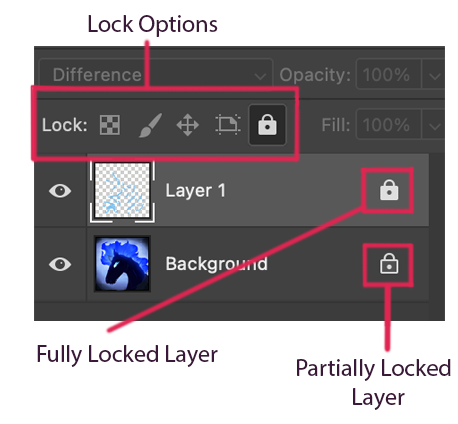
Fully locking your layer locks all four of the lock options available as well as preventing you from making selections. These are “Lock Transparent Pixels”, “Lock Image Pixels”, “Lock Position”, and “Lock All”.
The Lock Transparent Pixels does what the title suggests and prevents the user from changing any of the transparent pixels on your layer. A shortcut for this is the forward slash key (/).
The Lock Image Pixels prevents the user from painting or editing any of the layer. You can still move, transform, or select items on your layer.
The Lock Position prevents the user from moving or transforming anything on the layer, however it allows anything else.
The Lock All option prevents everything except making selections on the layer.
To apply a lock option to a layer of your choice, you must first make sure you’re on the layer. Select the layer you want to lock and click one or more of the lock options. If you select the Full Lock option (far right), the other four options will turn grey because they are unnecessary with the Full Lock option selected.
Match Fonts in Photoshop
Ever find an image with the perfect font, but have no clue what font it is? You’re in luck! Using the match font feature in Adobe Photoshop, you can automatically search your font library for a matching or similar font.
This three minute video demonstrates how to use this feature to search for a matching font to the one in an image.
One Minute Tutorial! The Select and Mask Tool
It can be difficult to manually trace an image featuring an object with hair or fur. That’s where the select and mask tool comes in. Watch this tutorial to learn how to use the select and mask tool to cut out an object with a tricky silhouette in Adobe Photoshop.
Template Set-Up and Marble Effect for Zines in InDesign
This tutorial walks you through multiple set-ups for your zine, the marble effect, and font design in InDesign.
Download the templates and fonts to replicate the design. The marble effect can add a unique, contemporary feel to all your zines. Configuring your template first will help your zine look professional and uniform.
Happy creating!


6-Step Zines in InDesign!
If you’re a beginner at zine-making, this tutorial is for you. Learn how to make your first one in just six simple steps!
Using the Adobe Color Wheel
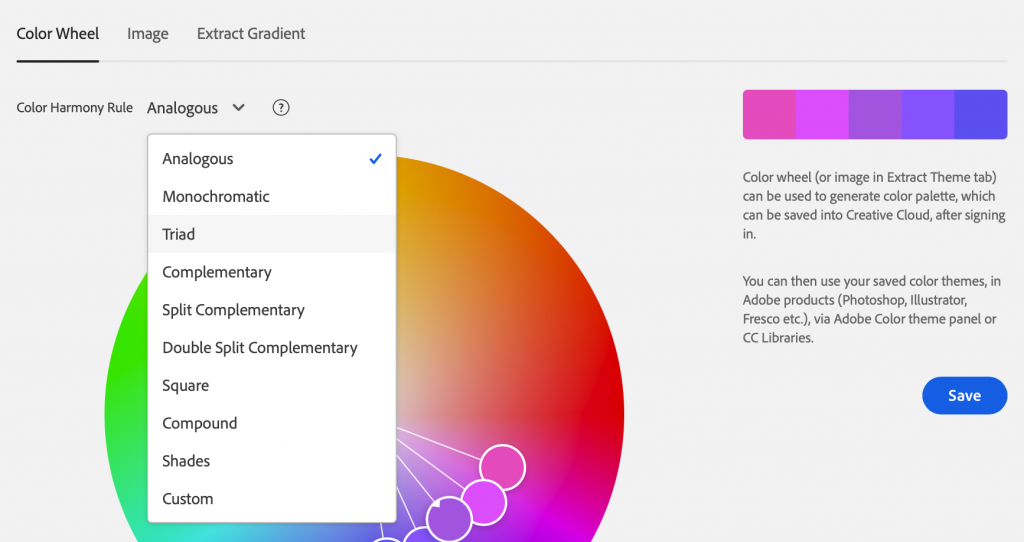
Using the Adobe Color Wheel is a simple way to quickly create a color palette to work with. As stated on their site, the color wheel can be used to generate a color palette which can be saved into Creative Cloud and used for your projects.
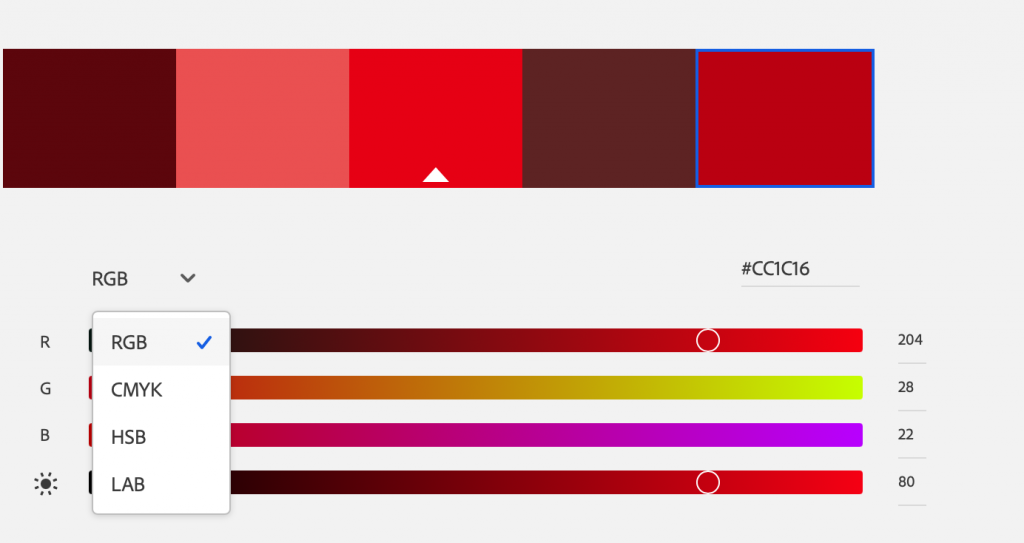
On the color wheel page, you can change colors by clicking on points within the wheel itself or by adjusting the sliders at the bottom of the page. With the color wheel, you can choose between Analogous, monochromatic, triad, complementary, split complementary, double split complementary, square, compound, shades, and a custom choice.
The sliders also have a number of options to choose from including RGB, CMYK, HSB, and LAB.
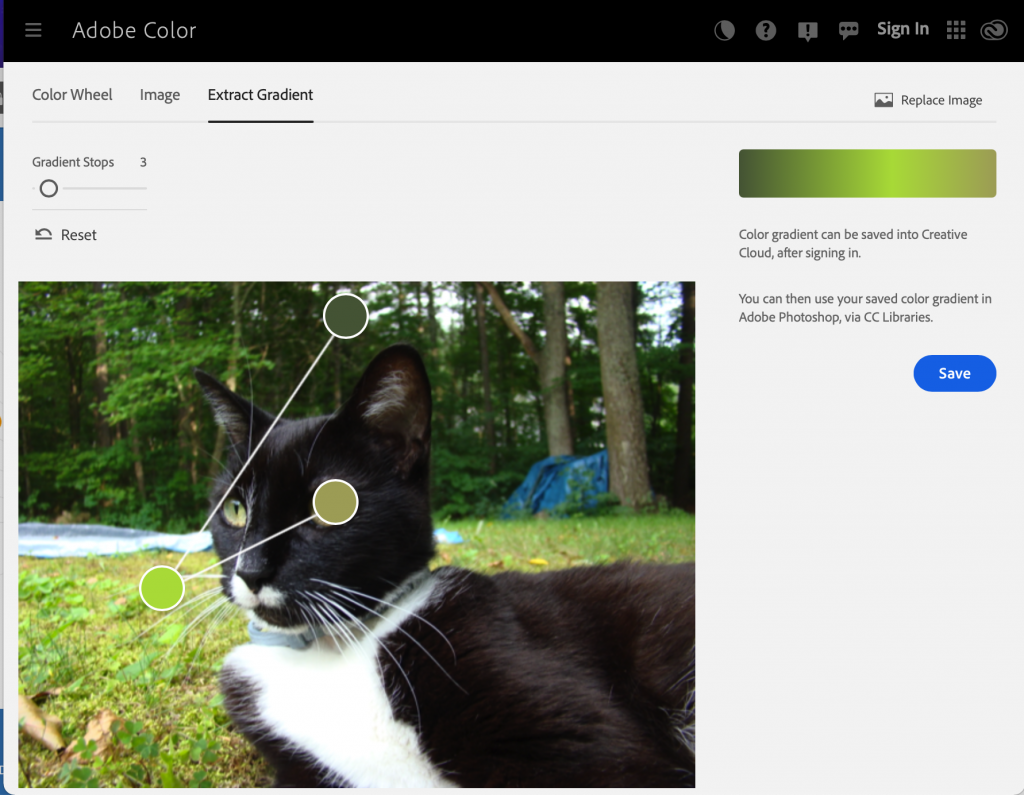
At the top of the page, it lists “Image” and “Extract Gradient” next to “Color Wheel”. In those tabs, you can generate a color palette from an uploaded image. You can change the mood of the auto generated color palette which will change the points selected as color references. By clicking and dragging the color points, you can also manually change individual colors in the palette.
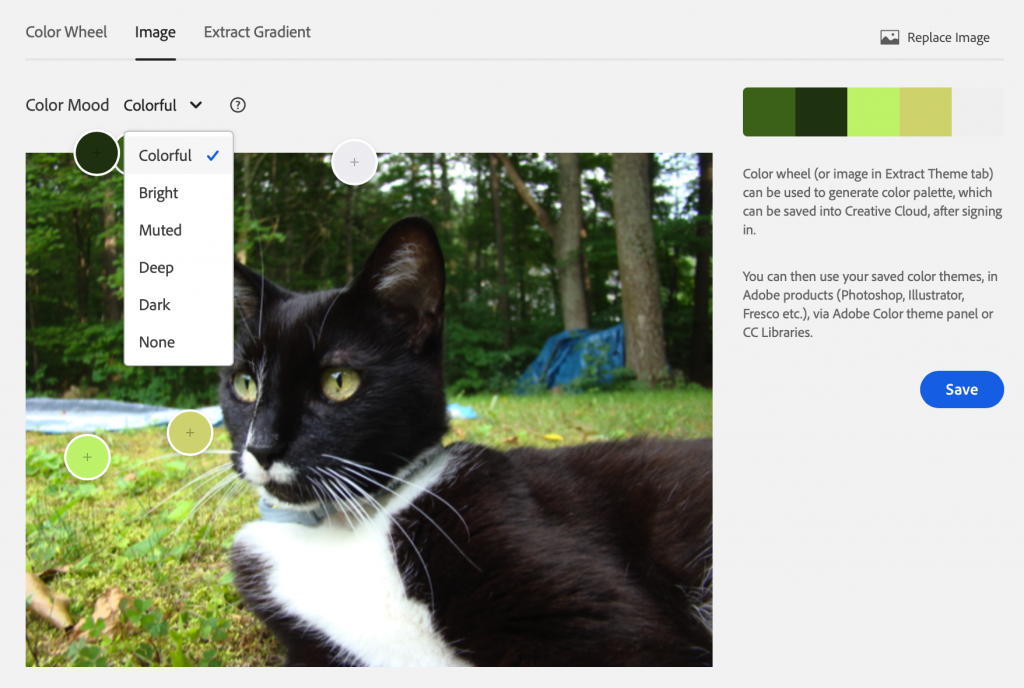
You can also generate a color gradient from that image. Just select an image and it will auto generate a palette or a gradient. You can move the selection points and change the selected colors to create a palette that suits your needs. You can also increase the number of “Gradient Stops” with the slider in the top left corner.
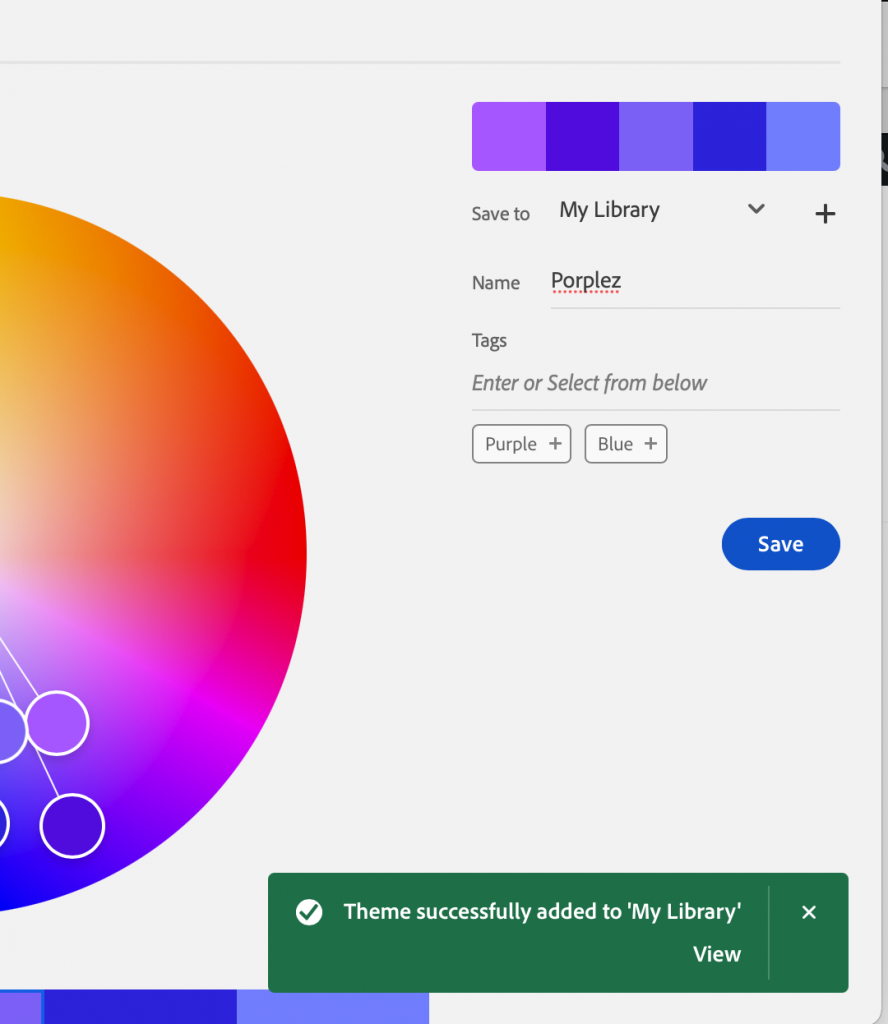
When you’re ready to save the palette, make sure you’re signed in first. Then, go back to the “Color Wheel” tab and you will have the option to name your palette and add tags.
Zine Basics in InDesign
Watch this 13 minute video on how to set up and print a zine in Adobe InDesign.