How to Use Font Explorer X Pro

FontExplorer X Pro is a software for finding and managing fonts, available on all lab computers. It works similarly to Adobe Fonts in that you can find and activate new fonts from a server.

Activating fonts from the server

To add a font from the FontExplorer server, click on the SERVERS dropdown menu, select VMFONTEXPL, then Fonts. This will show a list of all the fonts available on the server.
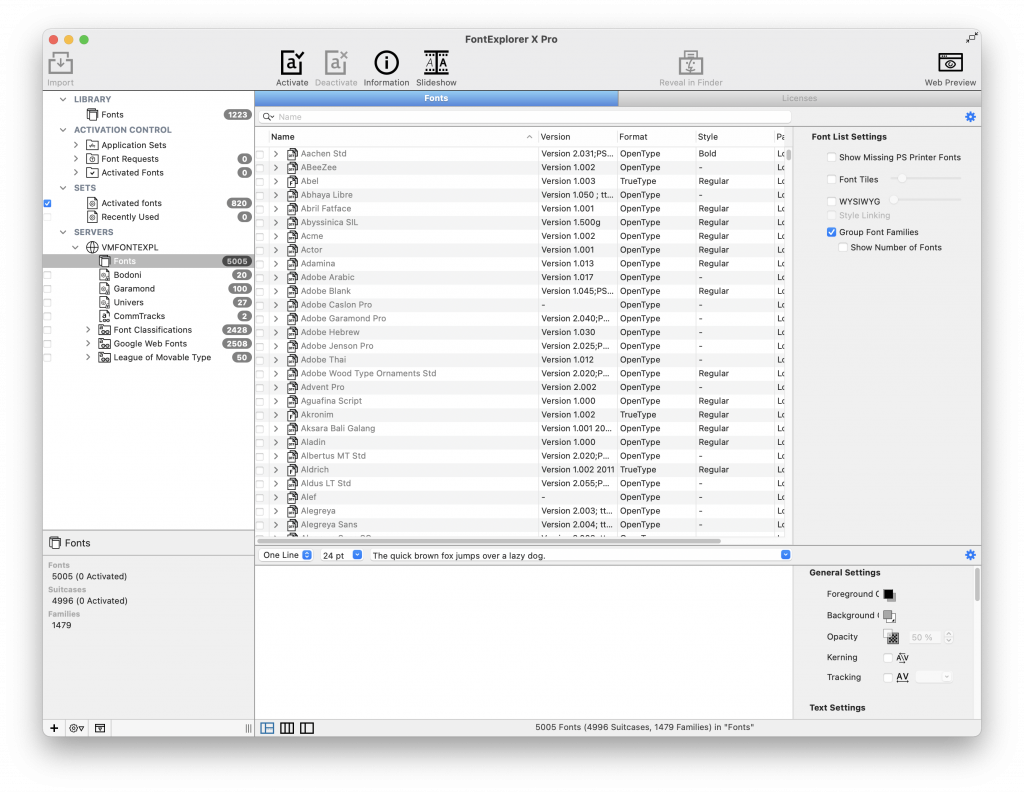
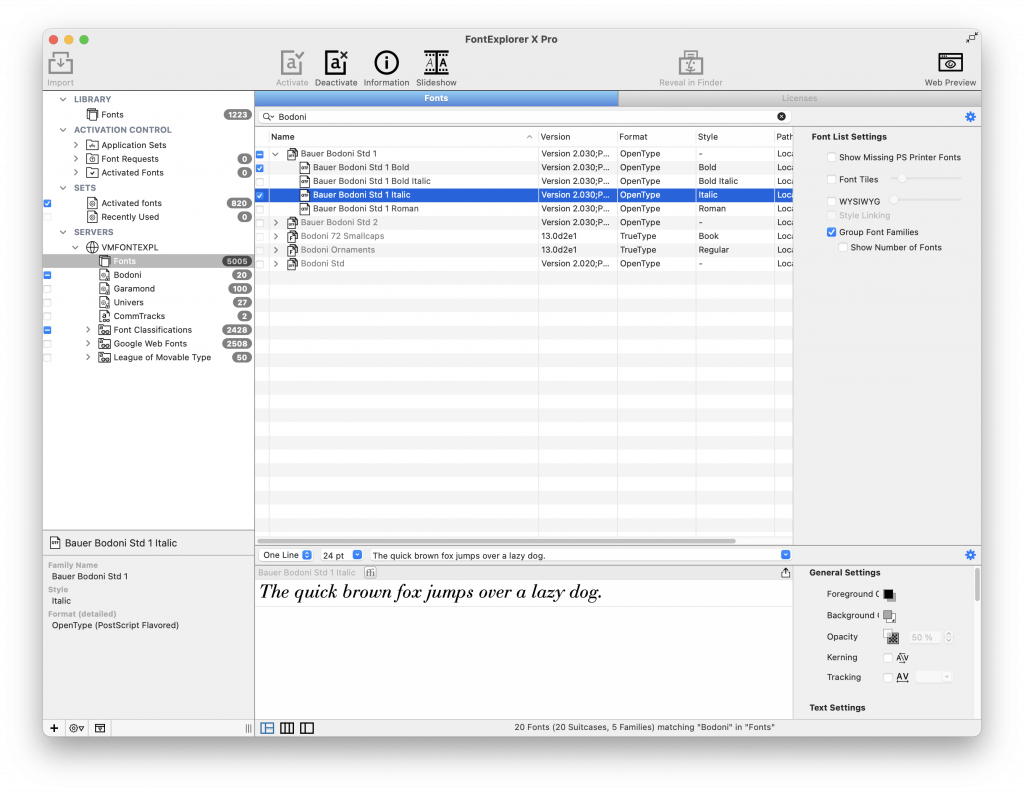
If you want to activate a specific font, start typing its name into the search bar. When you see the font you want, click on the checkbox next to its name to activate it. You can activate select styles from the font (e.g. italic, bold) by clicking the dropdown arrow next to the font’s name. Click on a style to preview it.
Adding downloaded fonts

You can also add fonts that you downloaded from other sources. Unzip the file that you downloaded and open the folder. There should be a list of font files inside.
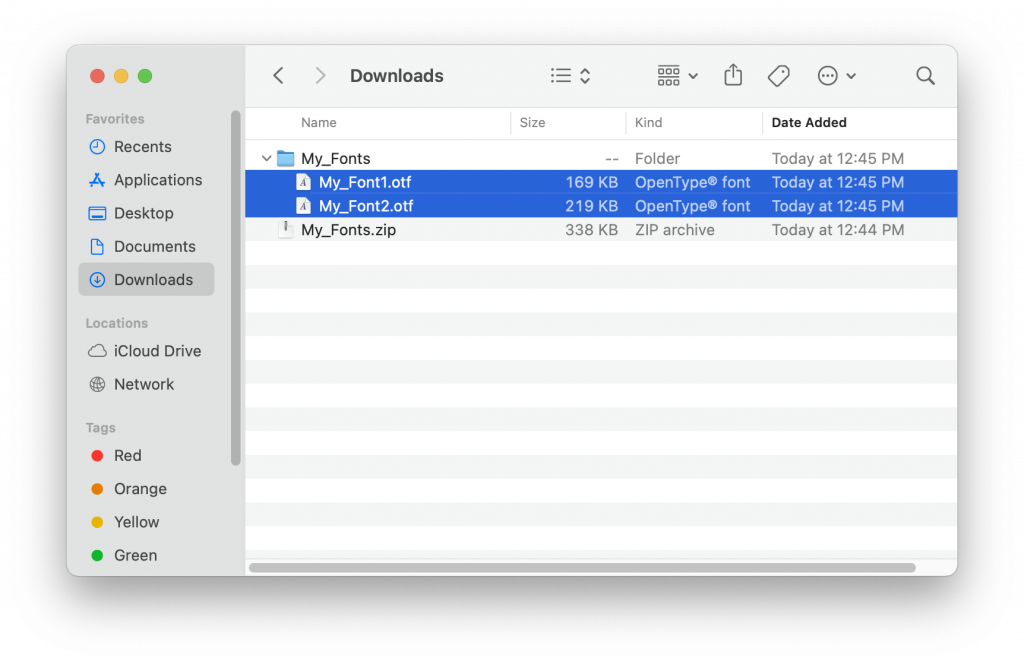
Select all of the ones you want to add to FontExplorer, then drag them onto the FontExplorer window until a green plus sign appears. This will add the fonts to Font Explorer so you can access them from InDesign or other software.

Troubleshooting

FontExplorer must be open and running in order for you to access your fonts. Don’t quit FontExplorer until you are ready to log off.

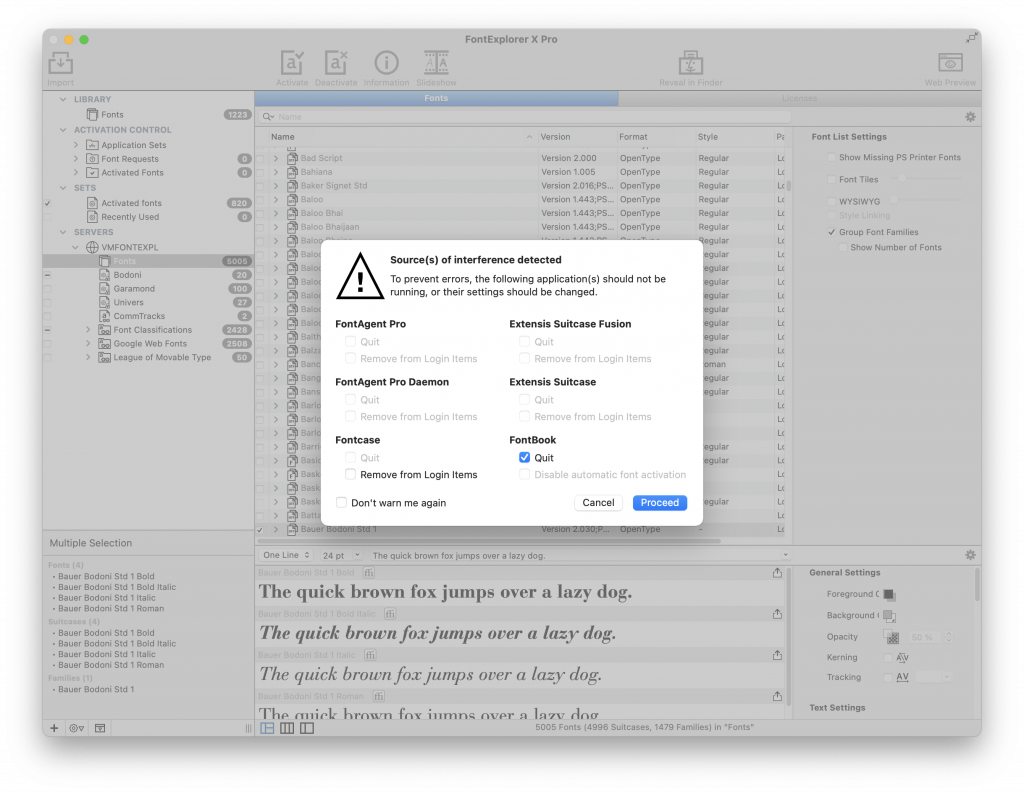
If you accidentally open another font management software, such as FontBook, it will conflict with FontExplorer and you will get this message. Click Proceed to quit FontBook and continue using your FontExplorer fonts.
Accessing Shared Folders from Google Drive for Desktop

If you use Google Drive to open files directly from your computer, you may have noticed that shared items do not show up. You will need to add a shortcut to the shared folder or file to your own Google Drive before you will be able to open it from your desktop.

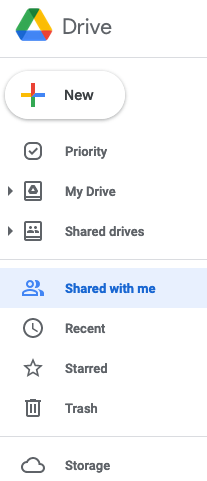
First, open Google Drive in your web browser and locate the folder or file you want to open. You can usually find it under Shared with me.

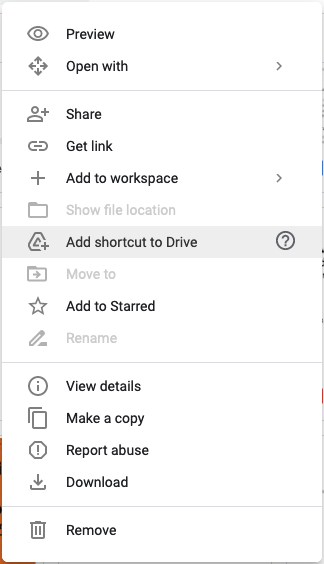
Once you find the shared item, right-click on it to open up the menu and click on Add shortcut to Drive.

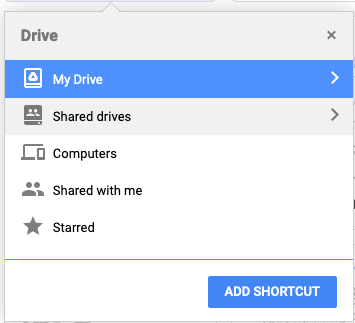
Google Drive will then show you a menu where you can select where you’d like to add the shortcut. If you just click ADD SHORTCUT, it will be added to your main directory, but you can also navigate to a specific folder.

The next time you open your Google Drive from your desktop, your shortcut will appear as a normal folder or file. Now you can open or edit it directly from your computer!

Placing an InDesign Document in InDesign

Let’s say you have created an awesome poster in InDesign and you want to feature it in your design journal. What are your options? You could save a picture of the poster as a PDF or JPEG and place that in your design journal document…or you could place the original InDesign file!

What are the advantages of this? Well, to start, any edits you make to your poster later are easily synced with the document you placed it in. You also don’t have to worry about what resolution or colors your JPEG file uses, because those will be retained from your InDesign document. So let’s get started!

Selecting a file

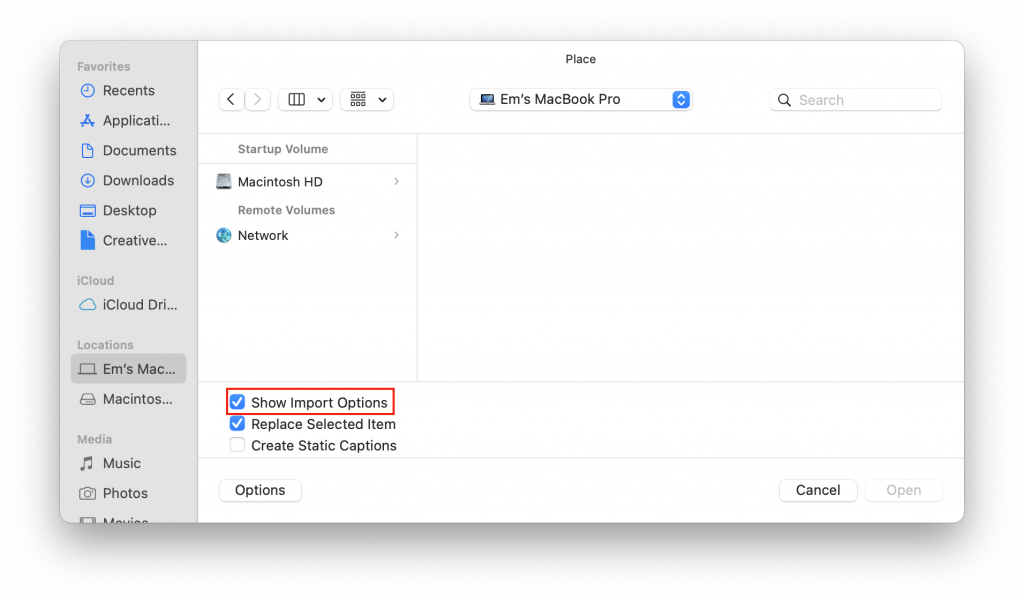
Just like placing any other object in your InDesign document, start by going to File > Place. Navigate to the file you want to use. Before you open it, click the Options button and check the box labeled Show Import Options. Then click Open. If you don’t check this box, InDesign will place the first page of your document by default.

Selecting pages

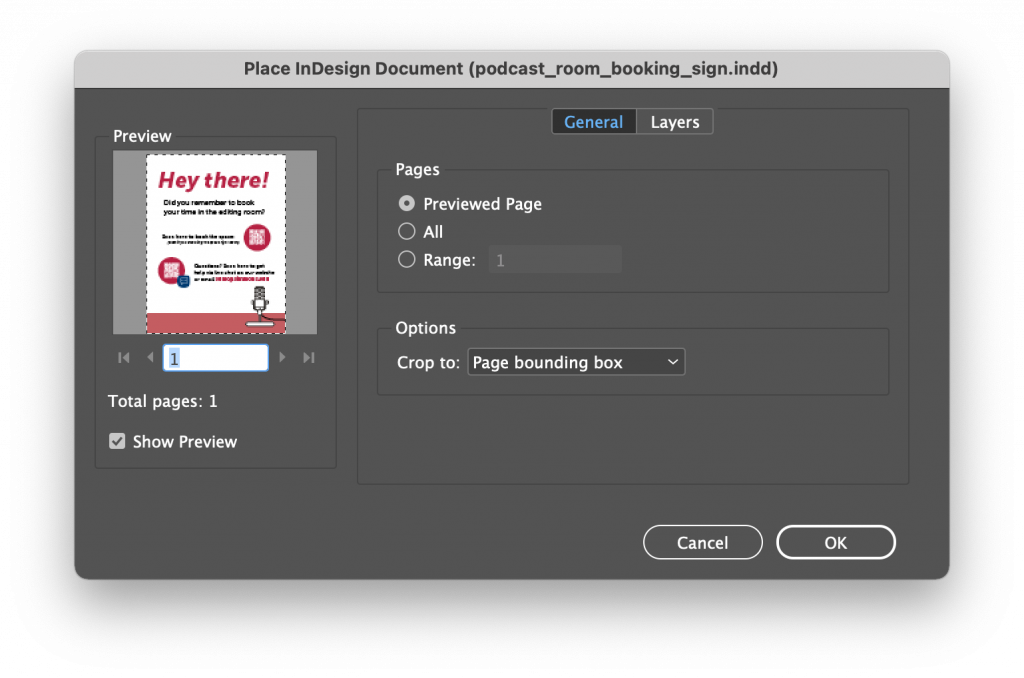
By default, InDesign will place the first page of the document. If you want to place a different page, or more than one page, you can do so in this dialog box:

  • Previewed Page places the page you see in the preview panel. You can changed the previewed page by clicking on the arrow buttons on the bottom.
  • All Pages places each page in the document, one after the other.
  • Page Range allows you to select a single page by its page number, or a range of pages. Entering 2 will give you page 2, entering 3-5 will give you pages 3, 4, and 5, and entering 3, 5 will give you pages 3 and 5.

Placing pages

Once you have selected the pages you want to place, click OK. The first page you selected is now attached to your cursor. Click and drag to draw a frame and the page will automatically be placed inside (clicking once places the page at full size). If you selected more than one page, your cursor will have the next page ready to go on your next click. If you selected too many pages, you can press Esc to cancel.

Changing the page

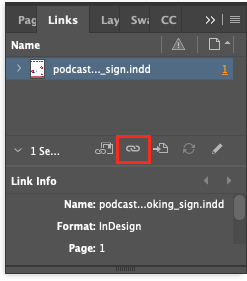
If you want to change which page you place, select its frame and open the Links panel (Window > Links). Click the chain icon to Relink. This will let you select the file again and change the pages that you import. You can also relink the file in the Properties panel (Window > Properties) by clicking the Import File button under Quick Actions.

How to Sign In to Creative Cloud Express (Adobe Spark)

Creative Cloud Express (formerly known as Adobe Spark) is Adobe’s web-based platform for content creation. You can use it to create websites, presentations, and more. Here’s how to log in with your Simmons account to use this service.

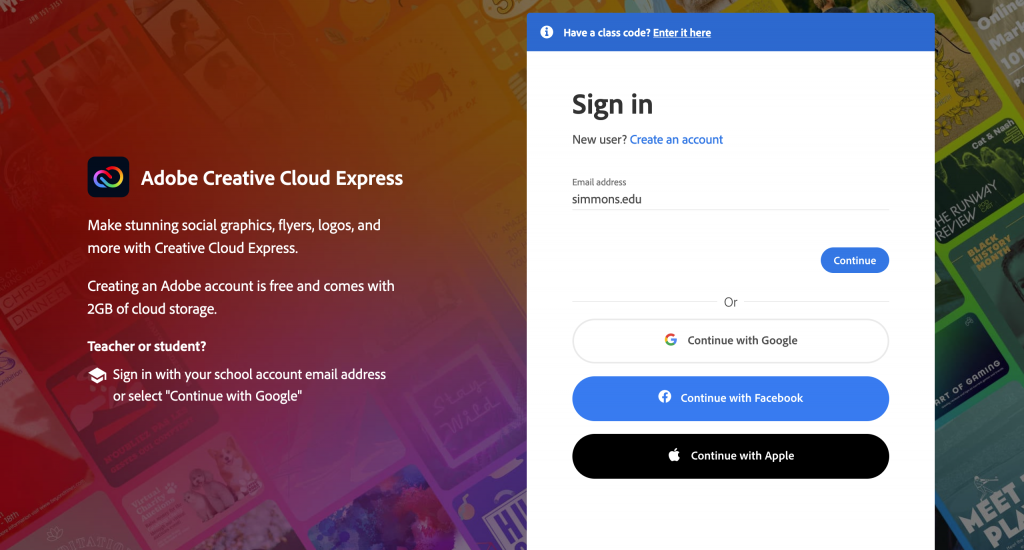
  1. Go to https://www.adobe.com/express/ and click the sign in button on the top right.

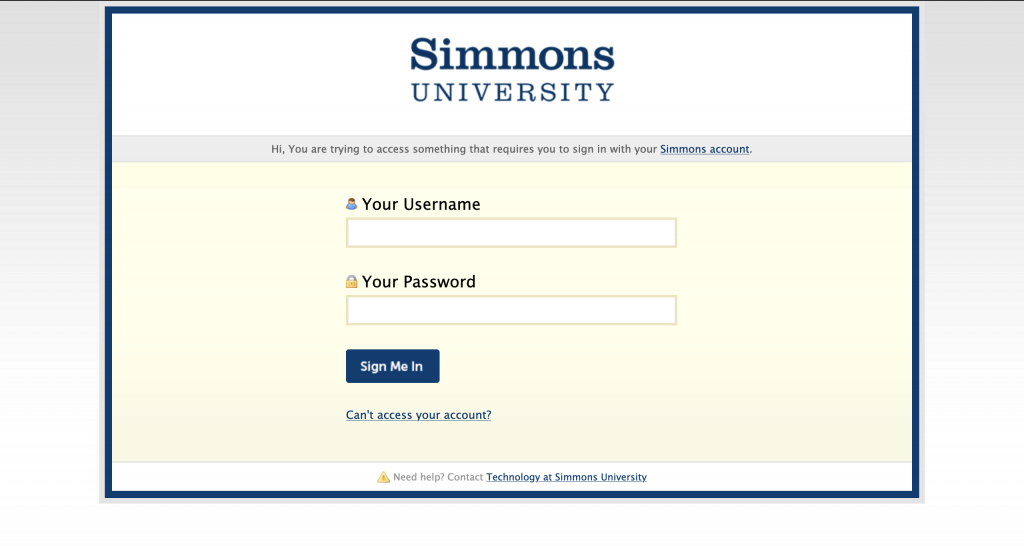
2. In the box that for your email address, type simmons.edu only (NOT your Simmons email address) and hit Continue. This will redirect you to the Simmons SSO page.

3. Enter your Simmons account info. Once you log in, you will be redirected back to Adobe.

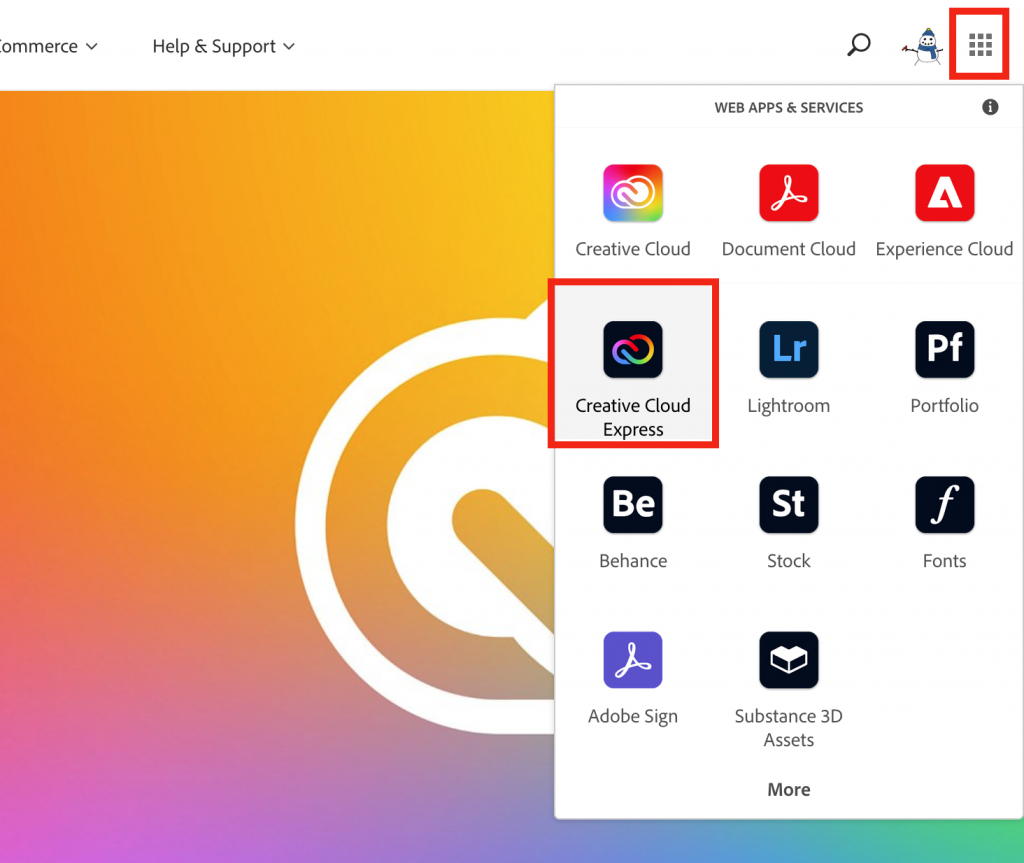
If you are already logged into adobe.com, you can access Express and other web-based services from the apps menu.

Multitrack Recording on Rødecaster

Before you can make a multitrack recording in the podcast rooms, you will need to set up tracks for each of the Rødecaster’s inputs. You can do this easily by downloading our template with preset tracks:

Unzip the file and open it in Audition. Then go to File > Save As to save your new project. Make sure to save it in the same place as any .wav recordings to make sure you do not lose them!

Note

If you are recording by yourself using only the PodMic, you do not need to use multitrack recording. Instead, simply set your input and output to Rodecaster Pro Stereo under Adobe Audition > Preferences > Audio Hardware and record your audio to a .wav file.

How to Print From InDesign

InDesign gives you many options to control how your document prints, so you will need to pay attention to settings such as printer selection, paper size and feed, color profile, and page selection to make sure you get the results you want.

The Print Dialog

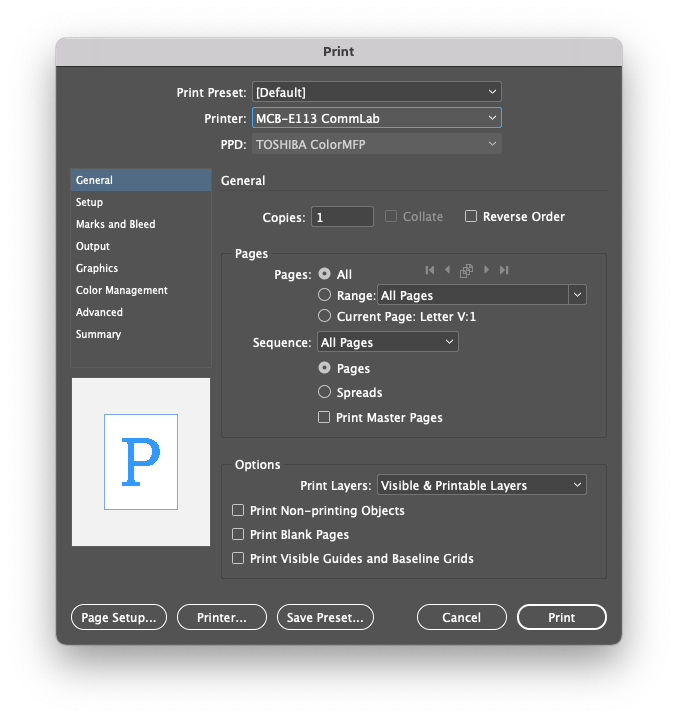
Open the print dialog box by going to File > Print. This is the main dialog for printing in InDesign and contains the following options:

  • Printer: Determines what printer the document will go to.
  • Page Range: Selects which pages will be printed. You can enter a range (e.g. 1-3), a list (e.g. 1, 2, 3), or a combination of the two (e.g. 1-3, 5).
  • Sequence: Determines whether pages will be printed individually (Pages) or as part of a spread (Spreads)
  • Printer…: Opens the printer settings dialog, which lets you select paper feed.

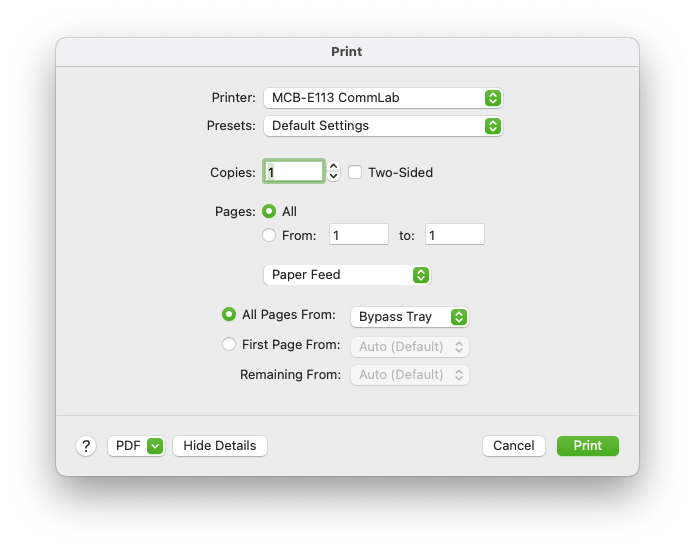
Printer Settings

The printer settings dialog lets you choose which paper tray the document will print from. If you are using the Epson printer in the lab, select Bypass Tray to load your own paper.

Setup

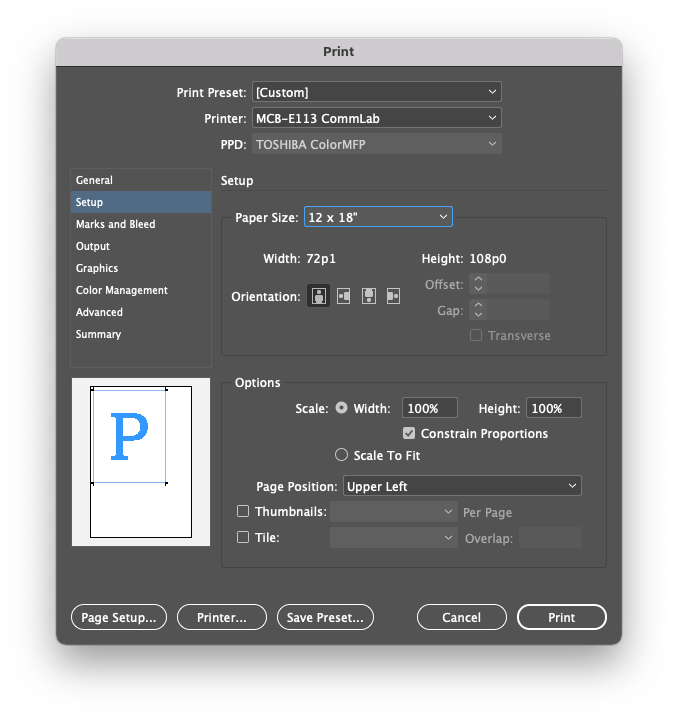
The Setup tab in the main print dialog lets you choose the paper size, position of the document on the page, and any tiling options you want.

  • Paper Size: Selects a paper size from a list of presets.
  • Page Position: Positions the document on the sheet with left/right align and centering.
  • Tile: Allows a large document to be printed over multiple smaller sheets of paper.

Marks and Bleed

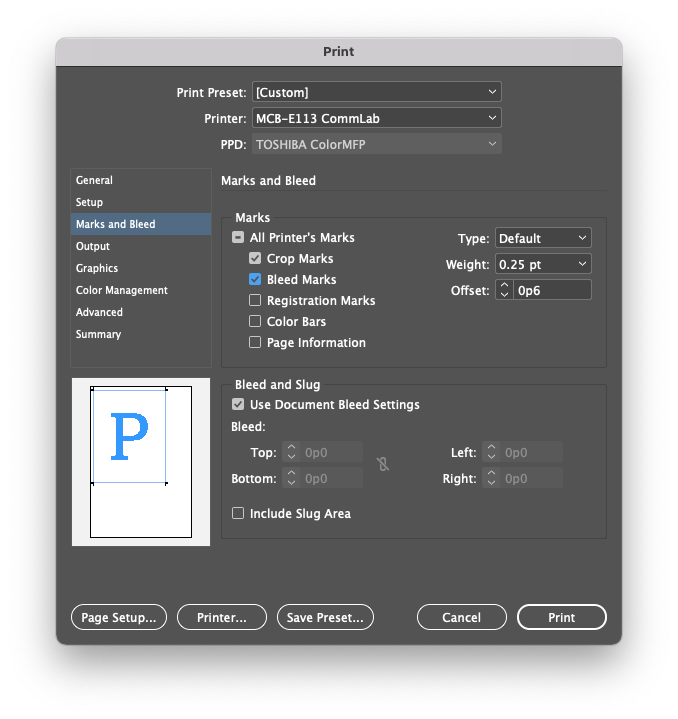
This tab in the main print dialog allows you to print extra information or guide marks on your document.

  • Crop Marks: Prints lines on the outside of your document to show where to trim it. You can change the distance using the Offset.
  • Bleed Marks: Shows where the edge of the document bleed is.

Using the Dry Mount Press

The dry mount press in the CommLab is an easy way to neatly mount your artwork on matte board without messy tape, drippy glue, or curling paper. Just follow these steps to create perfectly mounted artwork.

Tools and Materials

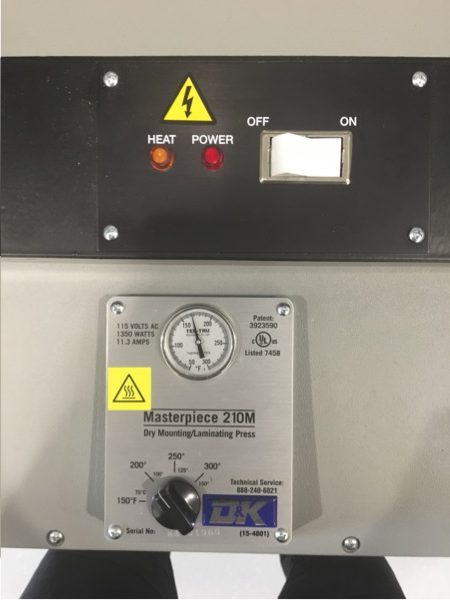
Dry mount press: Before you begin, make sure the press is turned on, as it takes 20 minutes to heat up. The on switch is located on the top next to the indicator lights. The temperature for permanent adhesion is 200F.

Release paper pocket: You will need a release paper pocket to prevent your project from sticking to the inside of the dry mount press. These are located in the drawer underneath the dry mount press.

Dry mount tissue: Ask the Lab Agent for the right size dry mount tissue for your artwork. The CommLab has pre-cut tissue sheets in a number of sizes, but we can cut custom sizes too.

Steps

  1. Open your release paper pocket and place your artwork inside face down. Lay the dry mount tissue over top, making sure to cover the entire artwork, as any paper left uncovered will not stick to the matte board. Close the release paper pocket, taking care not to move the layers around. Use the tacking iron to tack down a corner of the dry mount tissue to keep it from moving around when you place it inside the dry mount press.
  2. Place the release paper pocket inside the dry mount. Close the lid, pushing firmly to make sure it is down all the way. Leave the pocket in the dry mount press for about 35 seconds, then remove the pocket and let it cool for 20-30 seconds.
  3. Trim the excess tissue from the edges of your artwork – once you mount the artwork, you will not be able to remove it. Then, place your matte board inside the release paper pocket. Line up your artwork on top of the matte board with the tissue side facing down, then carefully close the release paper pocket. Use the tacking iron to tack down a corner of the artwork so the layers do not move around. Then, place the entire folder back into the dry mount press, and set the timer on top for 2 minutes. When it’s done, remove the pocket and place the metal weights on top while it cools, about 5 minutes.

Fixing the Connection Issue on CommLab Scanners

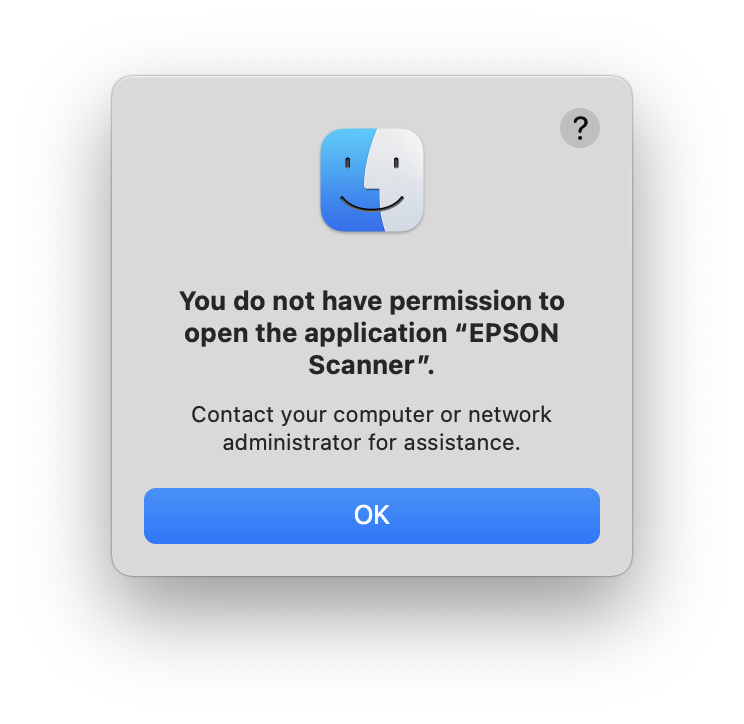
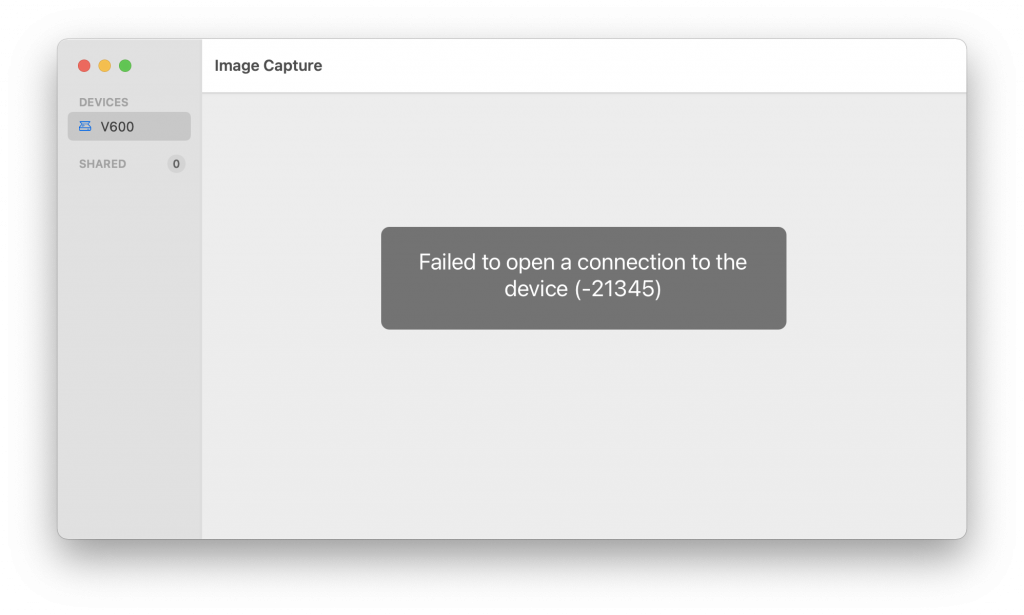
When you open ImageCapture to scan from one of the CommLab Epson scanners, you may get this error message:

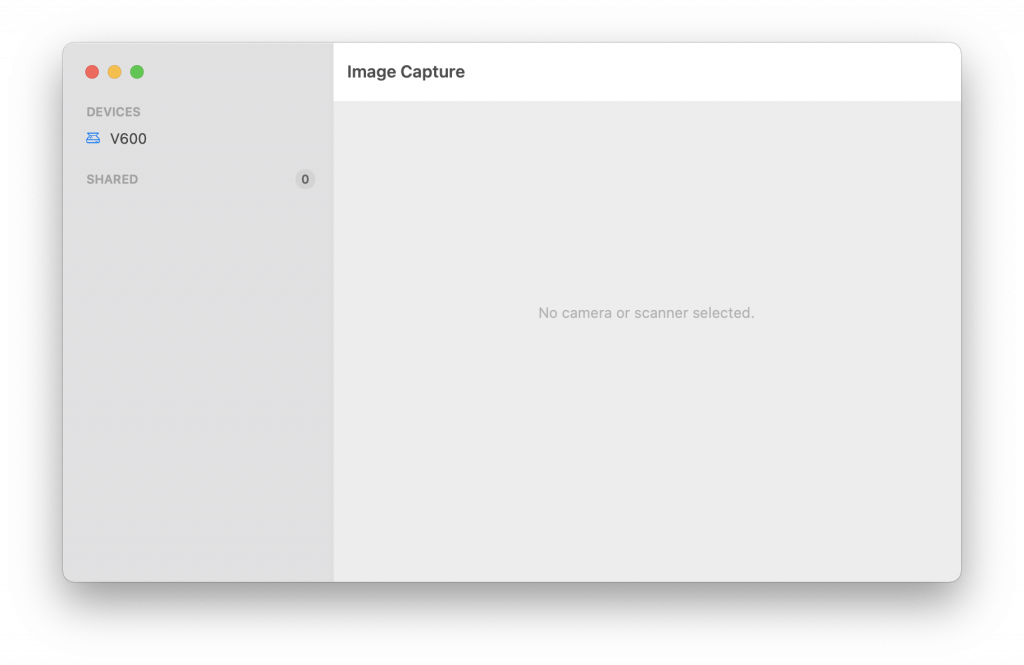
It lists V600 as the scanner, but fails to connect.

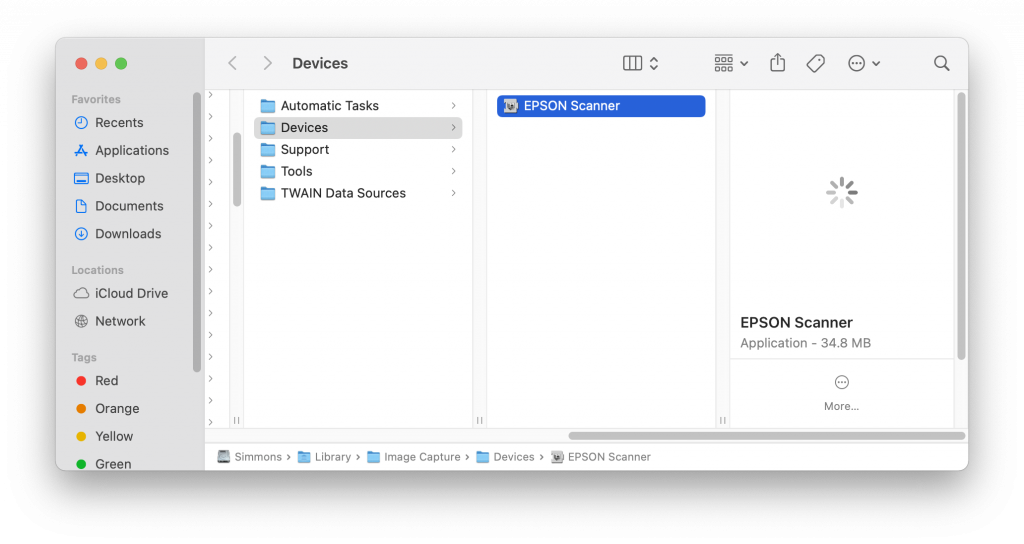
To fix this issue, first quit Image Capture. Then, open Finder and find the following folder:

If you cannot find it, press Command⌘+Shift+G and copy and paste the following path:

Library/Image Capture/Devices/EPSON Scanner.app

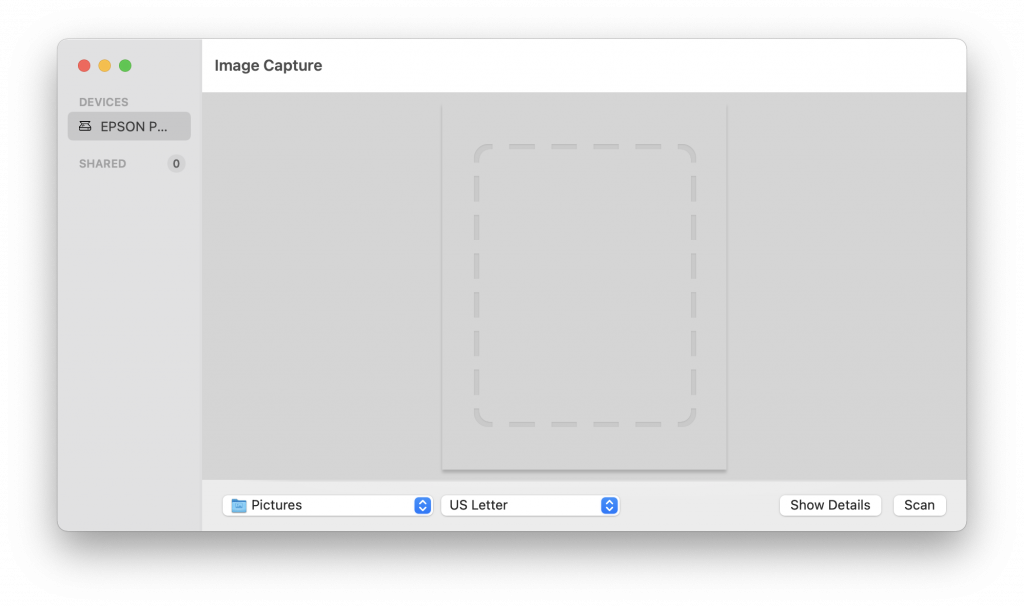
Double-click on the EPSON Scanner icon. If Image Capture does not open, reopen the program. The window should look like this:

The device is listed as EPSON Perfection V600 and is now ready to scan.

How to Use Google Drive for Mac

Google Drive is a useful tool for creating, saving, and transferring files. But did you know you can also use Google Drive directly from your desktop and edit your Drive files in other programs?

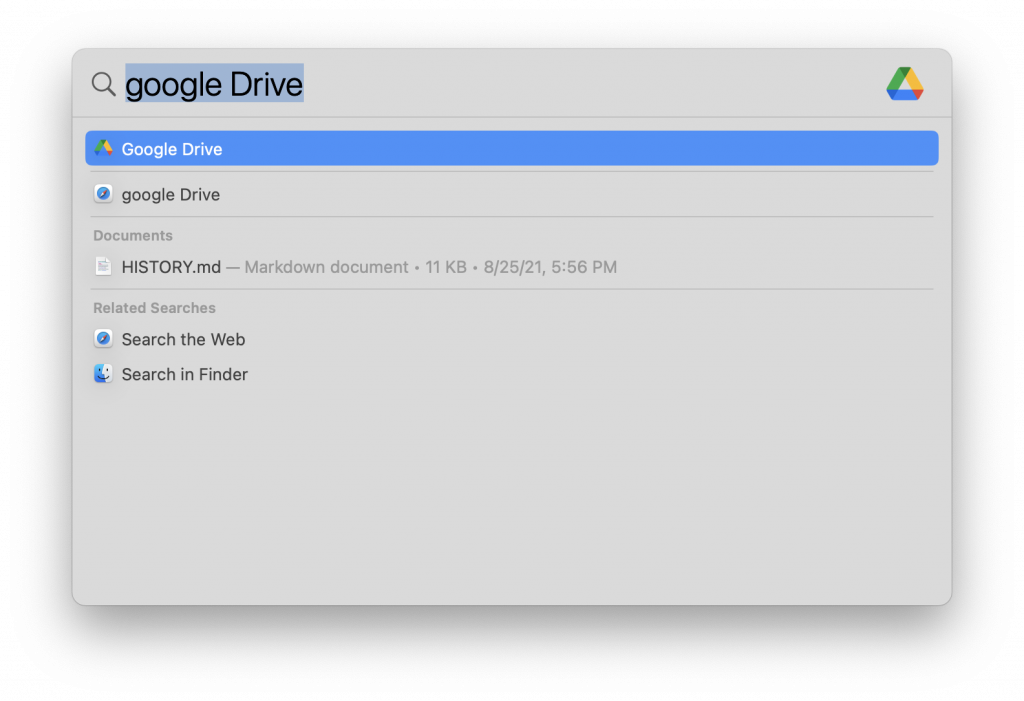
Google Drive is already installed on Simmons computers. You can easily find the app via the Spotlight search tool, or in the Applications folder.

Screenshot of OSX Spotlight search with the words "Google Drive" typed in
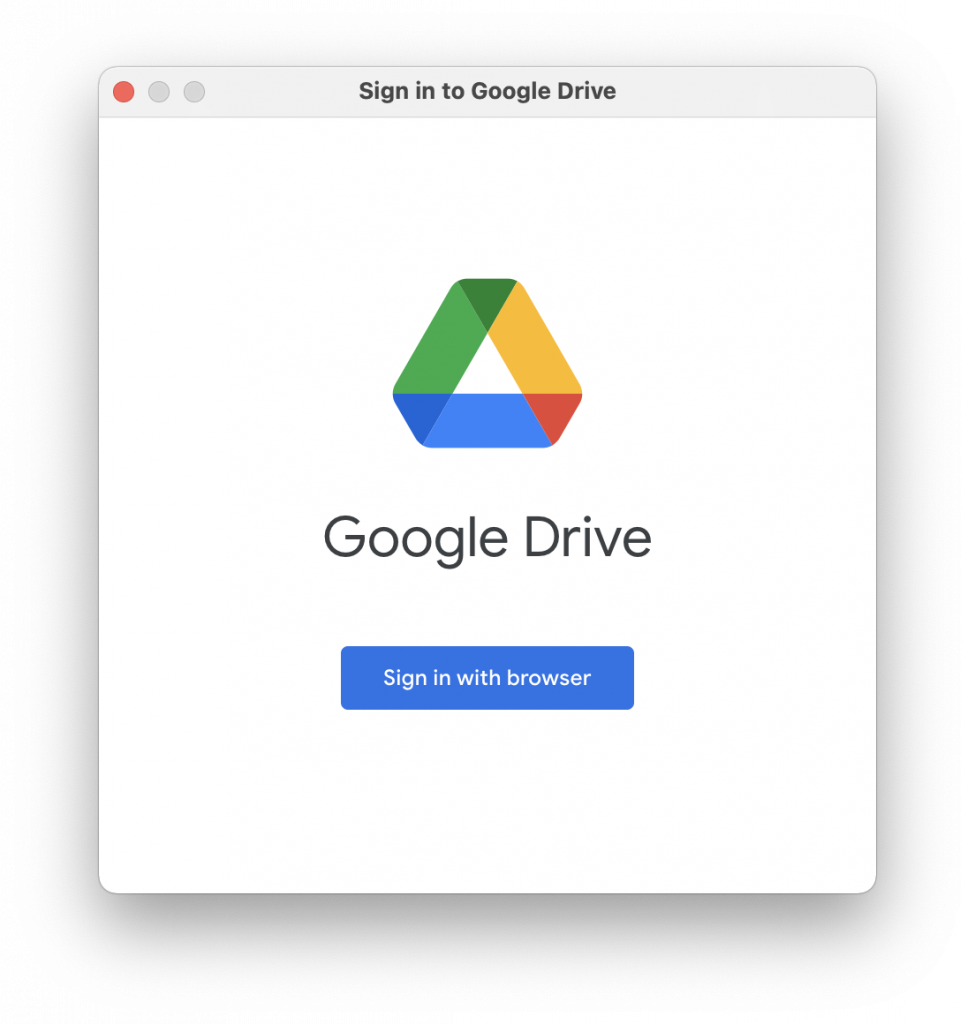
Once you open Google Drive, click Sign in with browser. It will open a browser window; if you are already signed into your Simmons account there you can choose it now.
Screenshot of Google Drive sign in window with button reading "Sign in with browser"

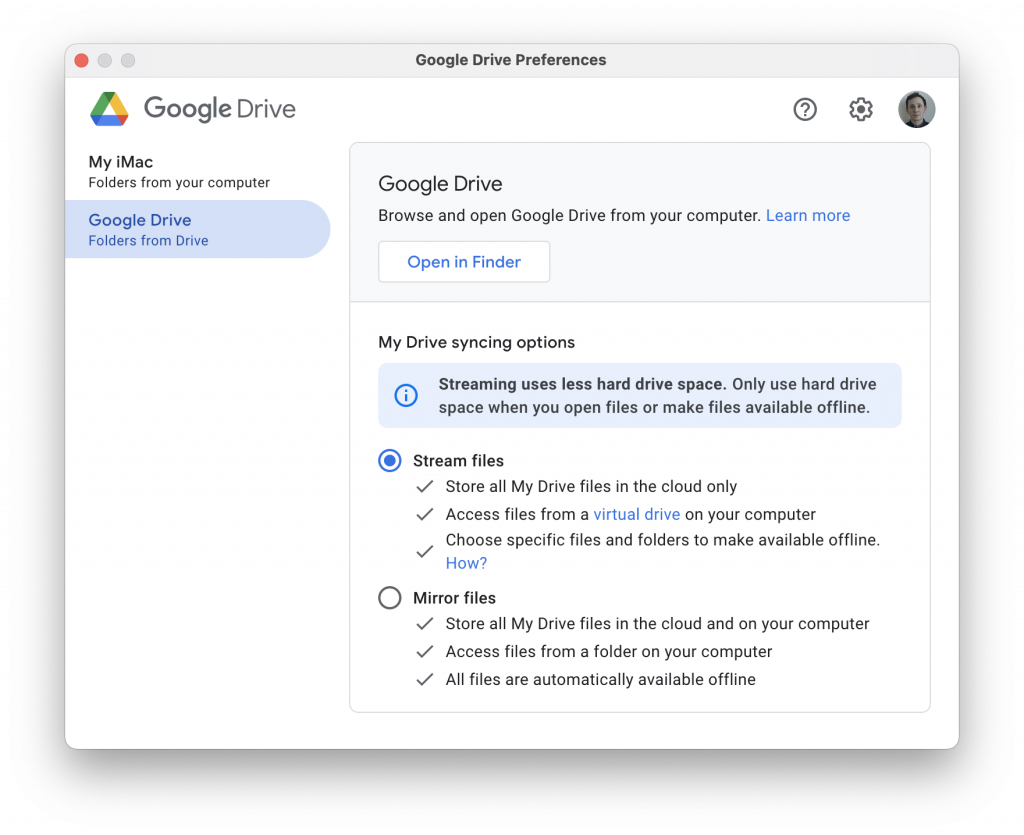
When you return to the Google Drive application, you should see a preferences window. If not, you can find it by clicking on the Google Drive icon in the menu bar. Select Stream files.

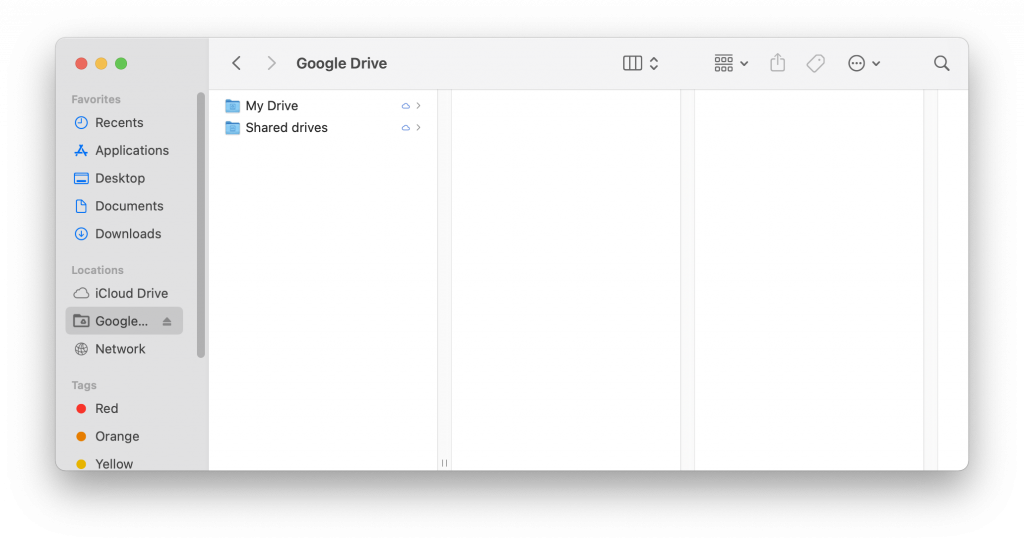
Open a Finder window and find the folder named Google Drive under Locations. All your Google Drive files will be located here. When you save your changes to a file here, they will be automatically updated to your Google Drive so you don’t have to upload anything!

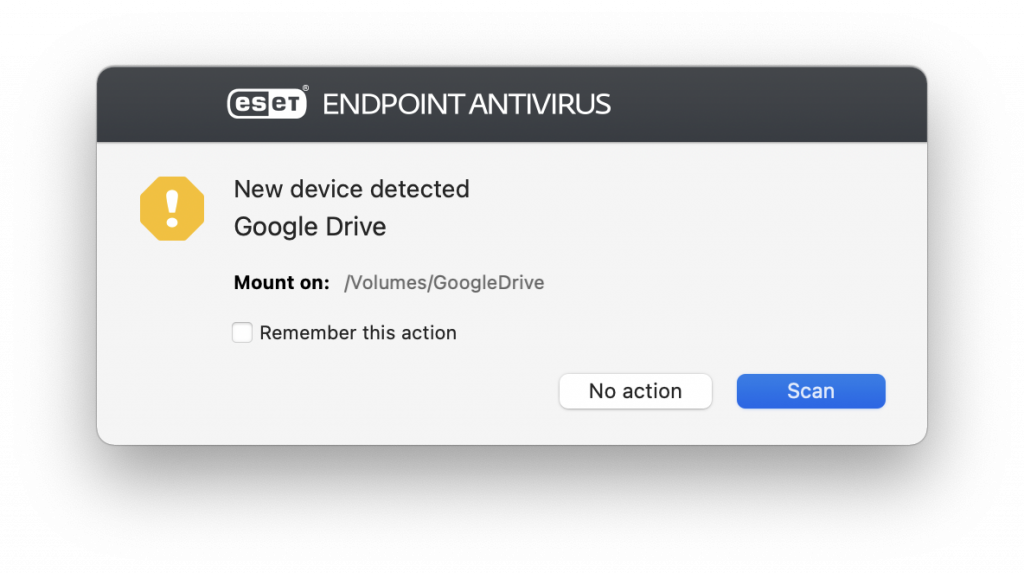
Once you finish signing in, your computer may ask if you want to scan Google Drive. This is because it treats the drive as an external device. Click No action.

How to Log In to Adobe Creative Cloud Through Simmons

If you want to use Photoshop, InDesign, or any other Creative Cloud apps at Simmons, you’ll first need to log in to Creative Cloud through your Simmons account.

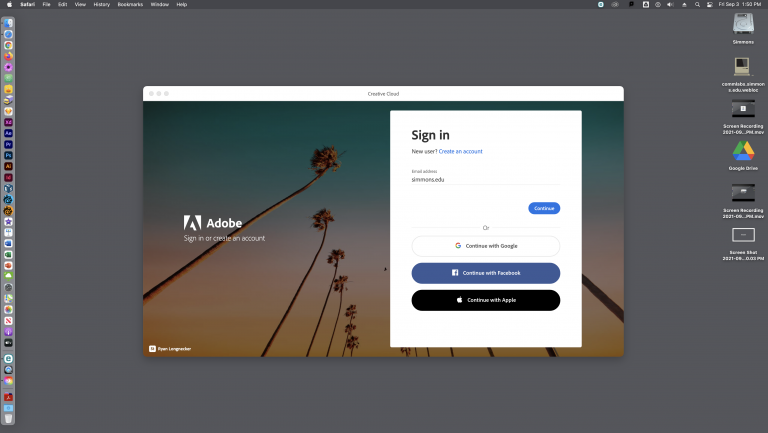
Open the Creative Cloud app and you will see the Sign In prompt. Do not enter your Simmons email address or username yet! All you have to type here is simmons.edu and hit Continue.

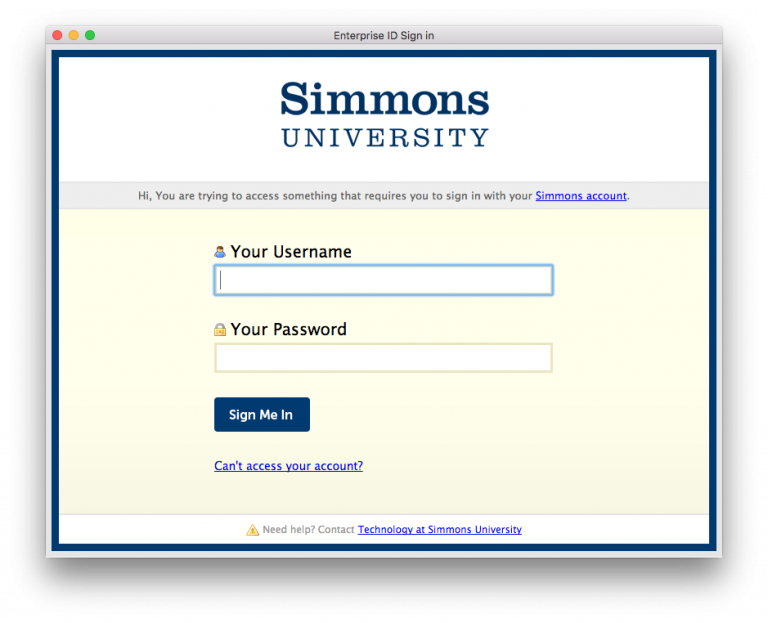
When you reach the Simmons sign on screen, you can enter your Simmons username and password. Complete Duo authentication if necessary.

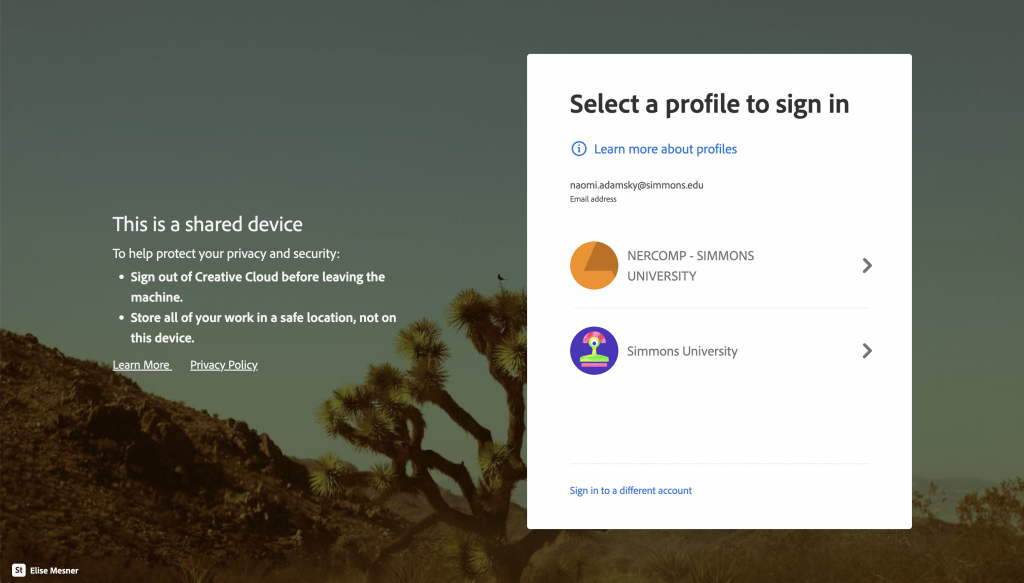
Once you sign in you will be prompted to select a profile. You will want to select NERCOMP.

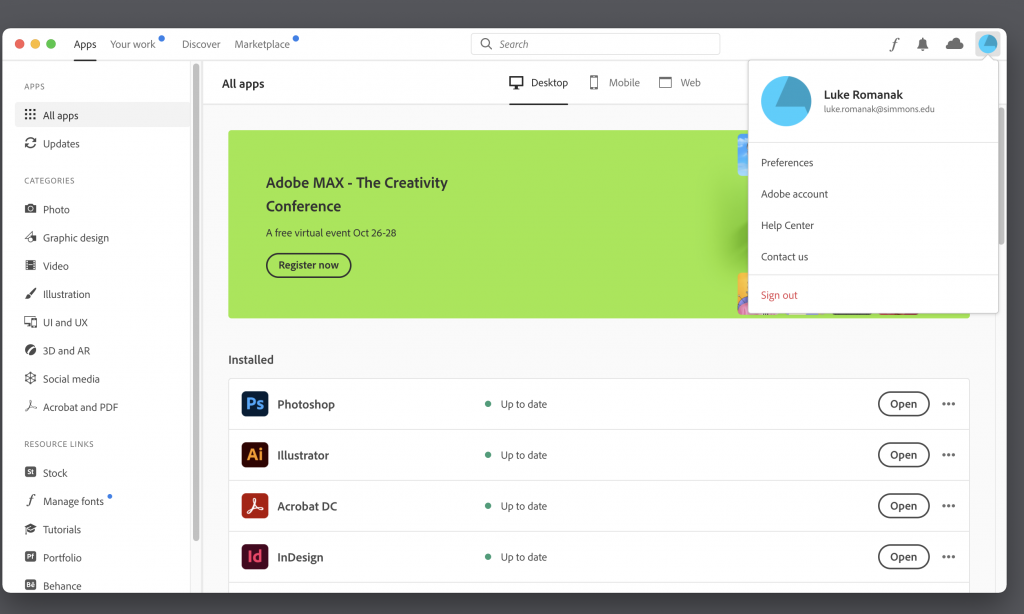
Once you finishing signing in, you can access all the Creative Cloud apps from the Creative Cloud window!