Royalty-free—what it is and is not

(Plus a list of RF stock sites!)

We’ve all been there—you’re working on a project and need some stock media. You know you can’t use just anything off of the internet because of copyright law. But even when you go to sites that offer stock media, it can be confusing understanding what you can use and how.

Royalty-free does not always equal fee-free.

While we might think that royalty free (rf) media is free to use. This is not always the case. The term simply means that you do not have to pay the creator royalties. Think how authors get paid for every copy of a book sold, or how a musician gets paid for every stream on Spotify. Those payments based on the number of times a work is used are royalties. You can check out this post by Amos Struck for a more comprehensive explanation.

For RF media you pay* once and that’s it. Sometimes the payment is $0. Sometimes it’s crediting the creator. Sometimes you have to pay a one-time fee. Many RF stock sites contain images that fit into multiple categories. Whenever on a stock website, always check that you have set your filters to only show you free content if that is what you are looking for.

I’ve compiled a list of sites that provide royalty-free (RF) images, video, and/or audio below.

I’ve also included some creative commons (CC) sites. Those are special licenses that allow you to use the media for free, but there are sometimes limitations on how you can use the media, and how to credit the author. See more on creative commons and the various types of licenses here. Or you can check out the Comm Labs resources on Creative Commons here.

General Stock Sites

These sites have images along with video, and sometimes audio

Openverse Creative Commons Search

Adobe Stock (Note: there do not appear to be free audio files, only images and video) Not all stock on the site is free, but there’s a good selection that is. Just make sure to check the ‘free’ box in the filters when searching. If it asks you for payment when you click license, then you know you need to search again.

PixaBay is free to use without attribution in most cases. Check their license for more.

Canva also has plenty of free images you can use, along with some video, animations, and their templates. Items with crowns next to them are only available with paid accounts. Note: you get more stuff for free if you sign up with your Simmons email address, since education accounts get access to many (but not all) premium features.

DepositPhotos focuses on imagery, but also has some free videos and music. Just be aware that not all works on the site are free, much like Adobe stock. So make sure to stick to the free filter. All their free content requires attribution.

Audio

BenSound has a section of the site with music that is free with attribution

Purple Planet music is free with attribution in most cases. Check out their license page for more info.

Free Sound is good for sound effects and the like

Zap Sounds free sound effects 

Images

Unsplash is my go-to. RF with attribution, so make sure to credit the person who made your media!

Burst from Shopify has good stock images. The collection is geared towards supporting its main business as a platform for independent e-commerce shops, so the stock does tend to reflect that.

Jopwell has a selection of stock photography available focusing on BIPOC in business and education settings. It’s fairly specific, but useful when you need corporate imagery.

WOC in Tech Flickr page similarly focuses on a narrow remit but does it well. Note that not all images on Flickr are RF or CC, but images by/on this particular page are. (If using Flickr, always check the copyright status of the individual image you are interested in using)

Gratisography has funky imagery that is off-beat

KaboomPics is good for lifestyle and interior design shoots

StockSnap.io has images that are licensed as CC0, meaning free of all copyright restrictions.  

iStock. Be VERY careful about which images you are selecting. iStock is owned by Getty images—one of the largest and most prestigious photo libraries in the world. They want to funnel you to their paid site, but there is a lot of microstock that is free, if you make sure to search carefully.

Pexels. Note: some photos are free. Others and videos are RF (for a fee)
Accessing Shared Folders from Google Drive for Desktop

If you use Google Drive to open files directly from your computer, you may have noticed that shared items do not show up. You will need to add a shortcut to the shared folder or file to your own Google Drive before you will be able to open it from your desktop.

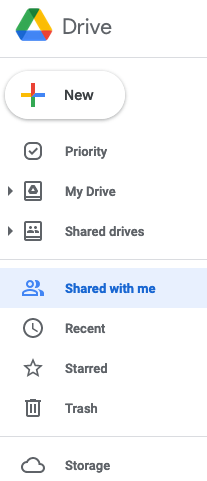
First, open Google Drive in your web browser and locate the folder or file you want to open. You can usually find it under Shared with me.

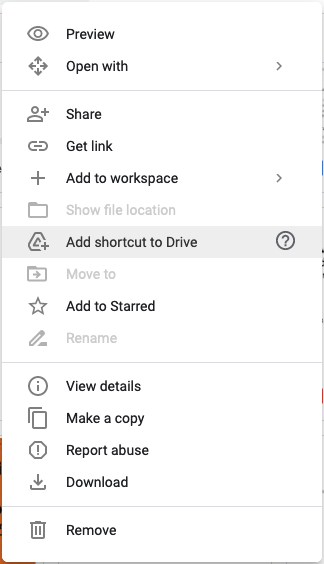
Once you find the shared item, right-click on it to open up the menu and click on Add shortcut to Drive.

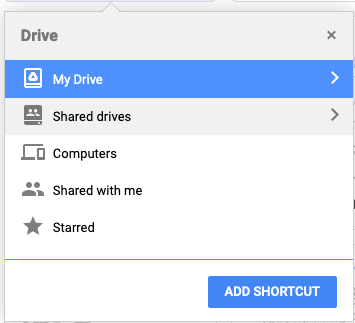
Google Drive will then show you a menu where you can select where you’d like to add the shortcut. If you just click ADD SHORTCUT, it will be added to your main directory, but you can also navigate to a specific folder.

The next time you open your Google Drive from your desktop, your shortcut will appear as a normal folder or file. Now you can open or edit it directly from your computer!

Using the Dry Mount Press

The dry mount press in the CommLab is an easy way to neatly mount your artwork on matte board without messy tape, drippy glue, or curling paper. Just follow these steps to create perfectly mounted artwork.

Tools and Materials

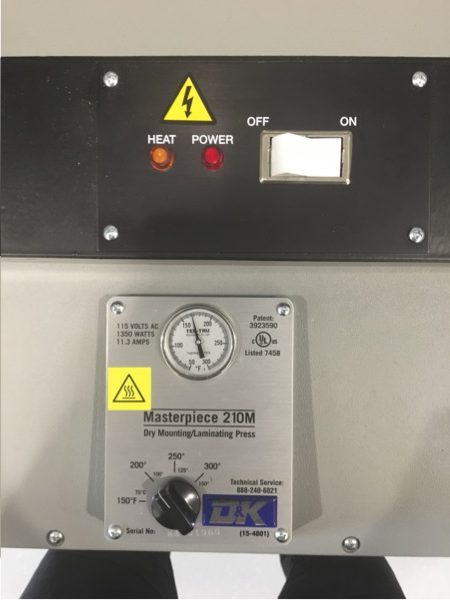
Dry mount press: Before you begin, make sure the press is turned on, as it takes 20 minutes to heat up. The on switch is located on the top next to the indicator lights. The temperature for permanent adhesion is 200F.

Release paper pocket: You will need a release paper pocket to prevent your project from sticking to the inside of the dry mount press. These are located in the drawer underneath the dry mount press.

Dry mount tissue: Ask the Lab Agent for the right size dry mount tissue for your artwork. The CommLab has pre-cut tissue sheets in a number of sizes, but we can cut custom sizes too.

Steps

  1. Open your release paper pocket and place your artwork inside face down. Lay the dry mount tissue over top, making sure to cover the entire artwork, as any paper left uncovered will not stick to the matte board. Close the release paper pocket, taking care not to move the layers around. Use the tacking iron to tack down a corner of the dry mount tissue to keep it from moving around when you place it inside the dry mount press.
  2. Place the release paper pocket inside the dry mount. Close the lid, pushing firmly to make sure it is down all the way. Leave the pocket in the dry mount press for about 35 seconds, then remove the pocket and let it cool for 20-30 seconds.
  3. Trim the excess tissue from the edges of your artwork – once you mount the artwork, you will not be able to remove it. Then, place your matte board inside the release paper pocket. Line up your artwork on top of the matte board with the tissue side facing down, then carefully close the release paper pocket. Use the tacking iron to tack down a corner of the artwork so the layers do not move around. Then, place the entire folder back into the dry mount press, and set the timer on top for 2 minutes. When it’s done, remove the pocket and place the metal weights on top while it cools, about 5 minutes.

Fixing the Connection Issue on CommLab Scanners

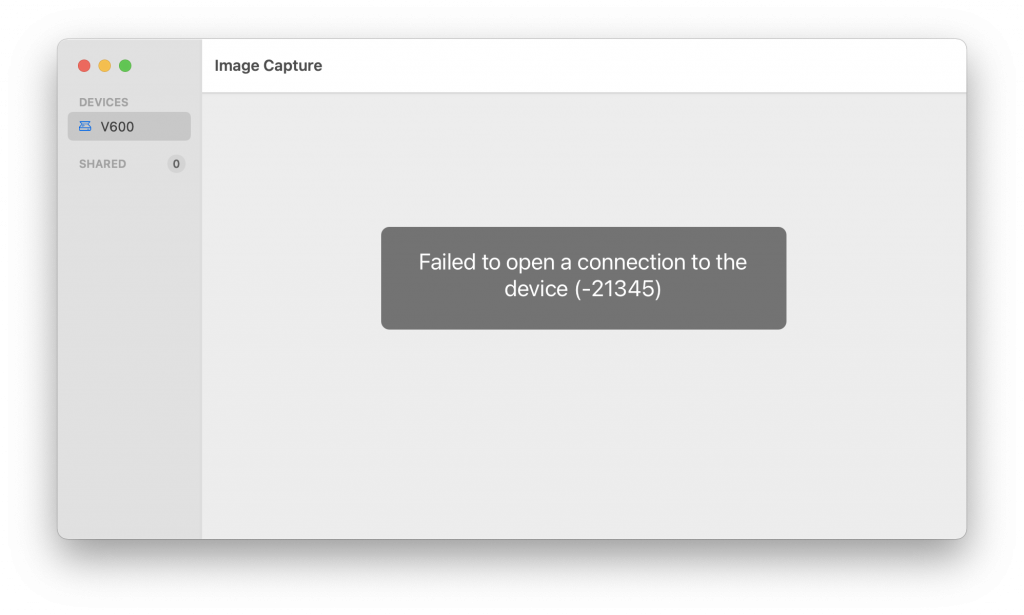
When you open ImageCapture to scan from one of the CommLab Epson scanners, you may get this error message:

It lists V600 as the scanner, but fails to connect.

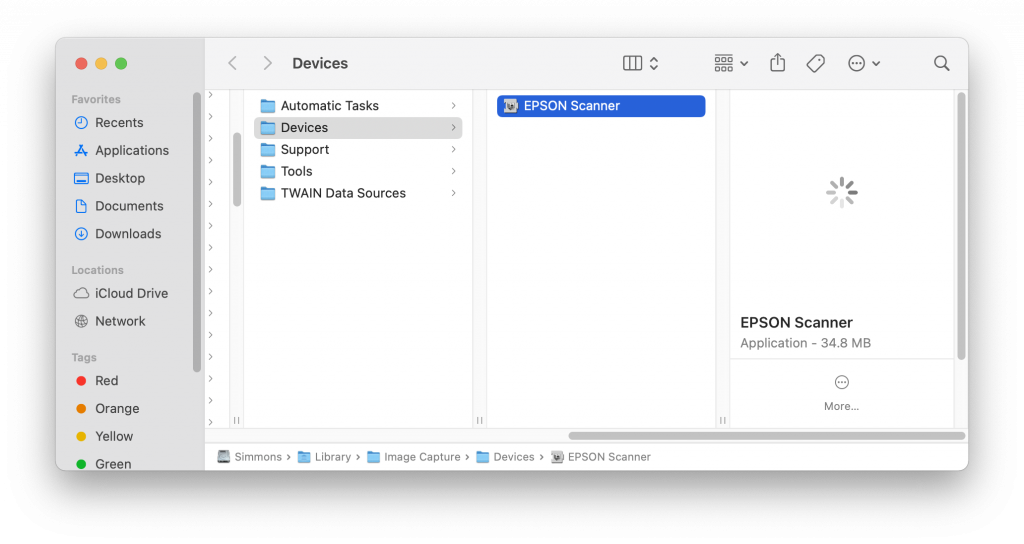
To fix this issue, first quit Image Capture. Then, open Finder and find the following folder:

If you cannot find it, press Command⌘+Shift+G and copy and paste the following path:

Library/Image Capture/Devices/EPSON Scanner.app

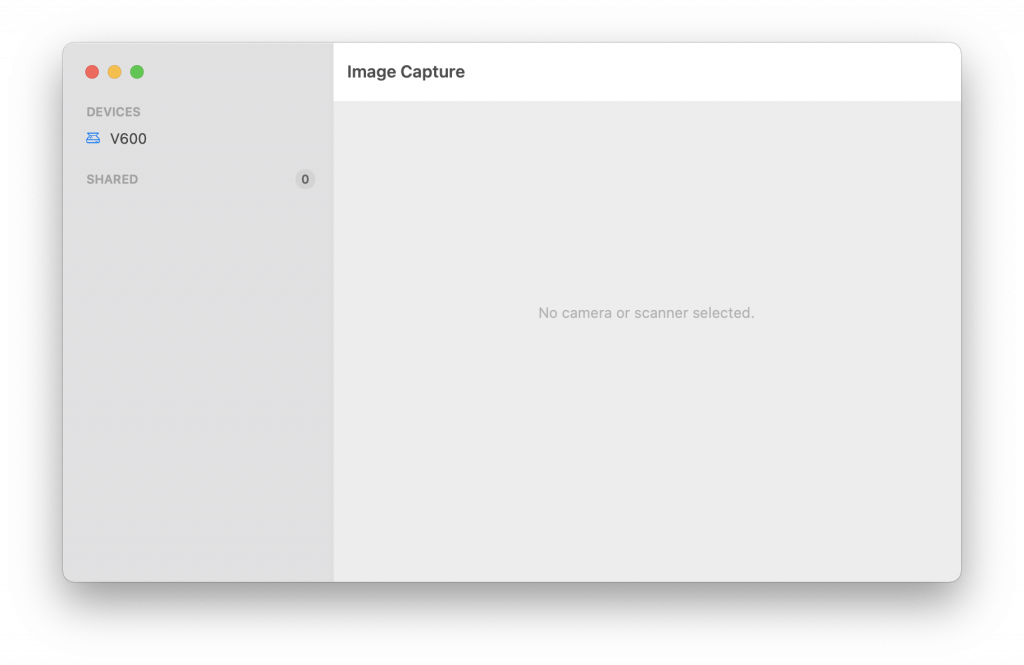
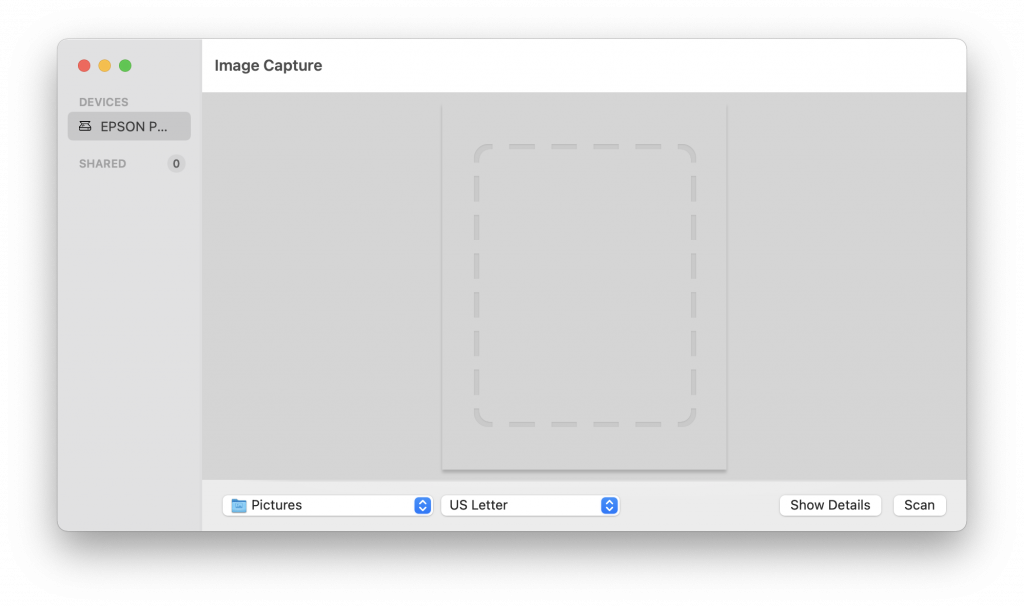
Double-click on the EPSON Scanner icon. If Image Capture does not open, reopen the program. The window should look like this:

The device is listed as EPSON Perfection V600 and is now ready to scan.

How to Use Google Drive for Mac

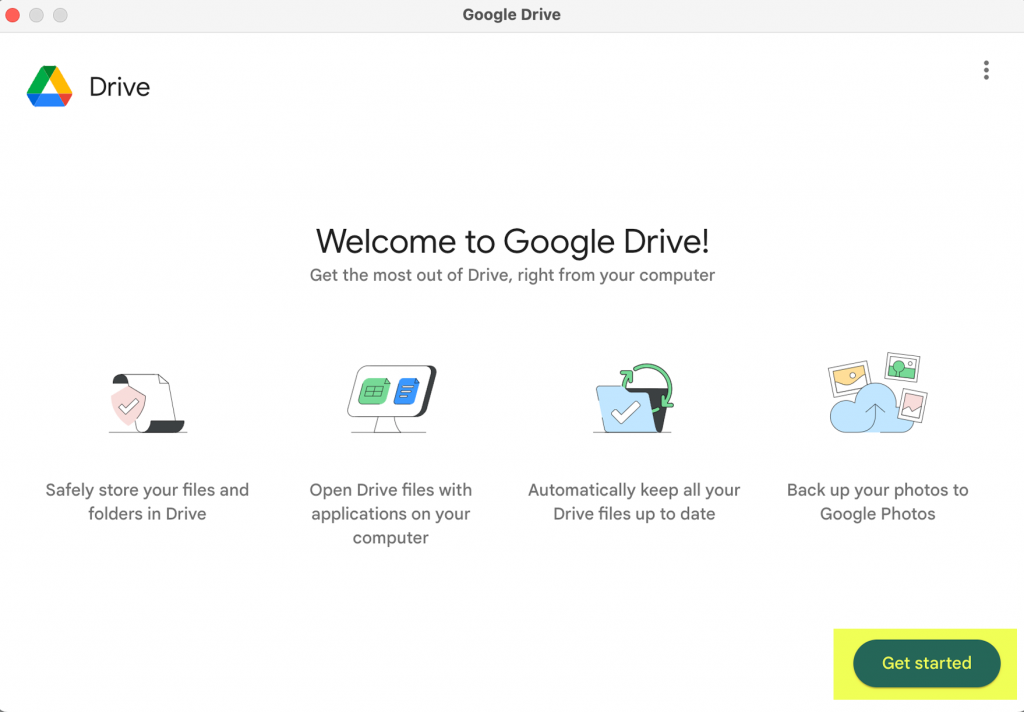
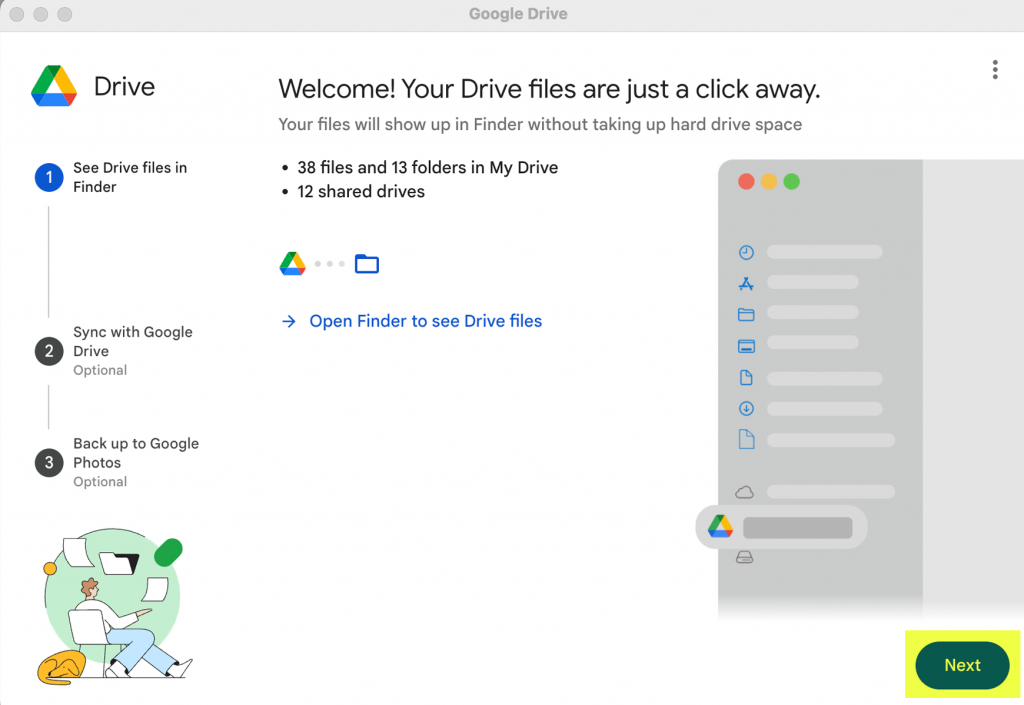
Google Drive is a useful tool for creating, saving, and transferring files. But did you know you can also use Google Drive directly from your desktop and edit your Drive files in other programs?

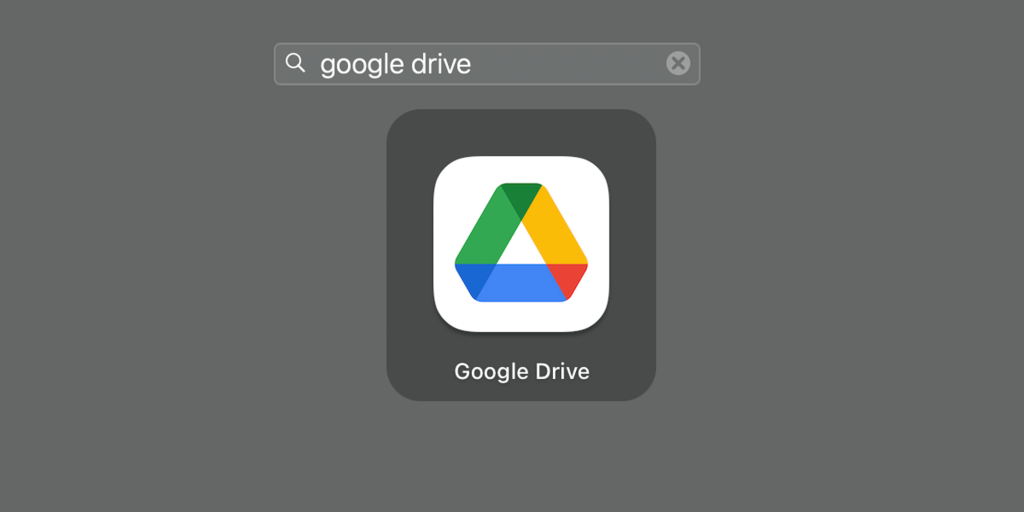
Google Drive is already installed on Simmons computers. You can easily find the app via the Spotlight search tool, or in the Applications folder.

Screenshot of OSX Spotlight search with the words "Google Drive" typed in
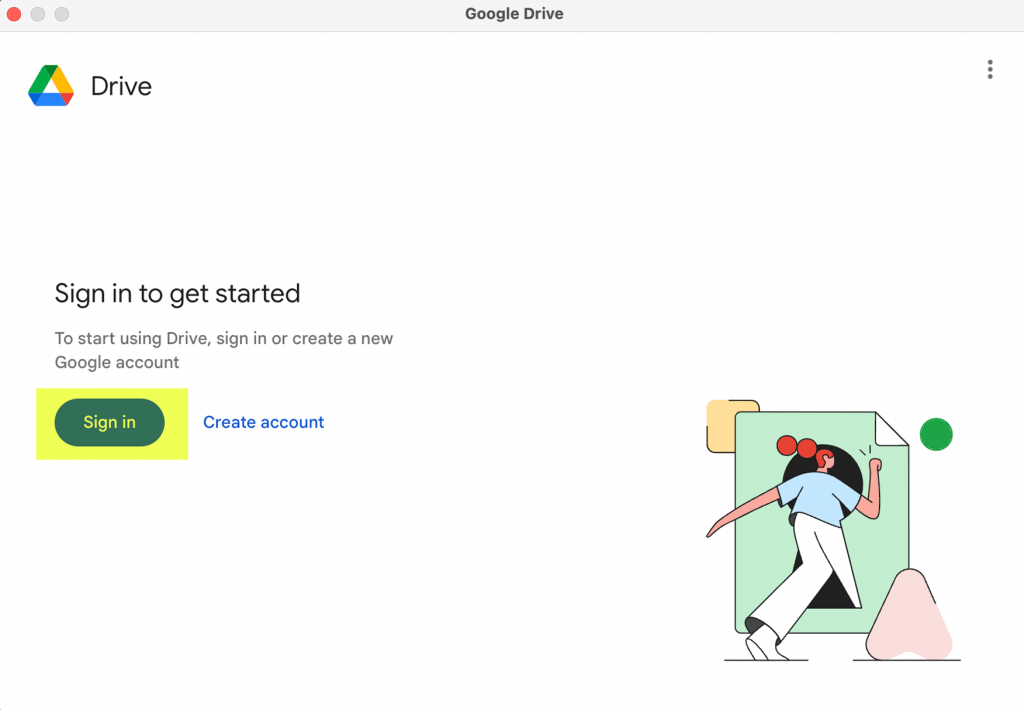
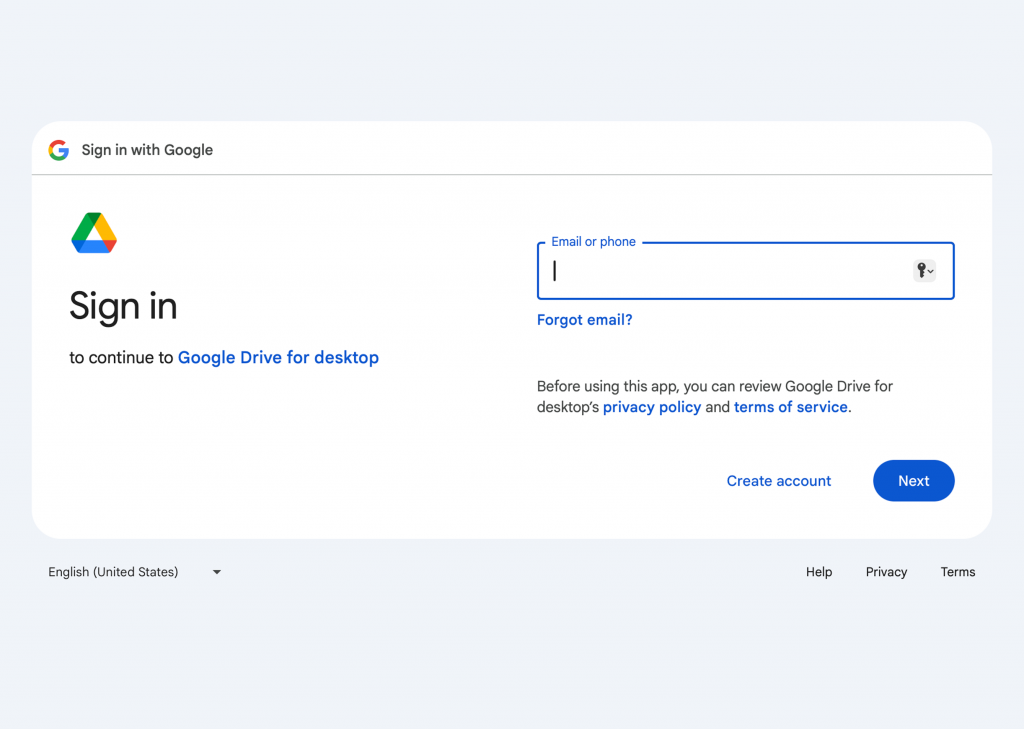
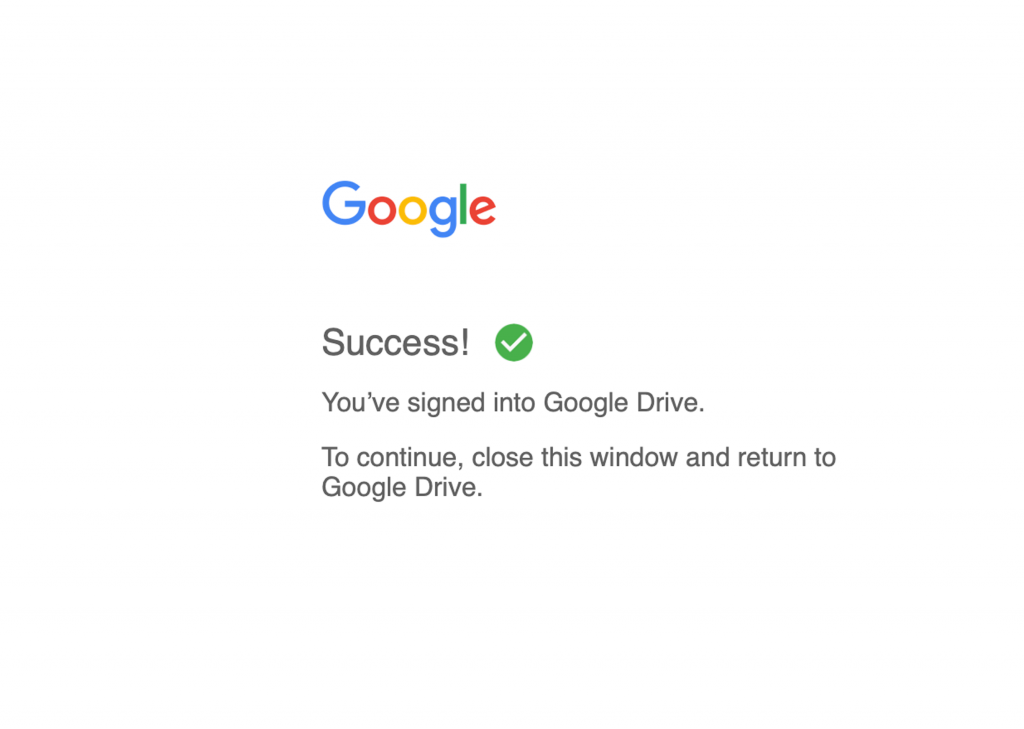
Once you open Google Drive, click Sign in with browser. It will open a browser window; if you are already signed into your Simmons account there you can choose it now.
Screenshot of Google Drive sign in window with button reading "Sign in with browser"

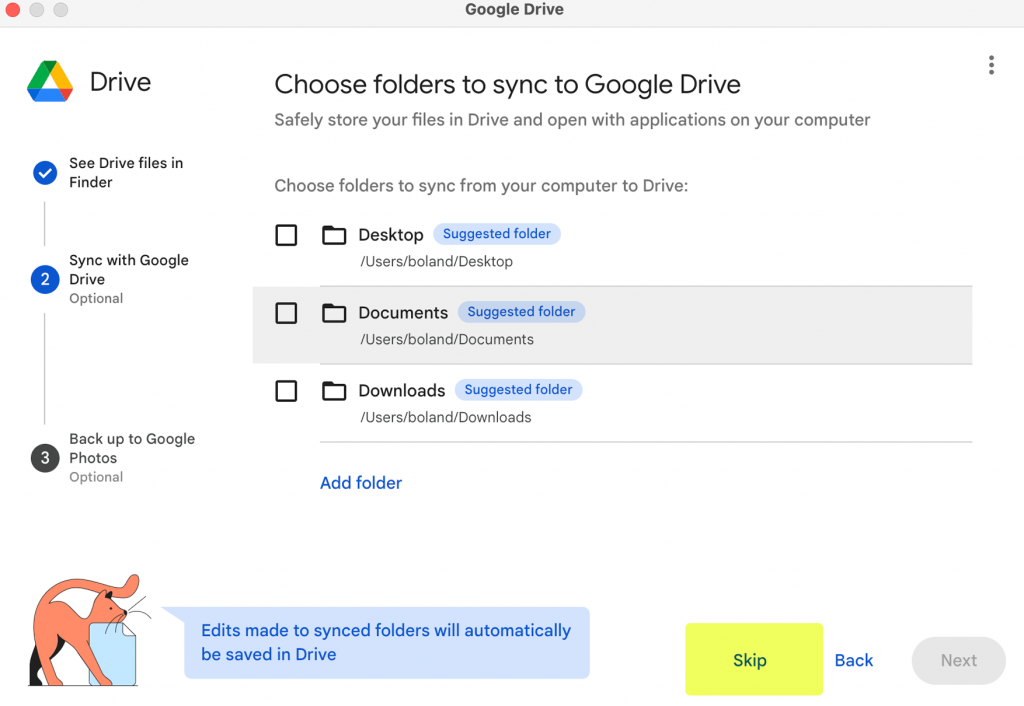
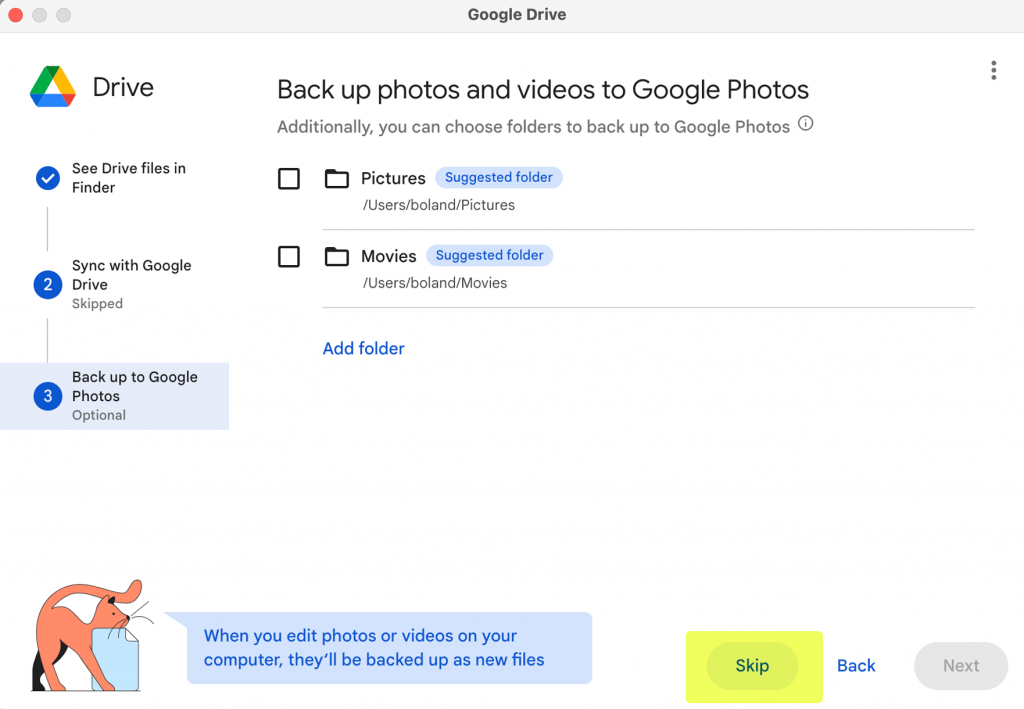
When you return to the Google Drive application, you should see a preferences window. If not, you can find it by clicking on the Google Drive icon in the menu bar. Select Stream files.

Open a Finder window and find the folder named Google Drive under Locations. All your Google Drive files will be located here. When you save your changes to a file here, they will be automatically updated to your Google Drive so you don’t have to upload anything!

Once you finish signing in, your computer may ask if you want to scan Google Drive. This is because it treats the drive as an external device. Click No action.

How to Log In to Adobe Creative Cloud Through Simmons

If you want to use Photoshop, InDesign, or any other Creative Cloud apps at Simmons, you’ll first need to log in to Creative Cloud through your Simmons account.

Open the Creative Cloud app and you will see the Sign In prompt. Do not enter your Simmons email address or username yet! All you have to type here is simmons.edu and hit Continue.

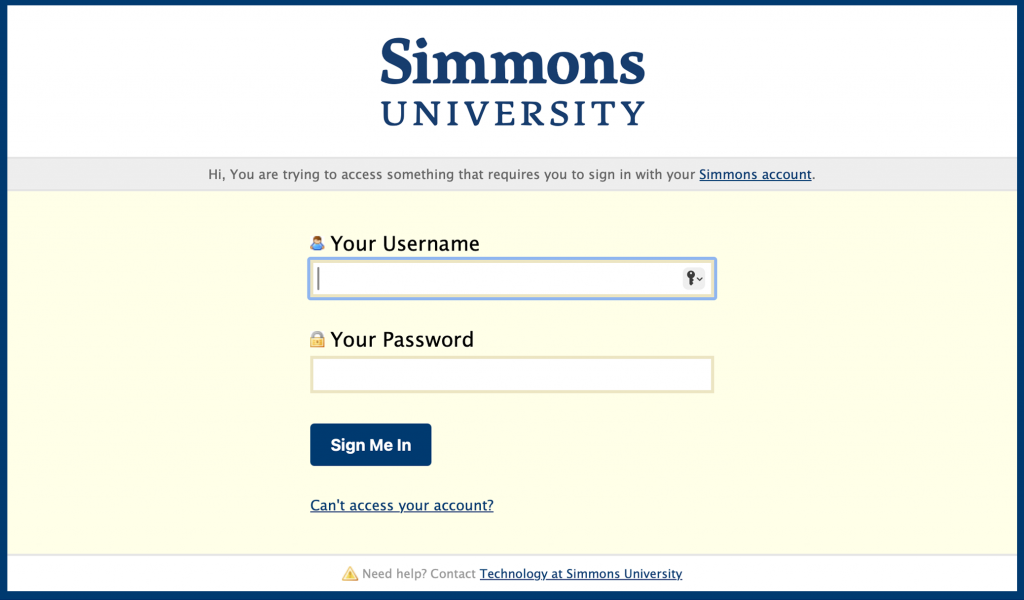
When you reach the Simmons sign on screen, you can enter your Simmons username and password. Complete Duo authentication if necessary.

Once you sign in you will be prompted to select a profile. You will want to select NERCOMP.

Once you finishing signing in, you can access all the Creative Cloud apps from the Creative Cloud window!

A Quick and Easy Way to find a File’s path (on Mac)

Open terminal. My preferred way is to use the Spotlight Search. Command + Spacebar brings up spotlight search. Then type in “terminal”.

(A screenshot of the Spotlight Search bar pulling up Terminal)

Open terminal. Then drag the file you wish to know the path of into the terminal.

(A screenshot of the terminal after I have dragged and dropped a file into it)

Your terminal should look something like the screenshot above. the path beings after the user is specified (~User’sNameIsHere$). For example, the path is /Users/User’sNameIsHere/Documents/01\ Drawings/0\ show\ off/cat01.jpg in this case.

The end

Best Practices for Archiving Your Work

You’ve made it through the semester. Your assignments are done, your projects are finalized, and you’re proud of the work you’ve done. YAY! But wait, before you log off, archive your work. This is a great way to maintain your portfolio and keep your work organized for future use.

Follow along for best practices to archive your semester’s work.

  1. Start by creating a folder for your work from this semester

This will be the home for your semester portfolio. Once you have the main folder, you can create other specific folders for each class/group of work you’d like to categorize. Label the folder with the semester and year: SP21 = Spring, 2021

2. Create class folders

Next, create a folder for each class you took this semester that you want to be archived. Designate each folder with a different color. Use the same steps as above to create a new folder. Once the folder is created, left-click it and selected a color for the folder. Place all class folders in the semester folder.

3. Create “info” sheets

Once you have a folder for each class, make a document for each folder that says what is in the folder. You can follow the format below or create your own.

Name

Class Title

Semester, Year

AssignmentDateShort Description (length, what it’s about, category)
Personal Column Final05/01/21750 words, LGBTQ voting, op-ed

4. Collect your materials and rename them

Export and download your work, one class at a time, onto your computer (PDF, JPEG, MP3 file, etc). Rename the files. I like to follow this layout for file names: LAST NAME_FIRST INITIAL_assignment name, ex: SHERBURNE_L_personal column final

5. Make it your own

While this tutorial specifically outlines semester portfolio organization, you can also use these steps to organize your work for jobs and research. Simply swap out class names for “Job Application Materials” or “Thesis Research” and create the inner folders according to how you want your work organized

Job Application Folder Ideas

  • Cover letters
  • Resumes
  • Cover Letters

Research Folder Ideas

  • Lab Data
  • Report Outlines
  • Source Lists
  • Argument Drafts

6. Upload to a flash drive, iCloud or Google Drive

You’ve done all the work to create your portfolio, now you want to make sure it stays safe. Exporting your portfolio to a flash drive, or uploading it to iCloud or Google Drive are easy ways to keep digital archives of your newly organized work.

Backing Up Your Work

Backing up your work is essential in our current day and age. There are so many ways that files can be lost or damaged that it is nearly guaranteed that it will happen at some point or another.

Another great reason to back up your files is because devices have limited storage. If the internal storage is full, this can cause many issues. Being able to clear out the less used files while still knowing that you have them stored in a back up is the perfect solution for that situation.

How To Geek has an excellent article that outlines not only why you should have multiple backups but also provides you with several different ways to back up your files.

Backblaze has a quick video that gives an overview of the different forms of back up that you can use and mentions pros and cons for each.

This video does imply that dropbox, google drive, or other similar online drives aren’t good backup solutions. And while you shouldn’t rely on them as your only form of backup (for the reasons stated in the video) they are still valid options for backing up your work as they are secure and easy to access.